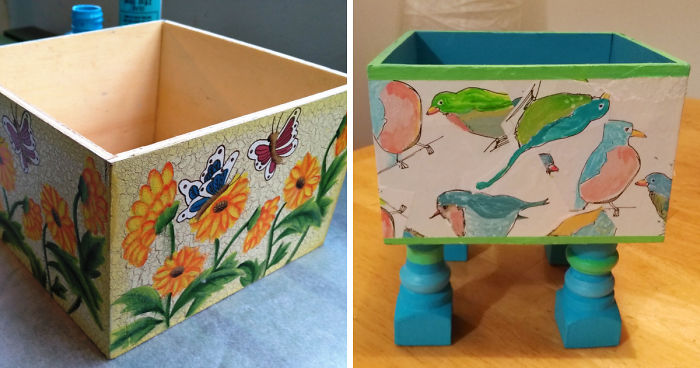
Inspired by an article online about adding legs to furniture, I thought I’d give it a try in miniature before attempting a bigger piece.
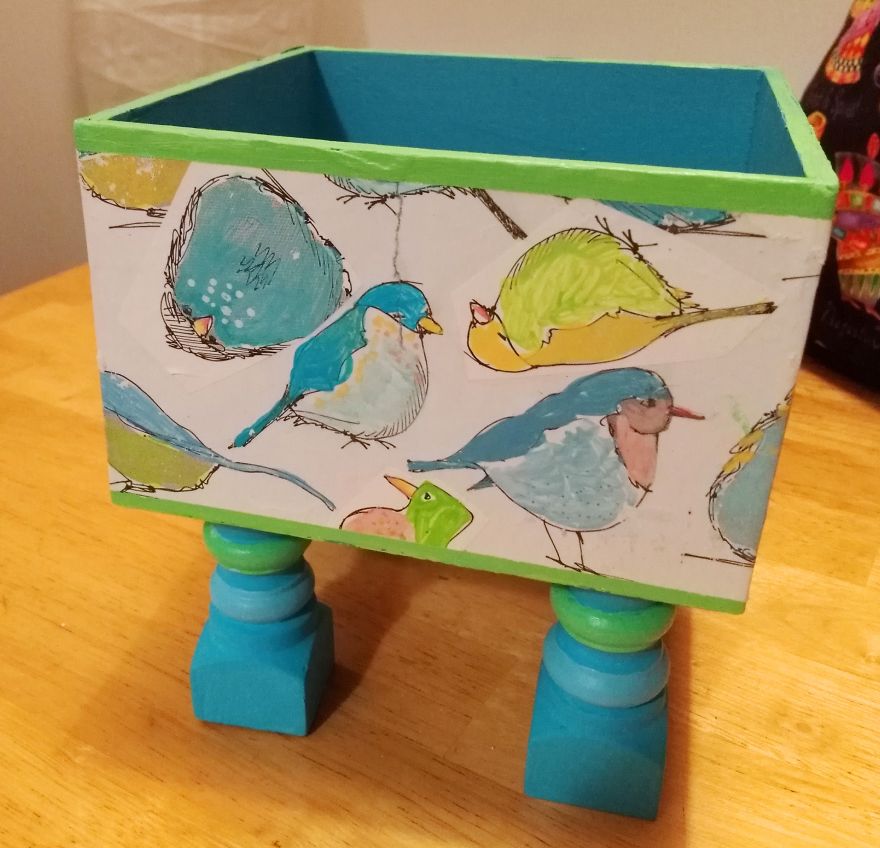
I had a few spindles left from making my own storage daybed, so I decided to cut off the ends for the feet. Then I decoupaged the outside of the box with pieces cut out of some wrapping paper from flowers that my HH (Handsome Husband) gave me. I liked the paper, but found it a bit blah – so I painted the birds (see the video)!
Then I glued the legs to the box, painted the legs in bright colors (what ELSE?? LOL) – and Voila! A lovely planter (or something…)
More info: Facebook
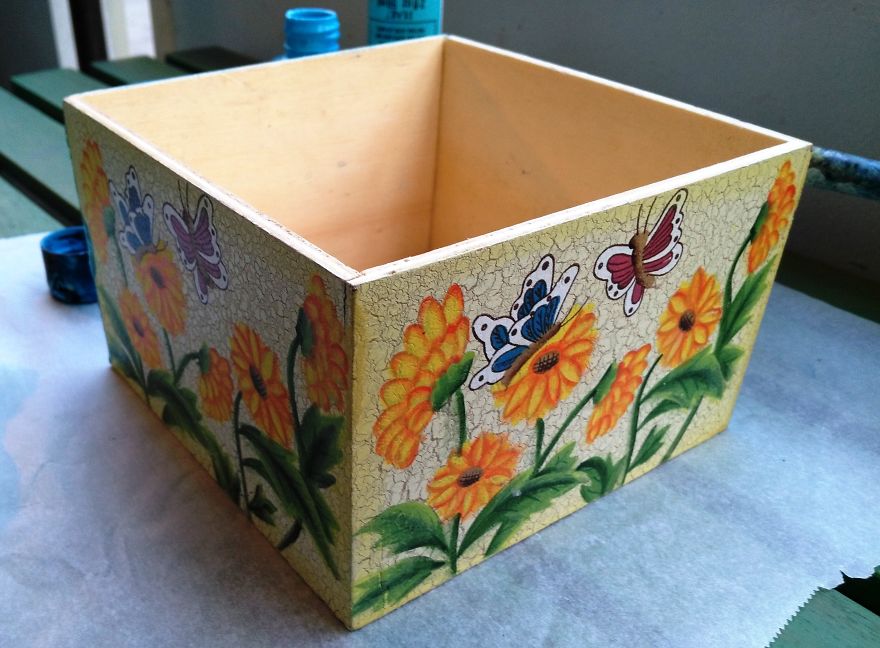
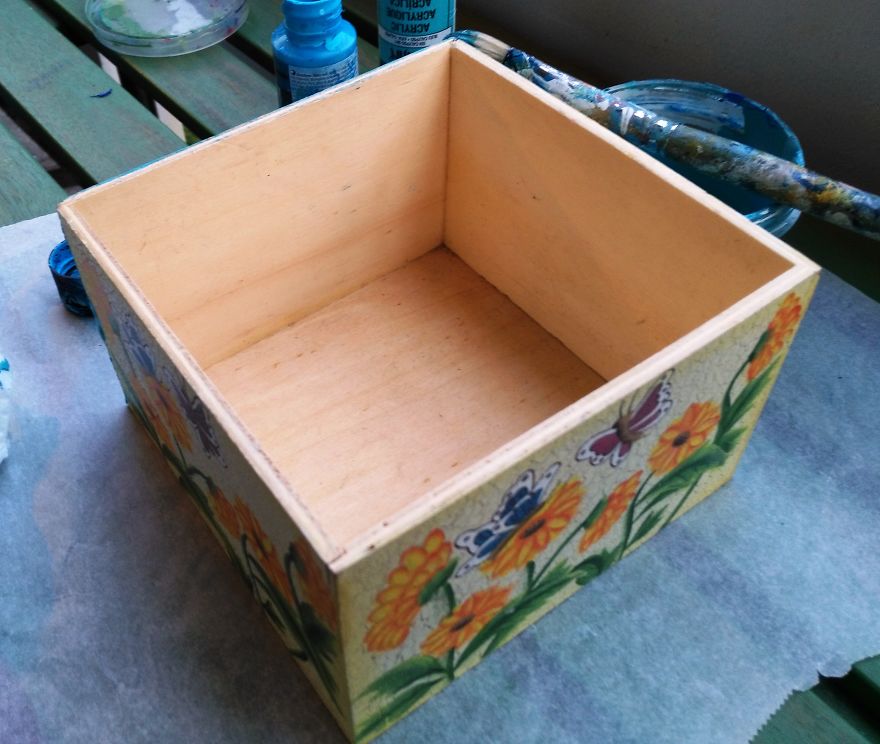
The original box. I think I’ve had it since the 1980s… can you tell? LOL
But at least it’s a lovely, solid wood box, so it’s worth upcycling
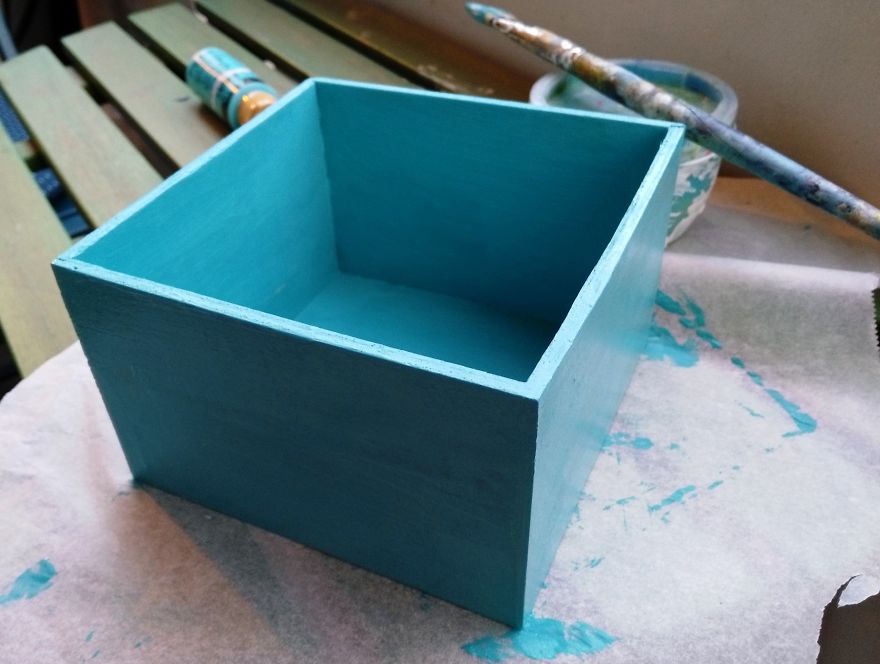
Step 1 is to paint the box with liquid acrylic paint in my favorite color – turquoise-teal
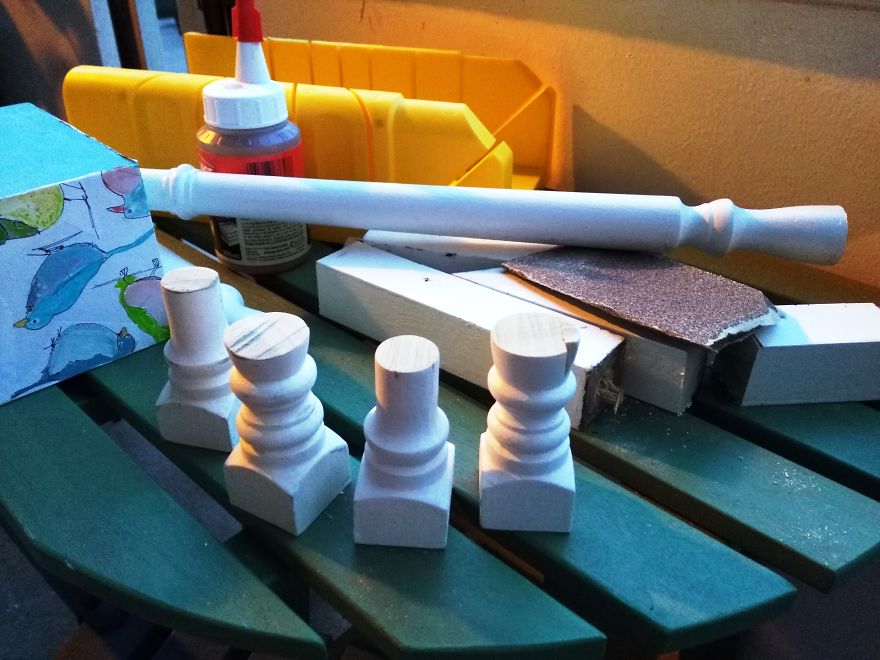
Here are my reclaimed spindles, which I bought from a Habit for Humanity ReStore for $2 each
I used a handsaw and a mitre box to cut the “feet” for the box
They are Almost the same height! I sanded all of the pieces so that I can paint them after they were attached. (If was do another one – Note to Self! – I’d paint the feet BEFORE attaching them to the box! It was a bit TRICKY painting the insides of the legs once they were attached to the box…
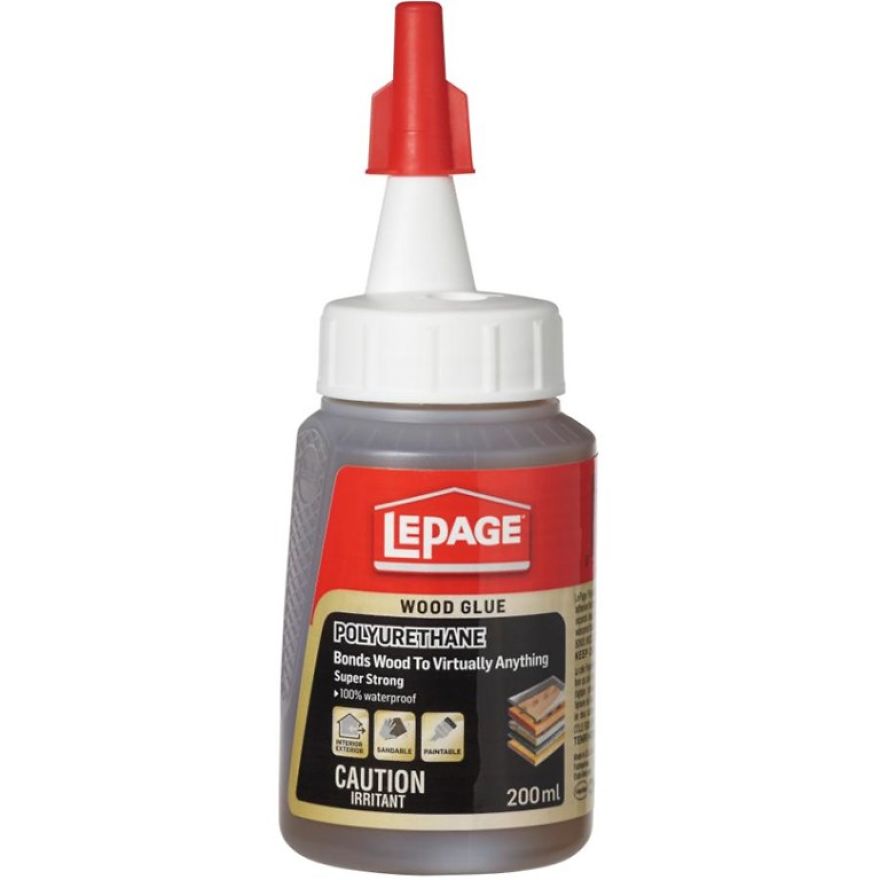
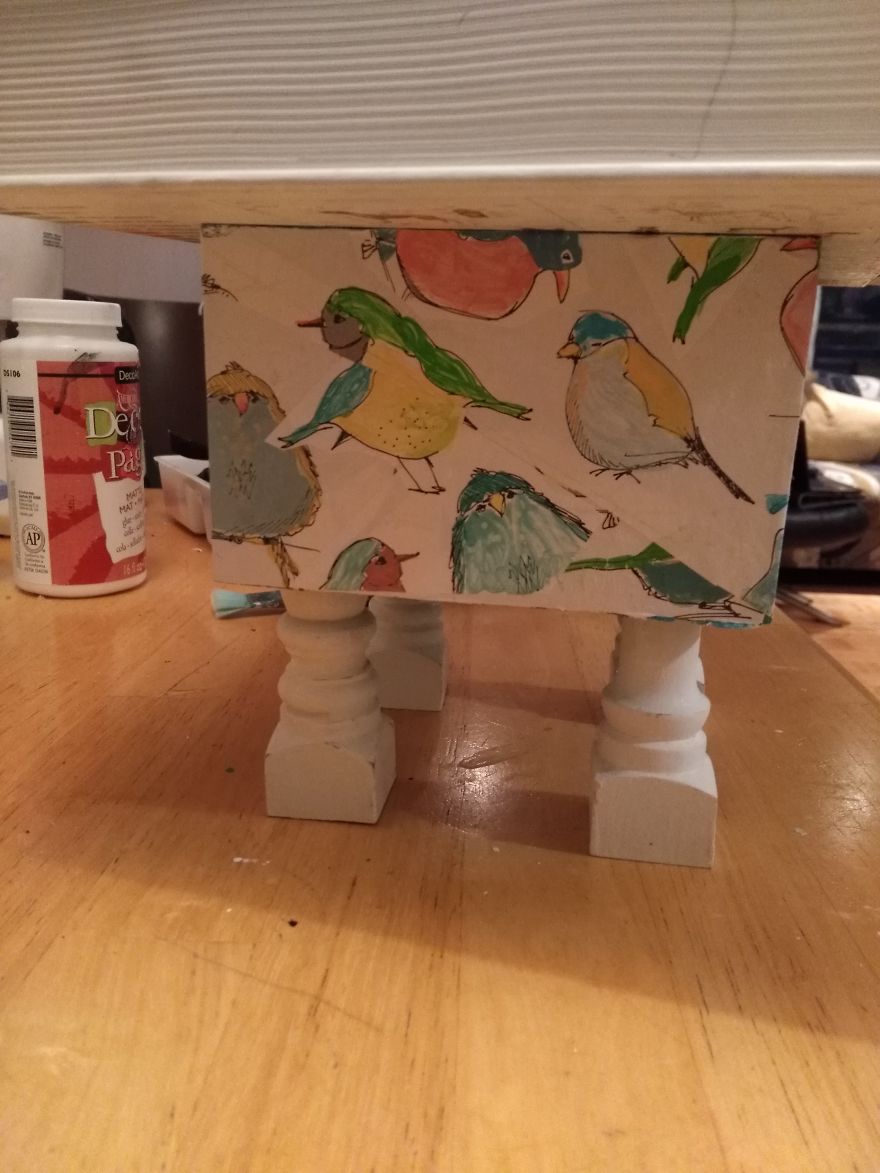
This is the Super wood glue that I used to glue the feet onto the box. The Good news is that this glue is VERY strong. The BAD news is… (see next picture)…
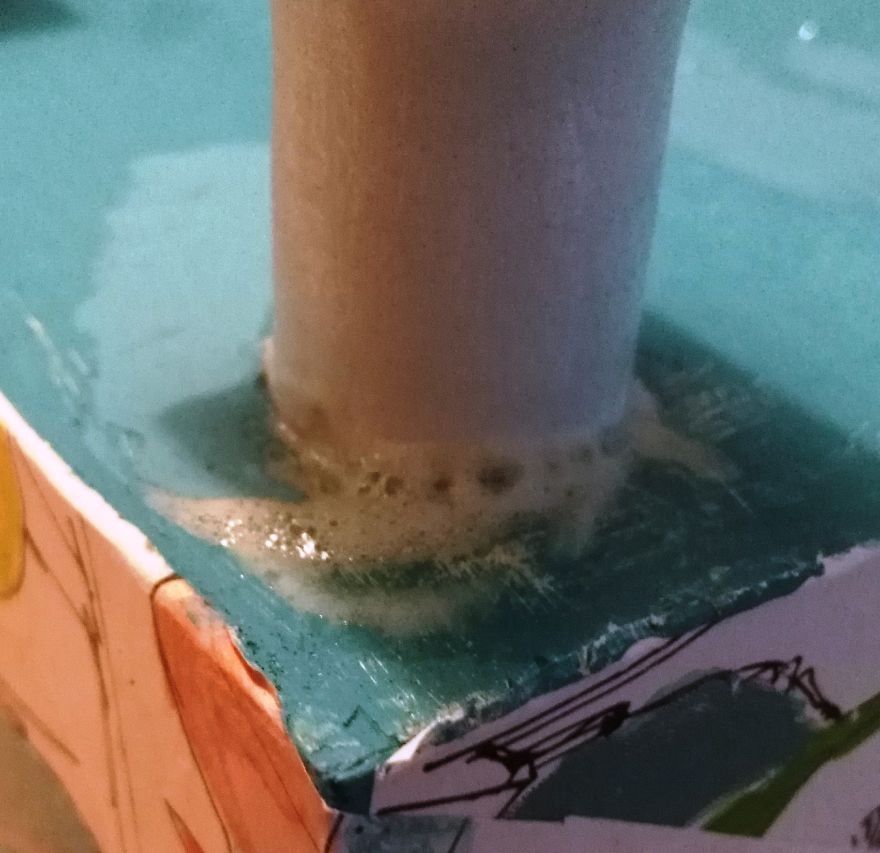
…it doesn’t dry either clear or flat, and is almost impossible to scrape off once it’s dry
It was okay for this project because it’s on the bottom of the box, but I wouldn’t use this glue for any joint that would be seen!
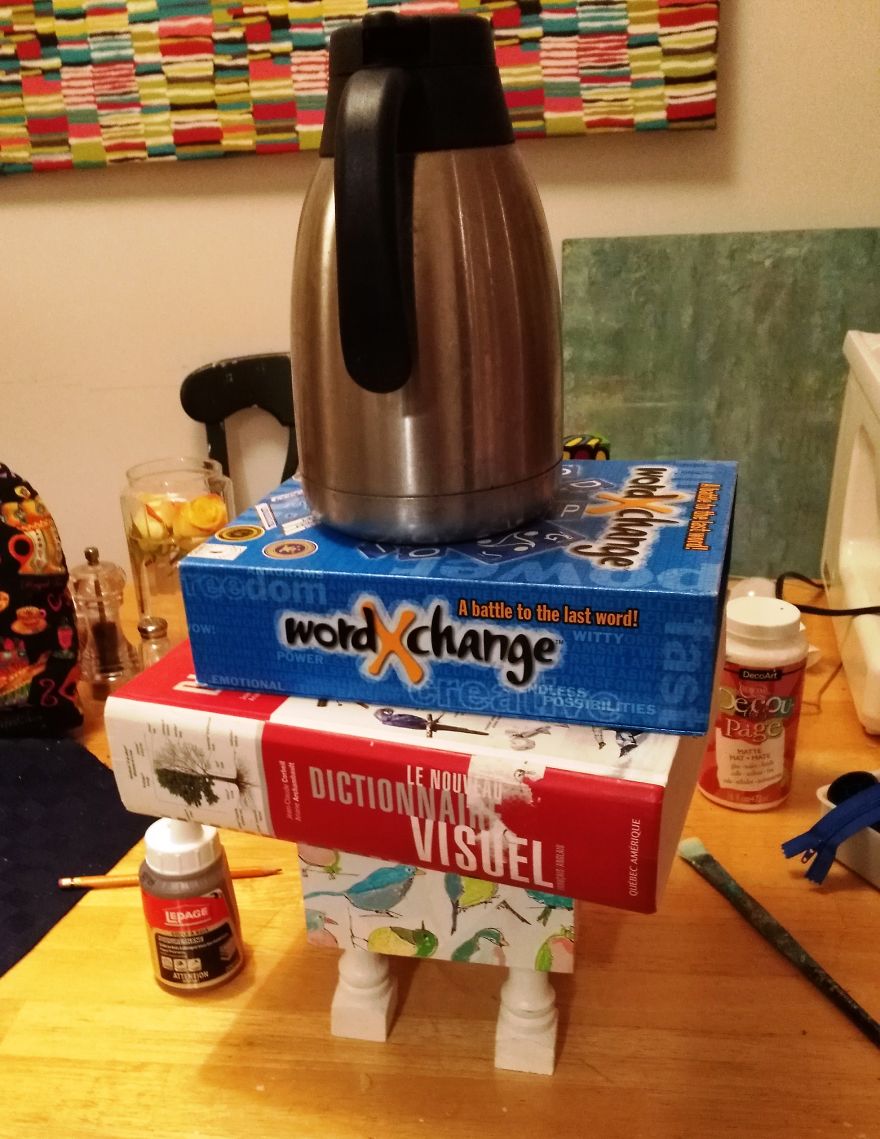
To make sure the feet are firmly attached to the box, I piled a bunch of heavy stuff on top!
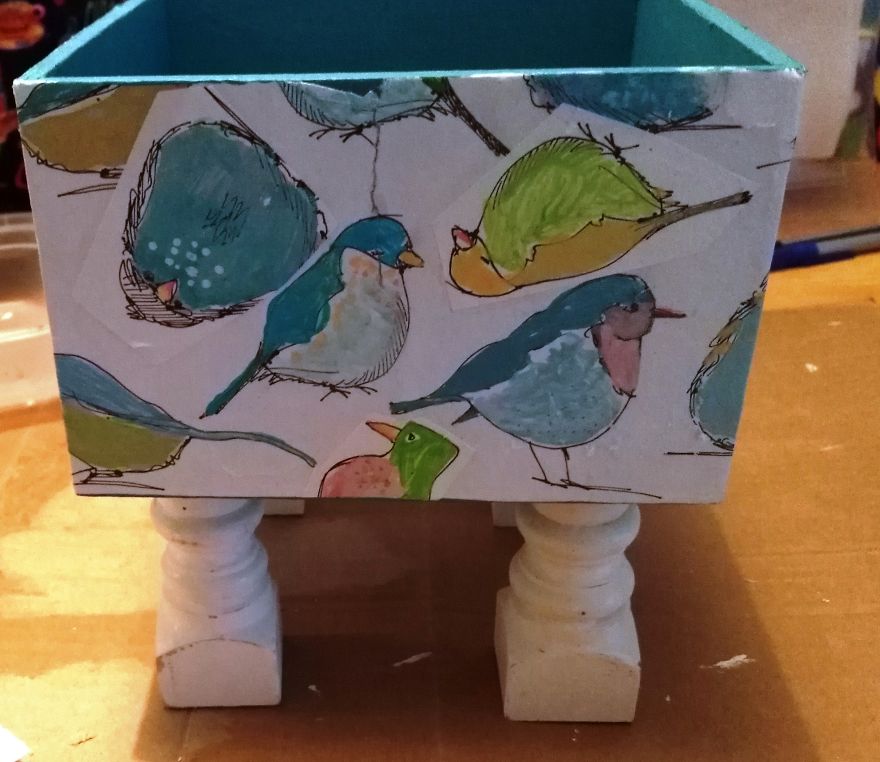
Here’s what it looked like with the feet attached
I used Modge-Podge to glue the paper to the box. A secret I learned from YouTube was to mist the wrong side of the paper with water before decoupaging. This helps prevent wrinkles!
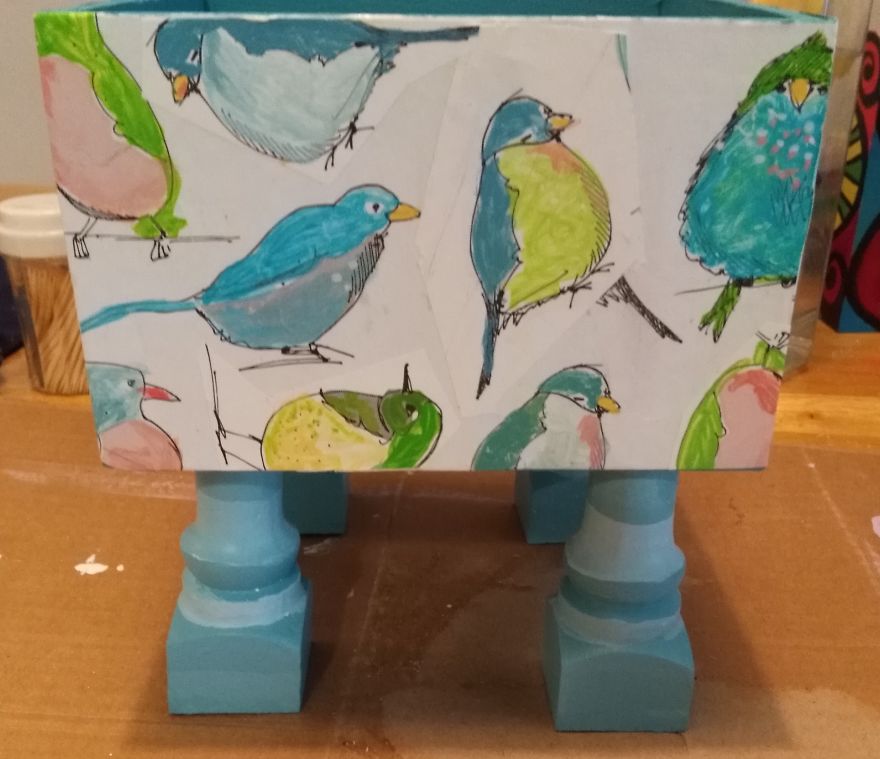
I originally thought to reproduce 2 of the blues that I’d used on the paper to paint the feet, but when I saw it like this, this color scheme seemed kind of blah. Needs more COLOR!
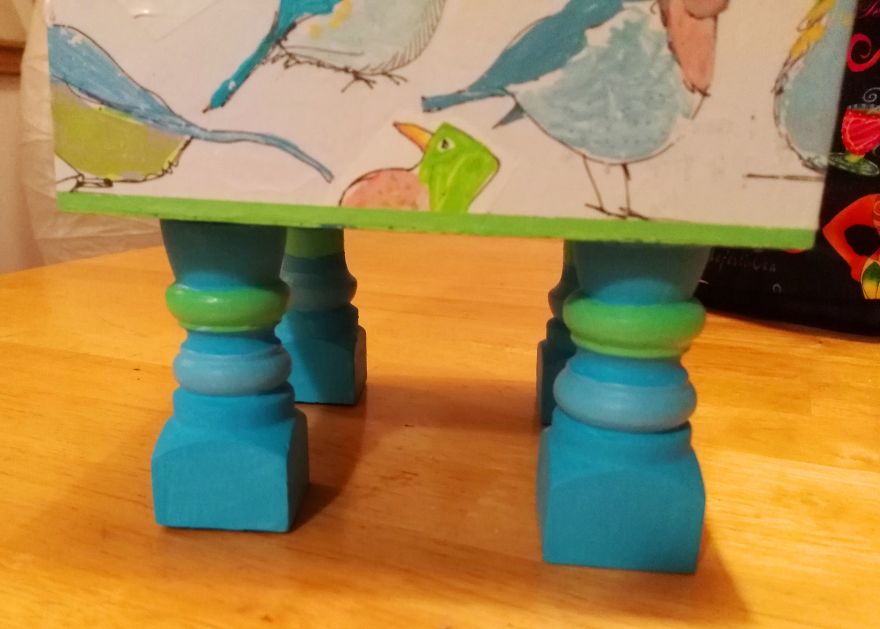
I painted the feet with turquoise, apple green, and light blue
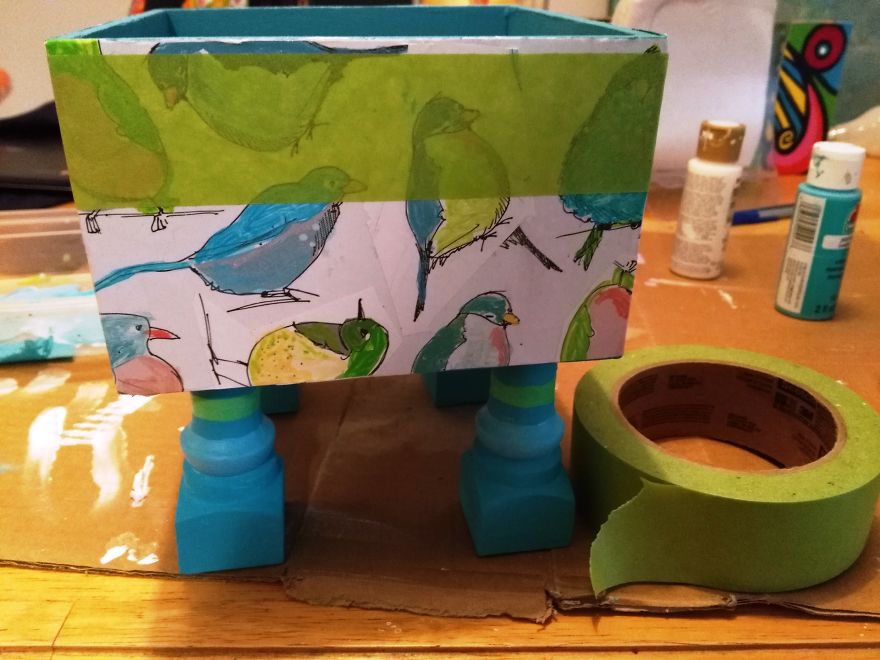
Once that was done, I was happy with the feet, but thought the box looked a bit unfinished. I decided to add stripes of spring green at the top and bottom of the box. I used painter’s tape to make straight lines.
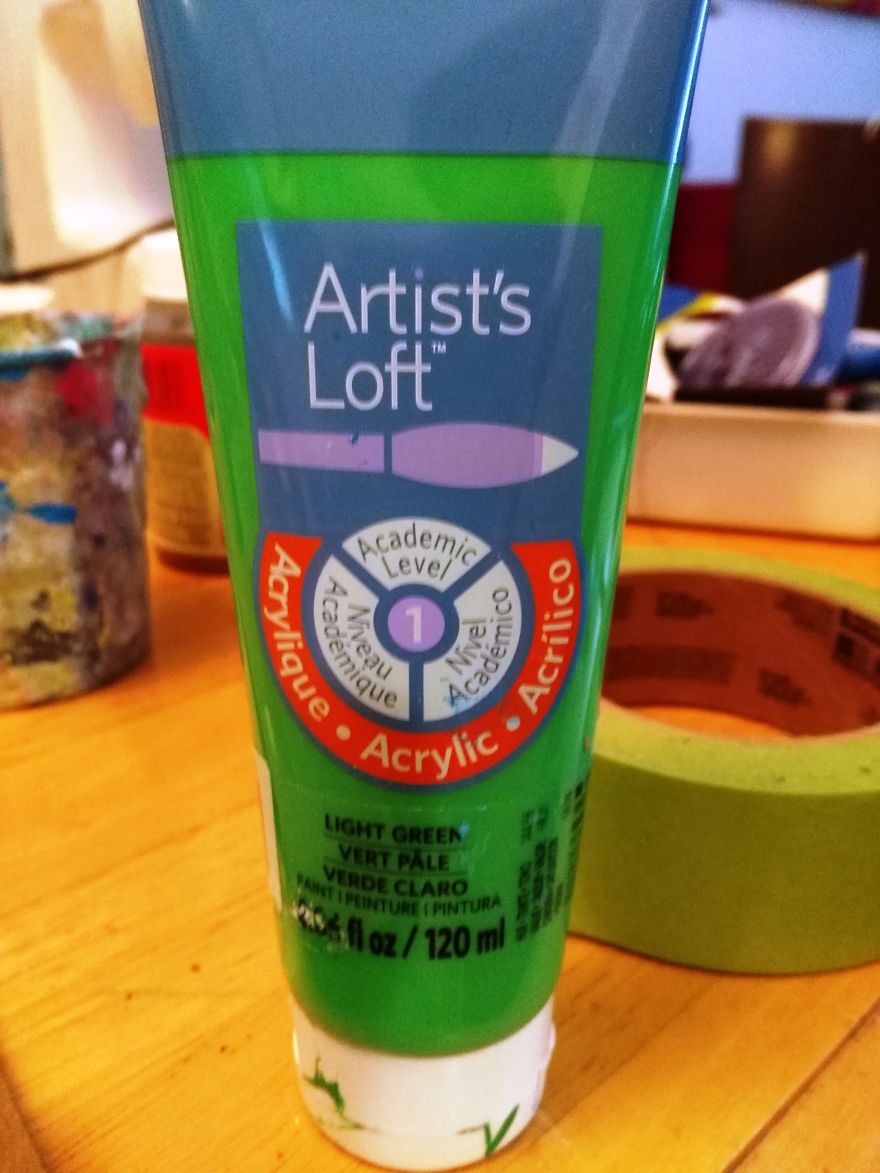
I mixed this green with a bright yellow and a bit of white for the stripes at the top and bottom of the box
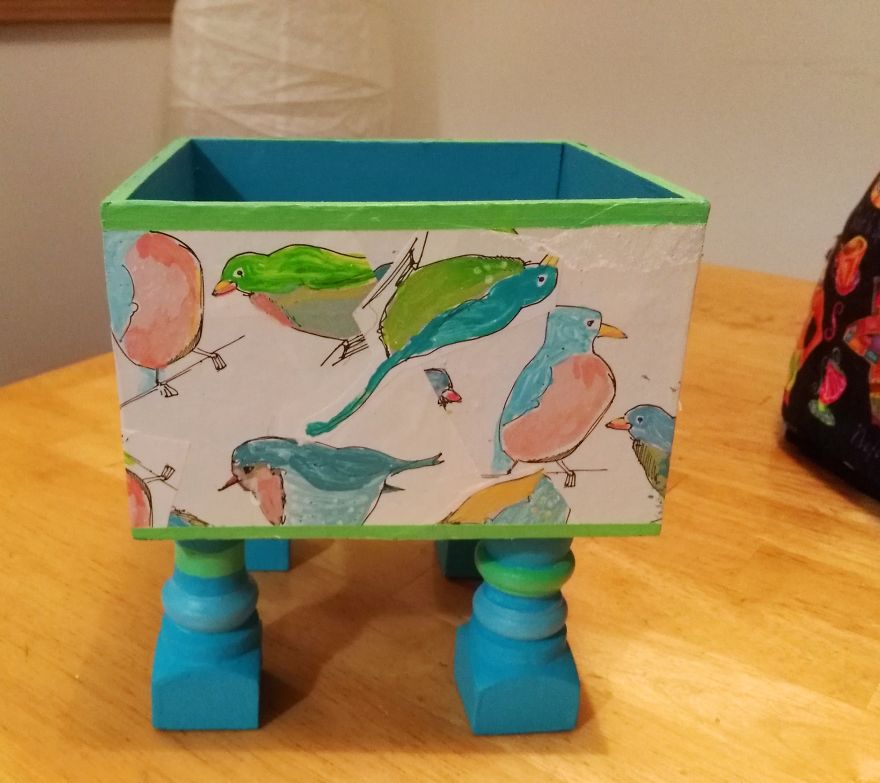
Finished box – 1st side
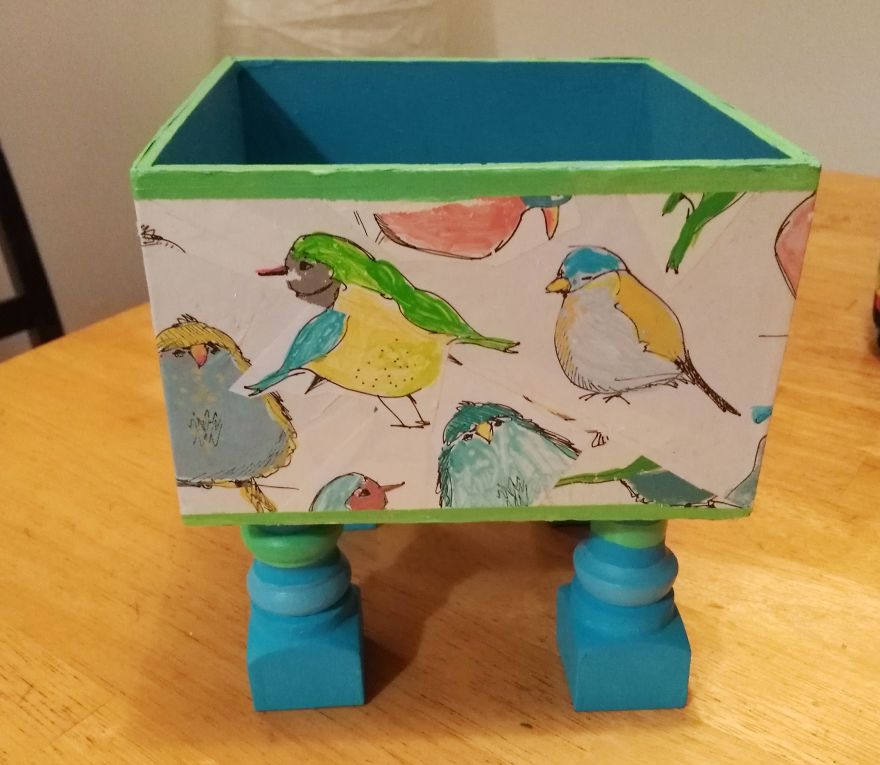
2nd side… in case you hadn’t noticed, the 2 spindles I used weren’t identical, so the “front” feet and the “back” feet are different shapes! I used carefully-placed stripes to make them match
3rd side
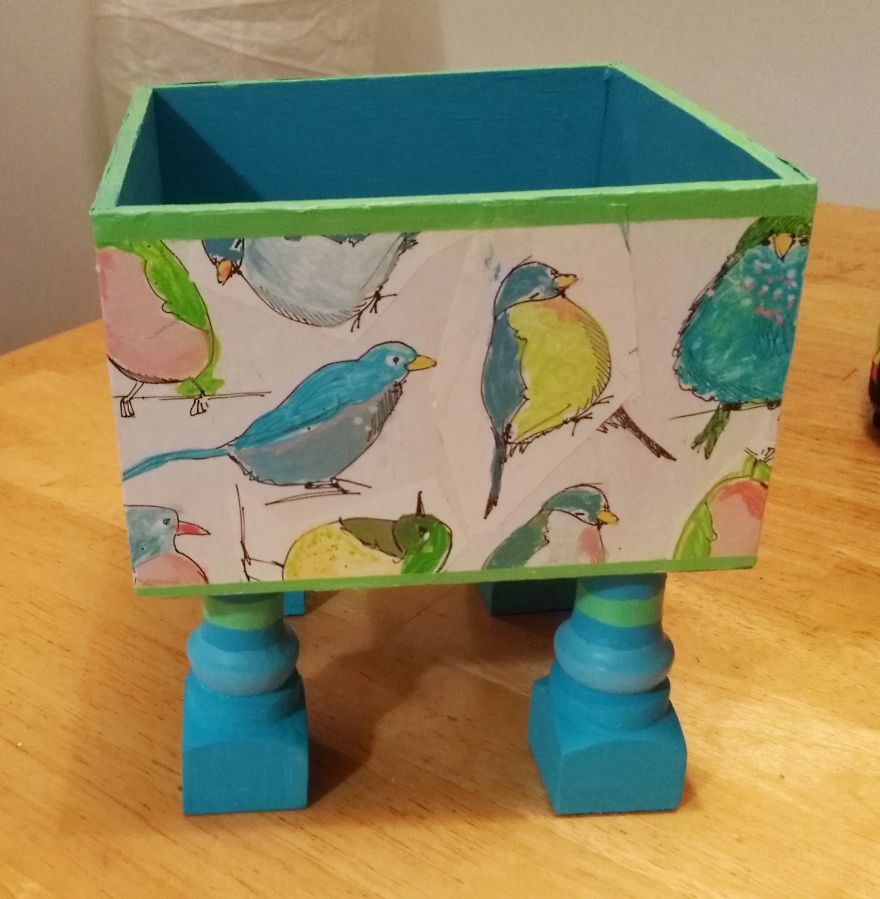
4th side
Closeup of the feet. I’m pretty happy with how this project turned out. Now all I have to do is Figure Out what to do with it! (Planter, maybe??)
See the video below:
2Kviews
Share on Facebook
 Dark Mode

 No fees, cancel anytime




















22
0