I Spent 3 Months Learning And Creating Some Keycap Sets Out Of Resin, Acrylic Paint, Ink, And Mica Powder (4 Pics)
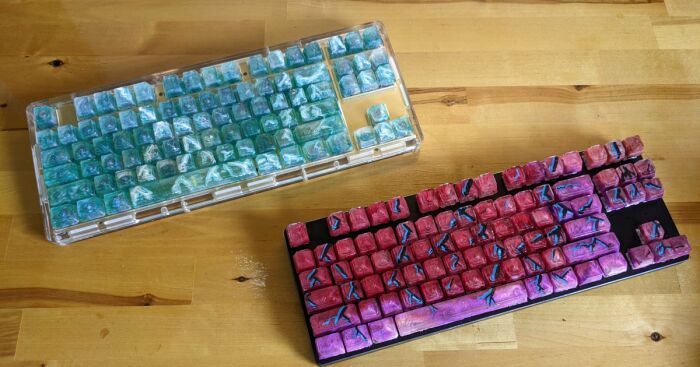
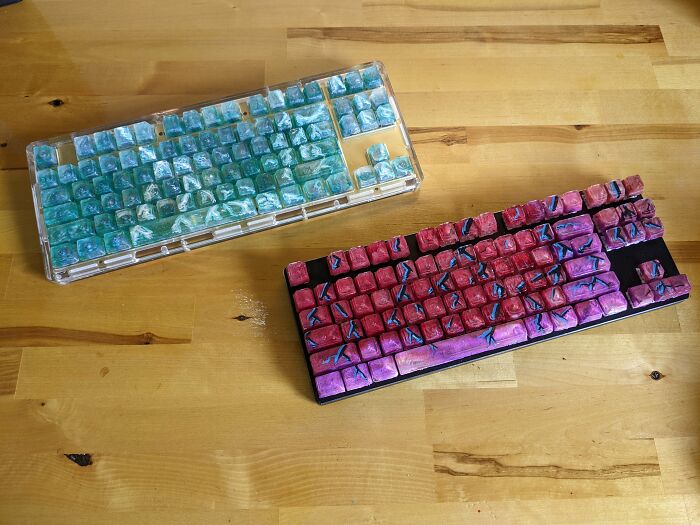
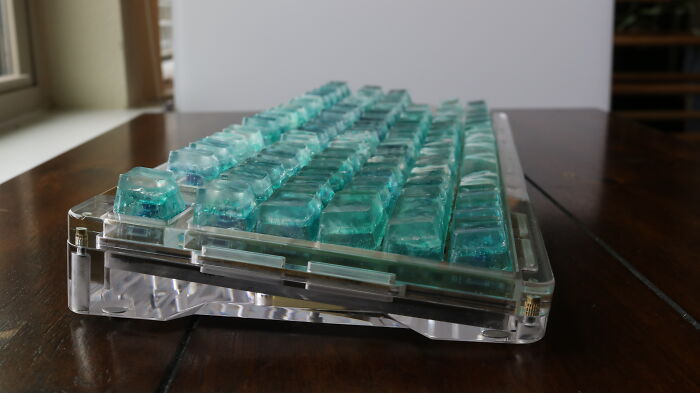
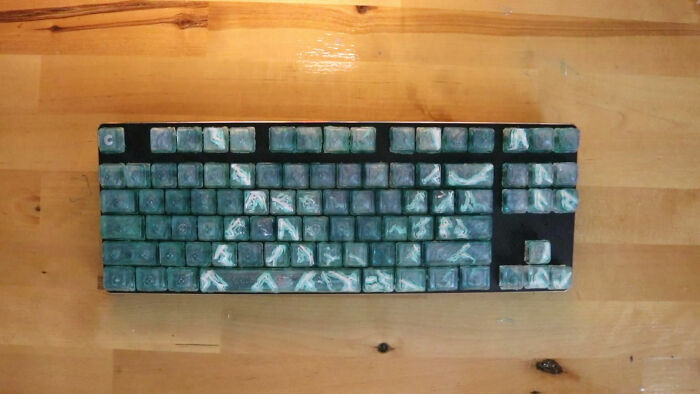
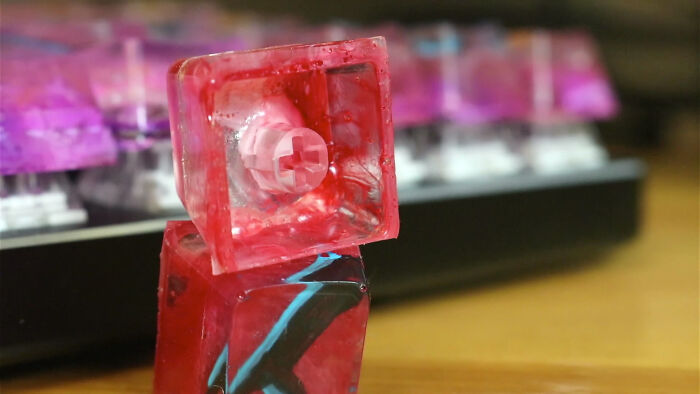
I used a custom silicone mold, epoxy resin, acrylic paint, resin dye, and mica powder. I call them “Marbled Lightning”. Which set do you like?
This is a guide on how you can make this keycap set. The cost is between 100 to 200 dollars per set. Every part of this can be difficult.
Choose the keycap profile that you would like to use.
I poured a little UV resin on the bottom side of the keycaps to give me more dimension to work with.
I created a single mold of the entire keyboard.
To do this, I had some plexiglass cut at lowe’s with the dimensions of an 80% keyboard. I attached the keycaps to some plexiglass using some clear craft glue. After all the keycaps were glued down I attached the sides of the plexiglass using hot glue.
When working with silicone you should: shake the catalyst before adding it, use the correct ratio of catalyst, and let it cure at the right temperature.
When mixing, you should try to use movements that don’t introduce bubbles. I used two containers of silicone for the first pour, and two for the second.
After letting it cure for 8-12 hours, it should feel firm to the touch. On the part of the mold that was on the top surface while curing, you may need to trim the edges a little bit.
Placing the keycaps back into the now overturned mold, I sprayed mold release onto the silicone and the overturned keycaps.
Now for the trickiest part of the mold-making process.
I definitely suggest using the same plexiglass container as you used in the first part of the mold, however, it will take slightly more precision and patience to make sure that it is sealing nicely.
Once you have created the second box and are ready to pour, make sure that all of the keys are properly seated, and begin mixing.
You will need to glob a little bit on every stem, and then use a toothpick to coat the inside of the stem and hopefully get all the bubbles out of the stem.
Pour the rest of the silicone into the keycaps, and start mixing the other half. After you pour the second container and pop some bubbles, it is ready to cure.
After curing, if you were able to seal the edges, it should just peel apart,
After the halves are separated, the fun now begins. Start with spraying some mold release just on the half that has the stems and let it dry.
Once that is dry, you can begin to mix the resin.
Using the plastic pipettes, glob some resin into the stem portion of the mold, and use a heat gun to heat up the resin, so that bubbles escape and flow easier.
You can use UV resin for the stems
I Pipetted the smallest layer of resin into the first part of the mold, just so that it touched each sidewall and I set these aside to cure for roughly 16 hours.
After they were cured I inspected them.
I ended up painting the keycaps with acrylic paint. If you mess up, it is easy to scratch up and doesn’t stick to silicone very well.
After I painted, I mixed the other 120 ml of resin, dropped in some alcohol-based ink, and poured it into the first half of the mold.
I filled each keycap mold with more than enough resin, as I wanted it to overflow each cell and push out bubbles.
After this is left for about 10 hours, the resin is mostly cured, hard to the touch, but can still be deformed a little.
I used UV resin to re-flow the voids and cure them into place.
More info: youtu.be
Which one do you prefer?
Resin keycap guide
1Kviews
Share on FacebookI like the blue one! You should definitely try something with a deep green or/and aqua.
I may try a deep green one eventually, someone had posted that I should maybe try a rocky, grey toned one, which I also think would look good. Maybe I should use green as the accent color there? Thanks for the input!
Load More Replies...Amazing! I love both, I could go either way! Lime green next??
I like the blue one! You should definitely try something with a deep green or/and aqua.
I may try a deep green one eventually, someone had posted that I should maybe try a rocky, grey toned one, which I also think would look good. Maybe I should use green as the accent color there? Thanks for the input!
Load More Replies...Amazing! I love both, I could go either way! Lime green next??

 Dark Mode

 No fees, cancel anytime
























24
4