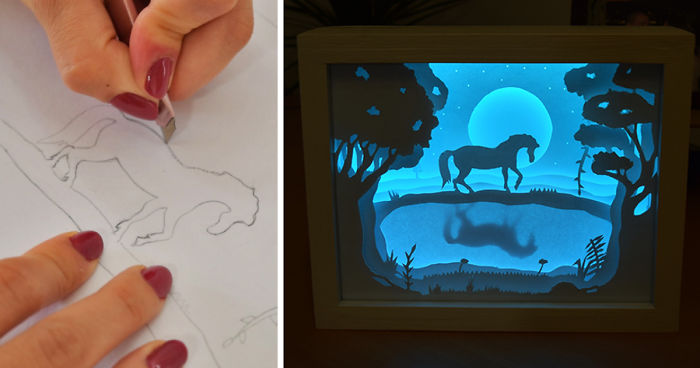
I Made A Magical 3D Paper Cut Light Box
When I saw the paper art creations by the artists Hari and Deepti, I was inspired to make a 3D paper cut-out lightbox.
It can be used as unique home decor, or a beautiful wedding or birthday gift. You can place it on a desk, or even mount it on a wall and enjoy the hypnotizing beauty of shadow art.
This lightbox (or a shadow box) is made out of paper cut-outs layered on each other in a wooden box and protected with a glass panel.
LED lights are placed behind all the layers, which makes each layer glow. The layer in the front has the darkest shadows, and the layer in the back is the brightest one because it is placed closest to the light, and this actually gives the three-dimensional look of the box.
Here I’ll show you how I made this DIY project step by step.
More info: creativityhero.com
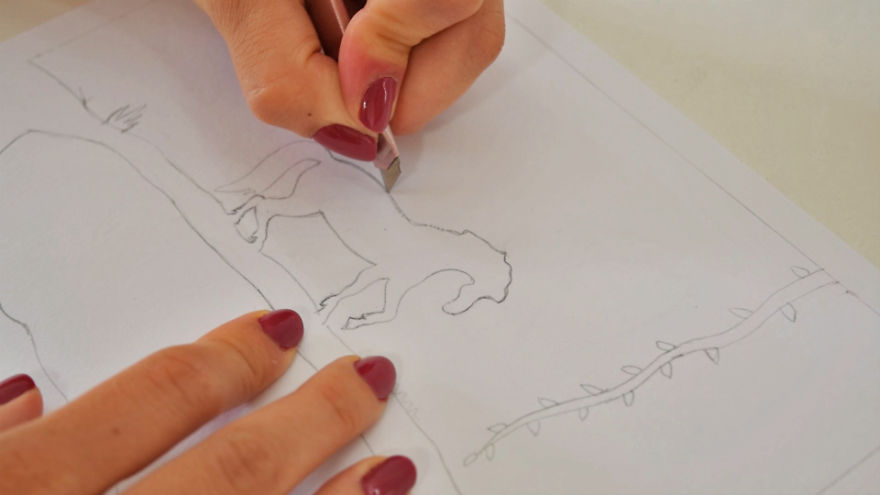
First, I’m drawing the layers onto a 170 grams card stock
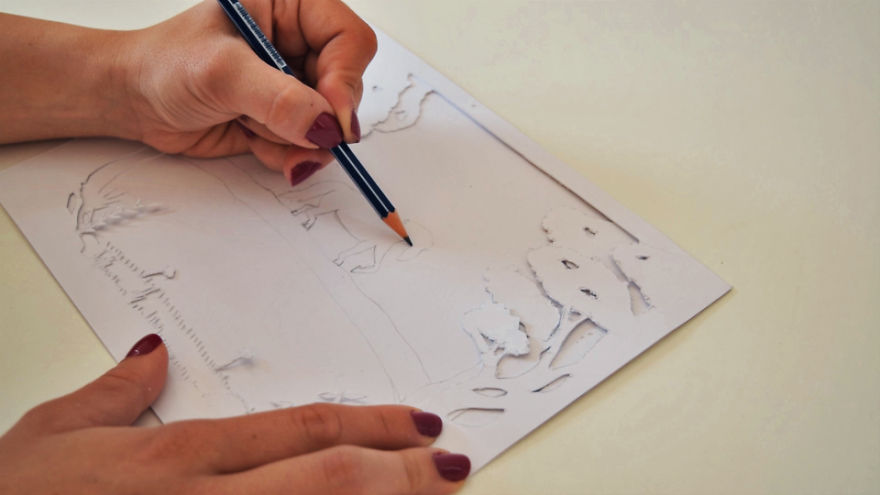
Then, I’m cutting the layers using an Utility knife
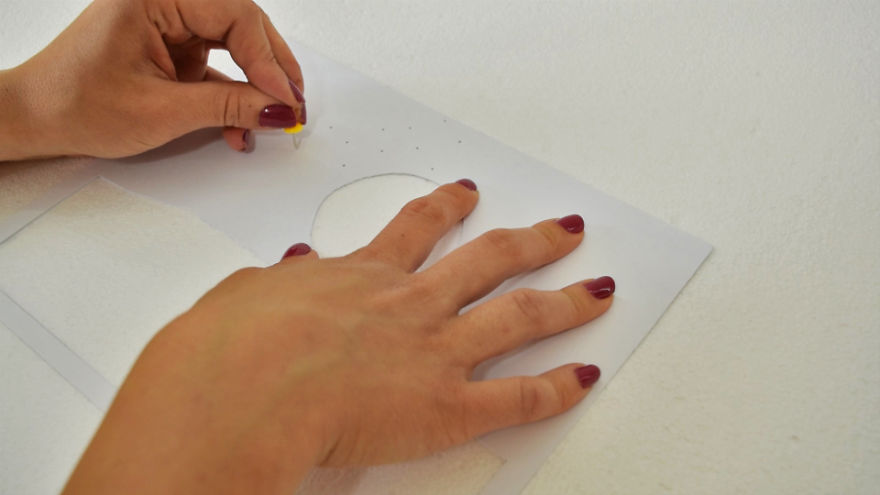
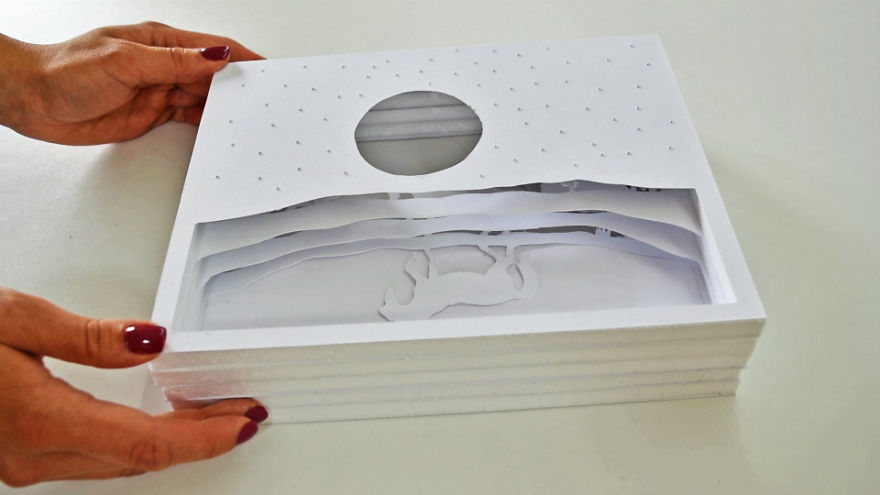
Making a moon and stars onto a piece of card stock
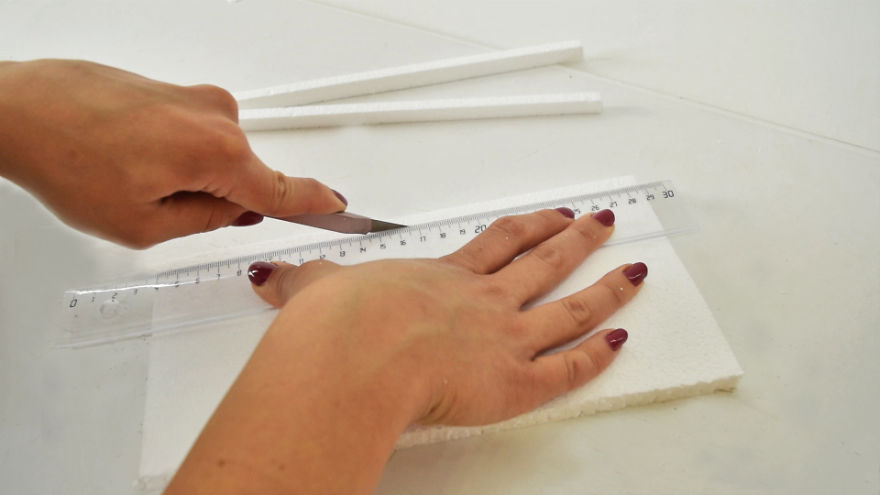
Cutting foam spacers that I’ll place between each layer
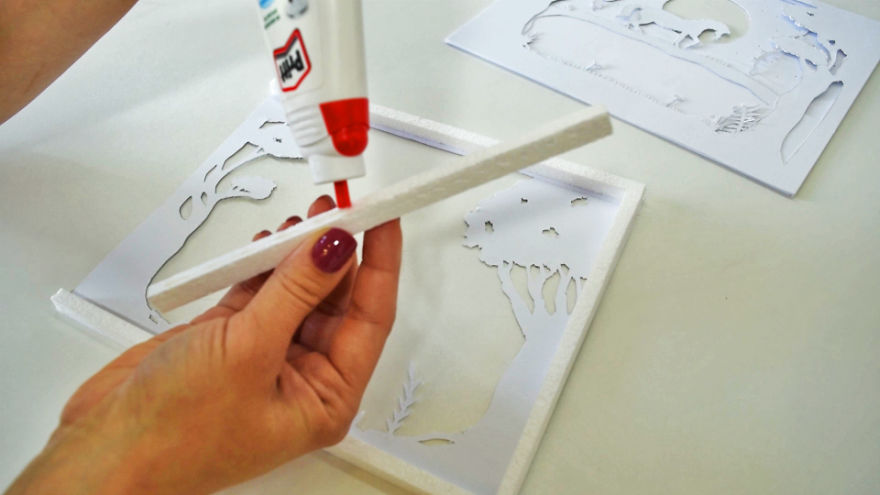
Gluing all the layers together along with the spacers that I previously cut
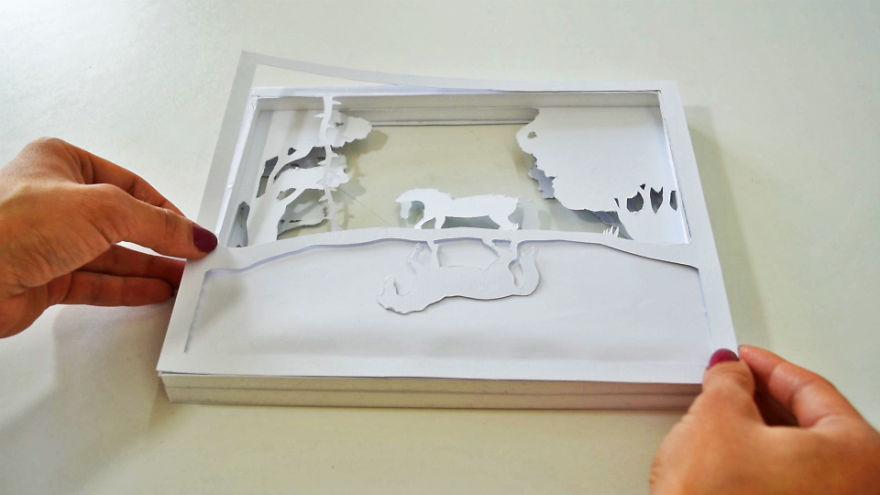
Creating a water reflection effect
Attaching the last layer (there are 8 in total)
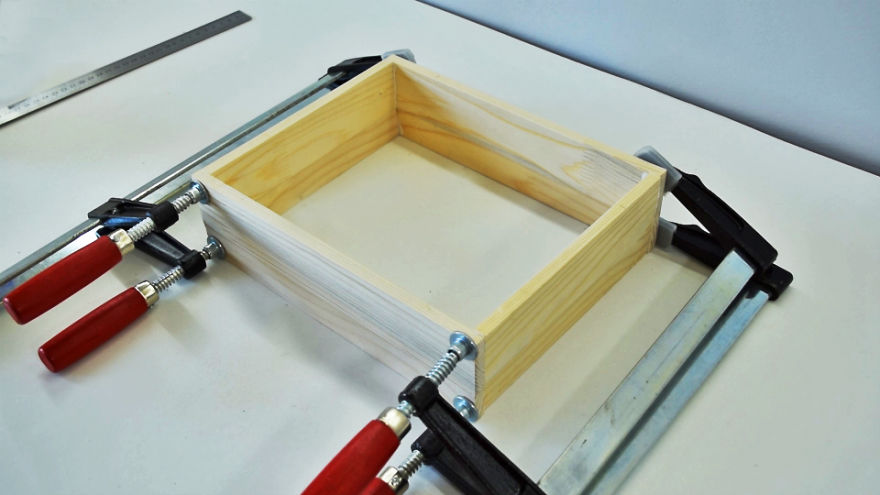
Building a wooden box and making a frame inside the box to keep the glass panel in place
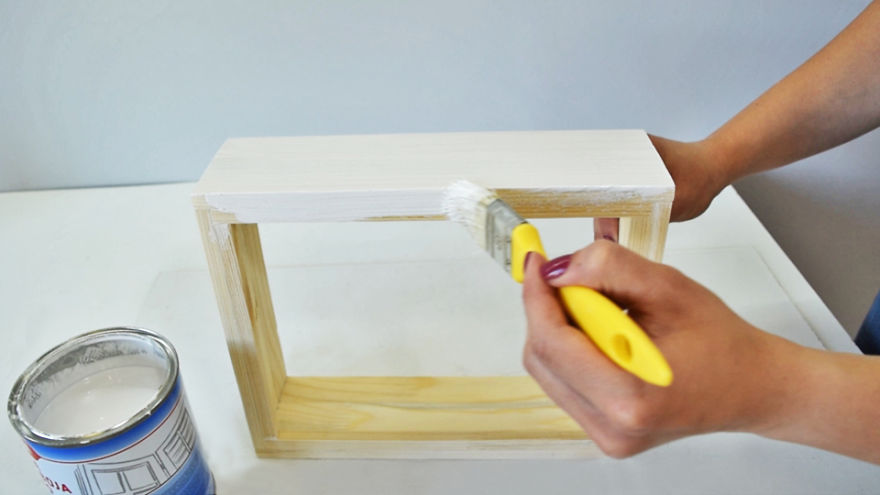
Painting the wooden box with a white oil based paint
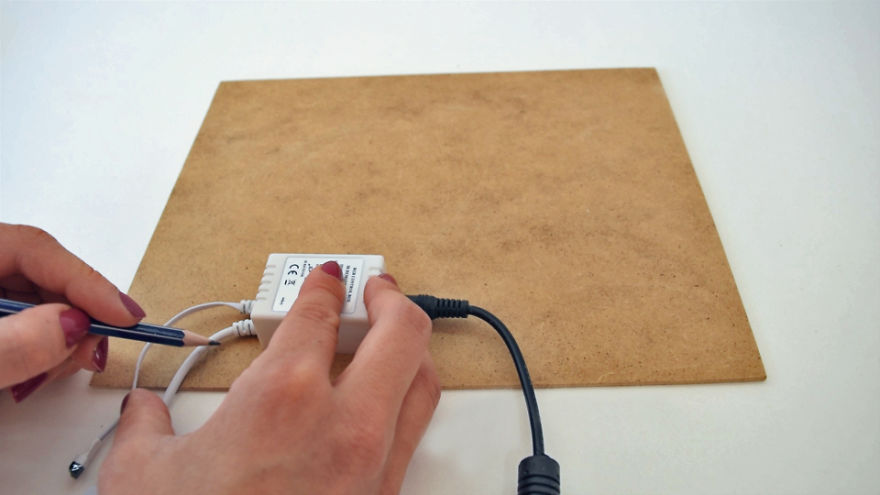
Making a back for the light box out of fiberboard
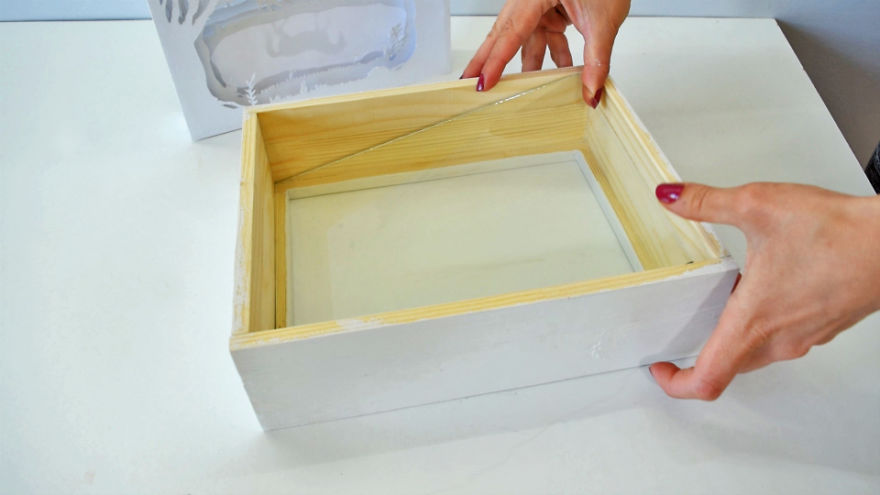
Placing the glass panel inside the box that will act as a support for the layers
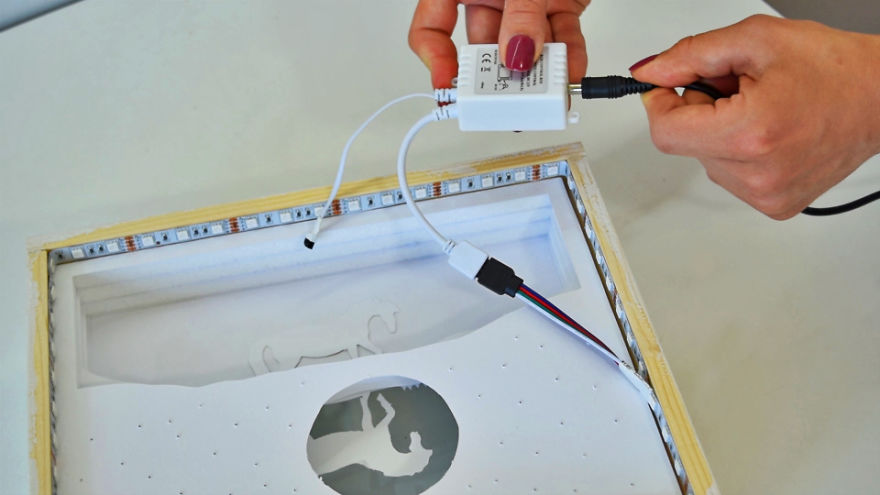
Attaching RGB LED strip lights to the back of the box
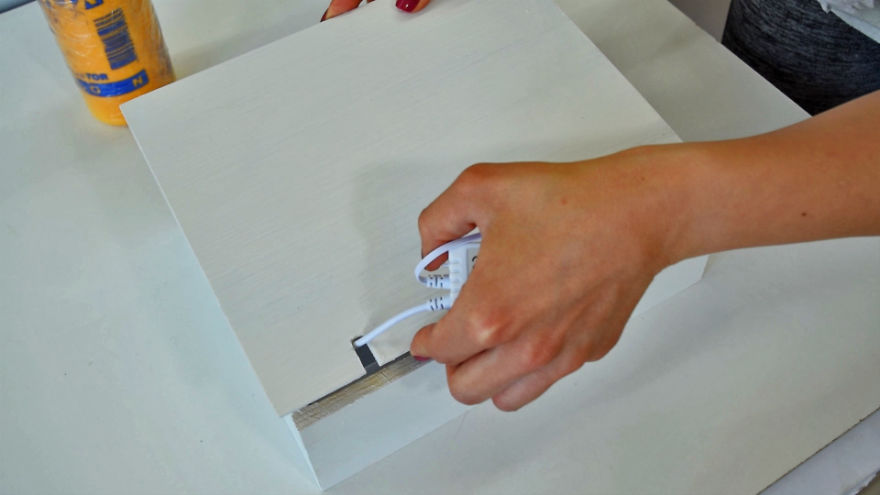
Gluing the back piece down
Turn your light box on and enjoy its hypnotizing beauty!
Watch the entire process of creating this wonderful light box:
4Kviews
Share on FacebookGreat job! I have been focusing on your wood working table project on youtube(my boyfriend designed his workbench base on your design) , when will the next video come up? Looking forward to it!!!
I'm really happy to hear that. Currently I'm working on my next video, and l'll upload it tomorrow. :)
Load More Replies...Great job! I have been focusing on your wood working table project on youtube(my boyfriend designed his workbench base on your design) , when will the next video come up? Looking forward to it!!!
I'm really happy to hear that. Currently I'm working on my next video, and l'll upload it tomorrow. :)
Load More Replies...
 Dark Mode

 No fees, cancel anytime

























68
5