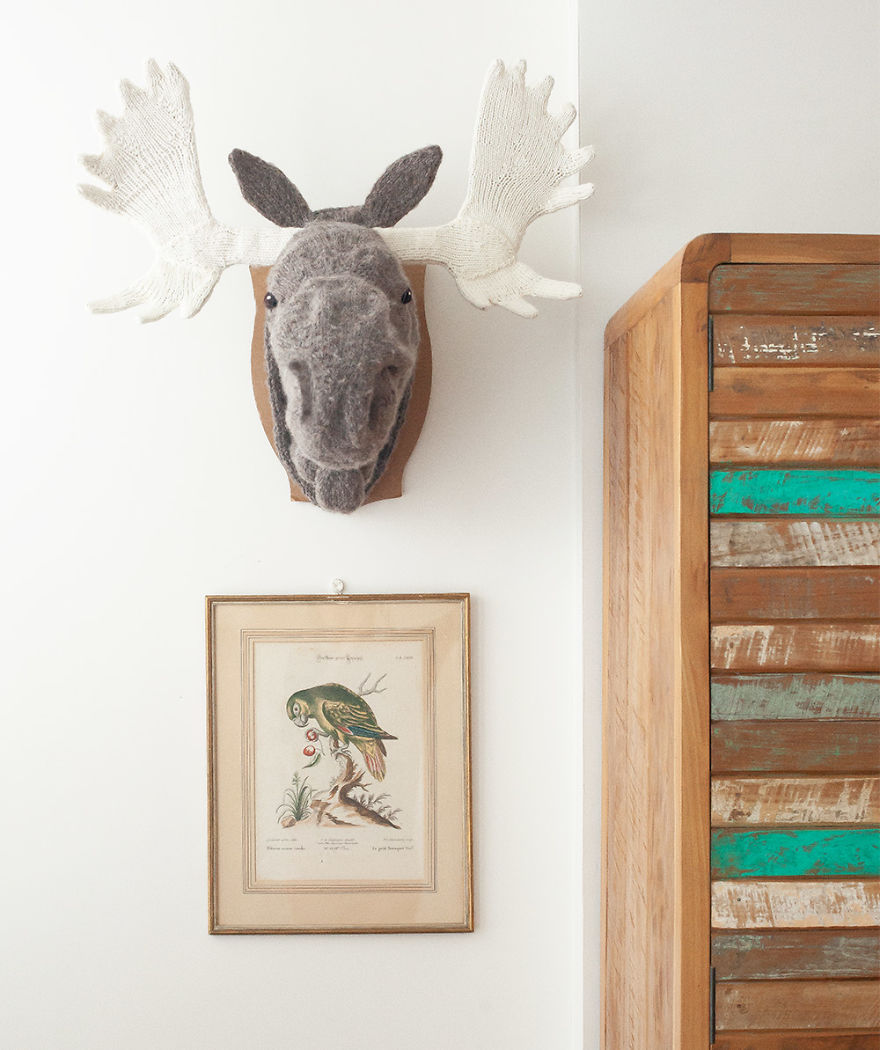
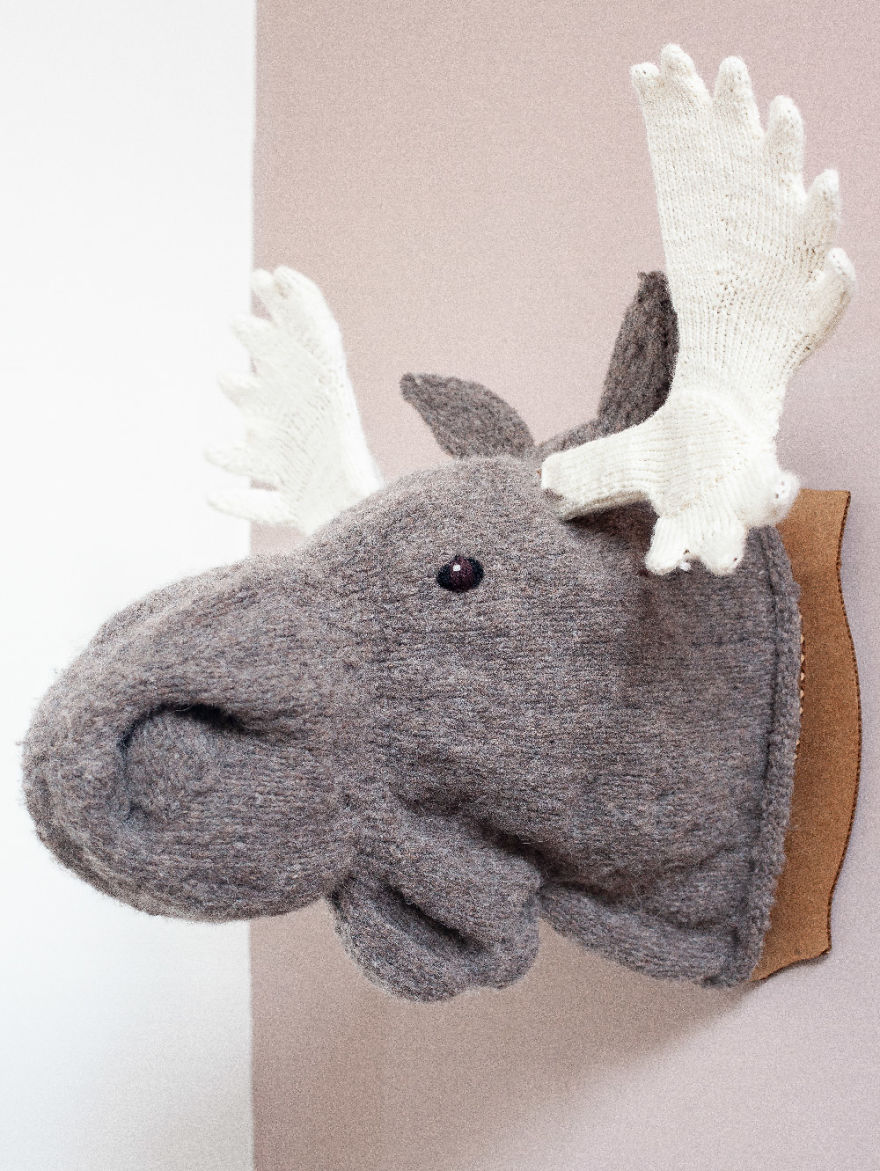
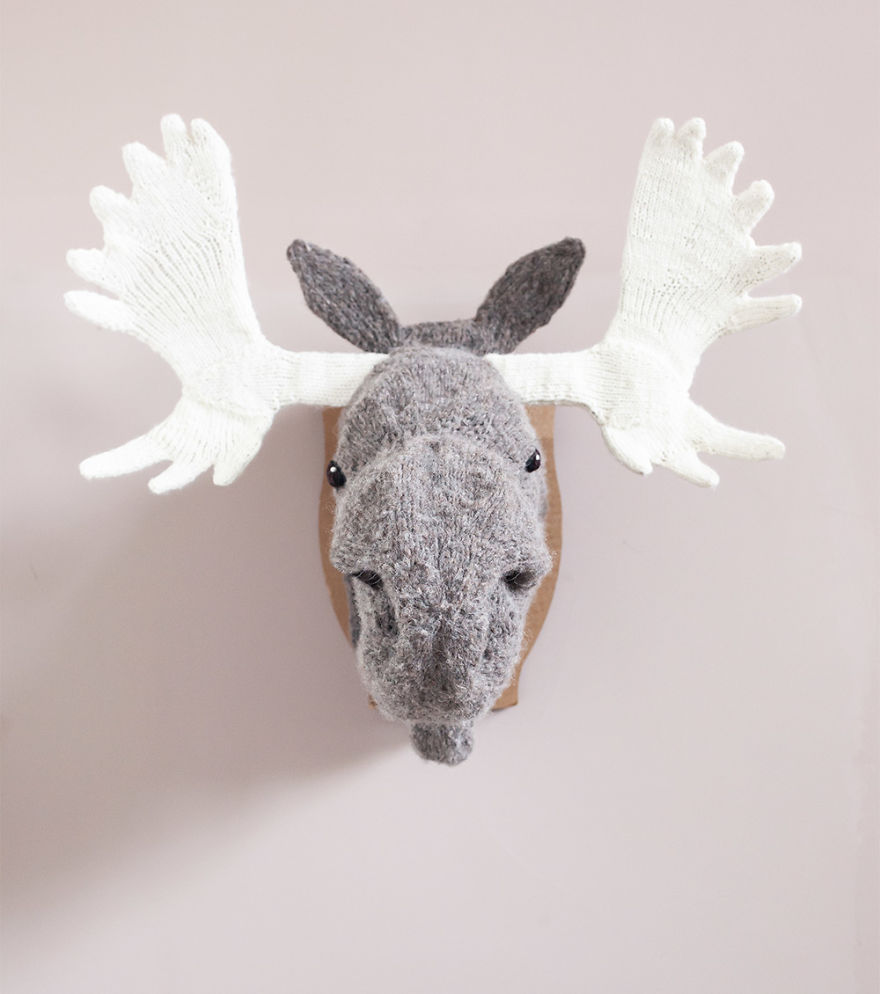
My cousin asked for a knitted moose head for her wedding present. I’m not sure how serious she was but I thought I would take her up on the challenge…
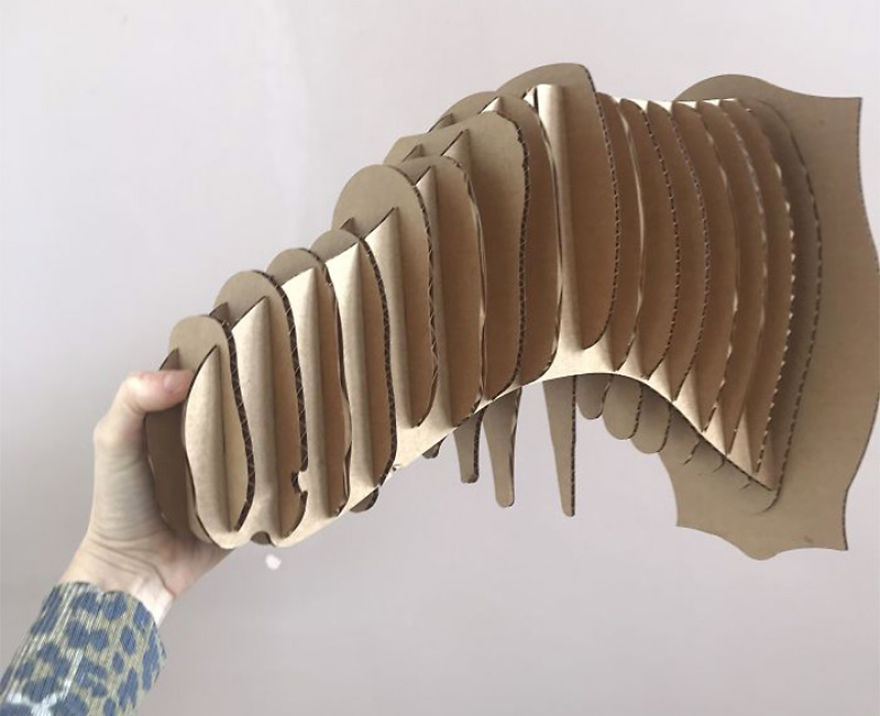
I found a basic shell made of cardboard slats on eBay (they really do sell everything!). I needed a solid base so it would hang on the wall and have the antlers stay up.
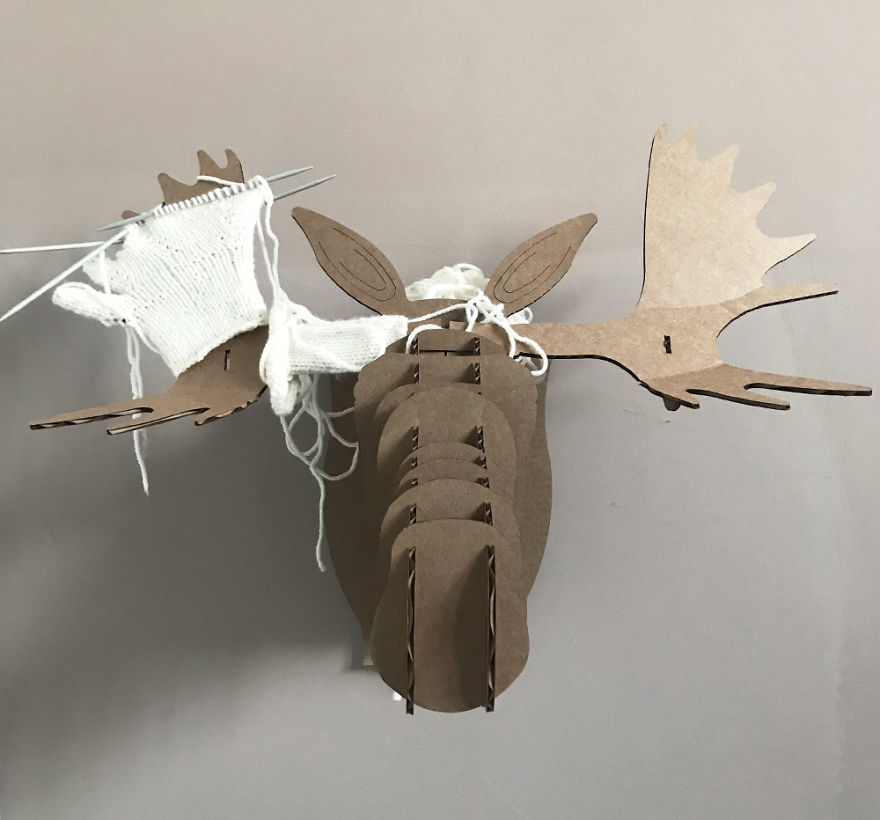
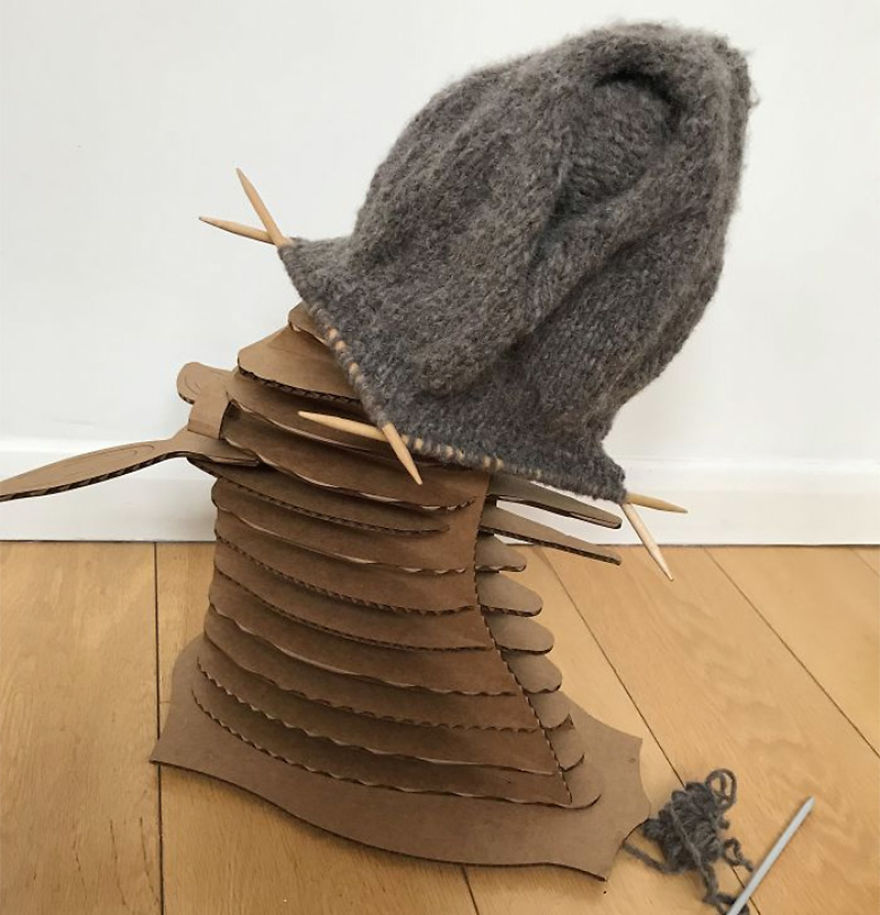
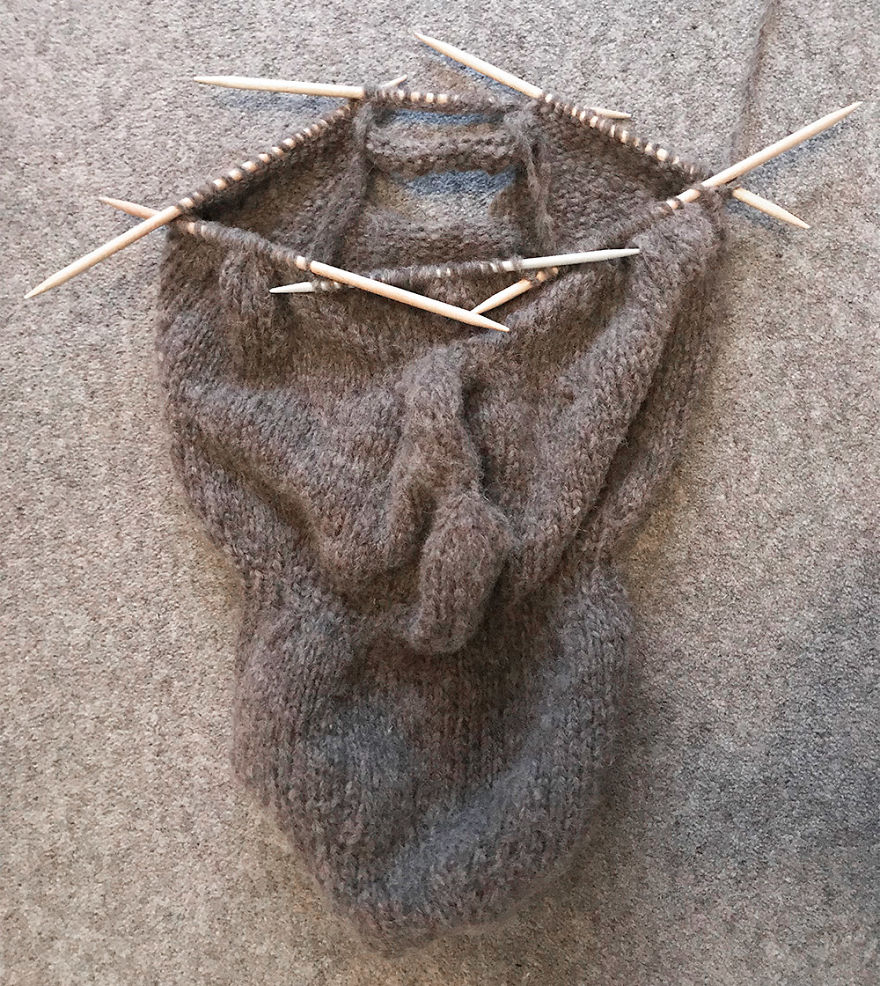
I created the entire piece by knitting directly over the shapes with multiple needles. I used methods of increasing and decreasing stitches as I go to create the right shape.
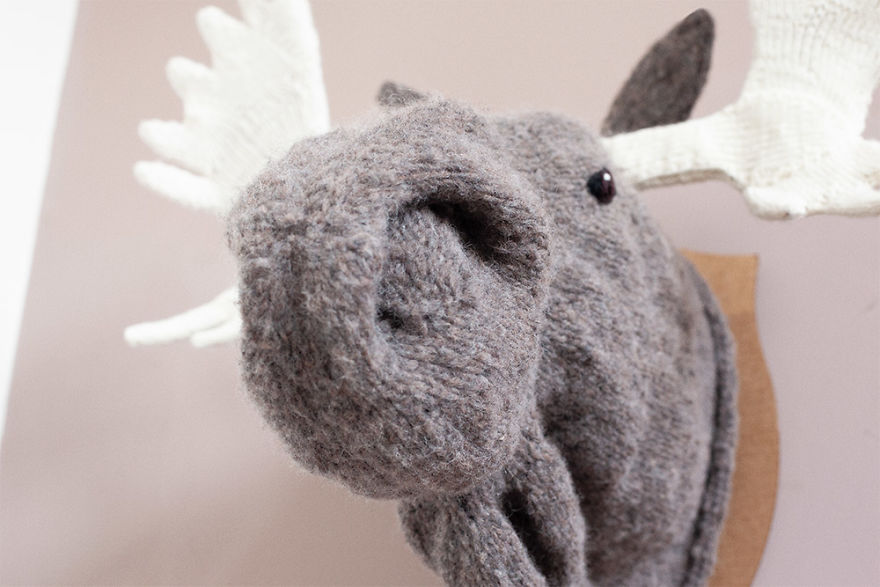
I created large, reverse bauble stitches carried over multiple rows to shape the moose’s signature nostrils and increased and decreased stitches to shape the chin piece (which is technically called a bell or dewlap).
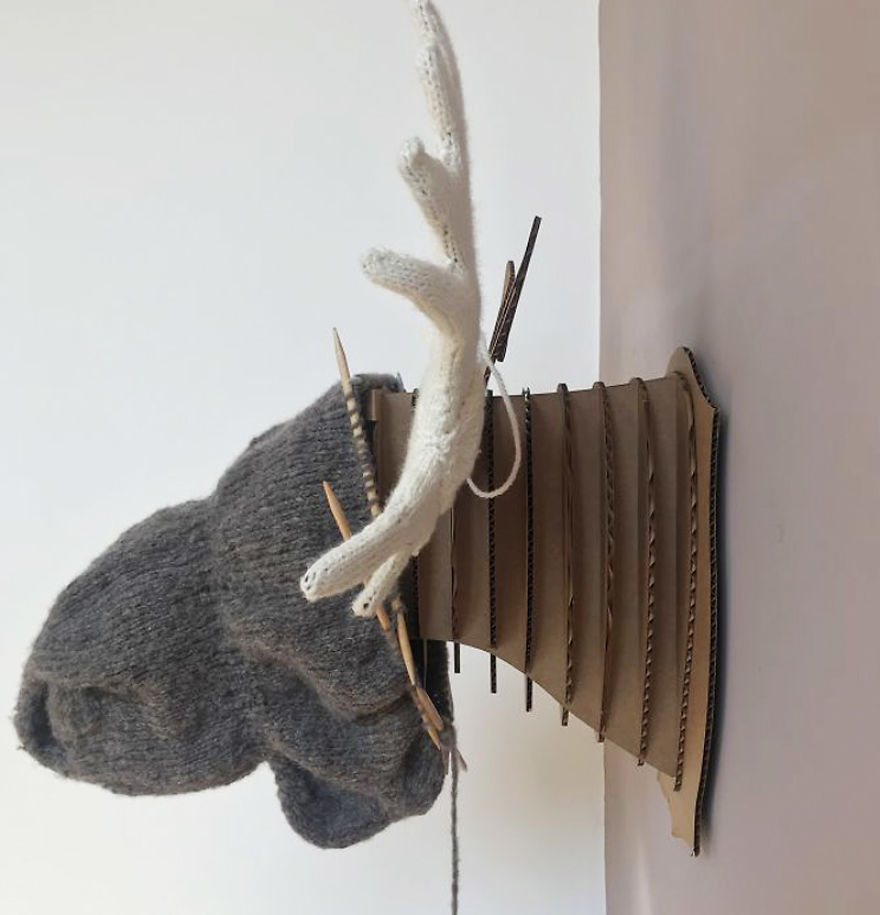
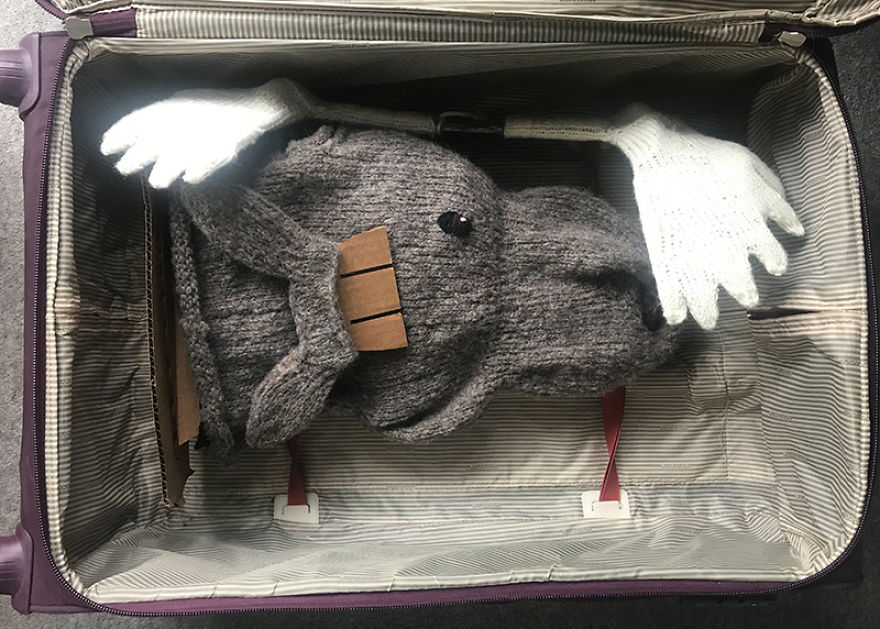
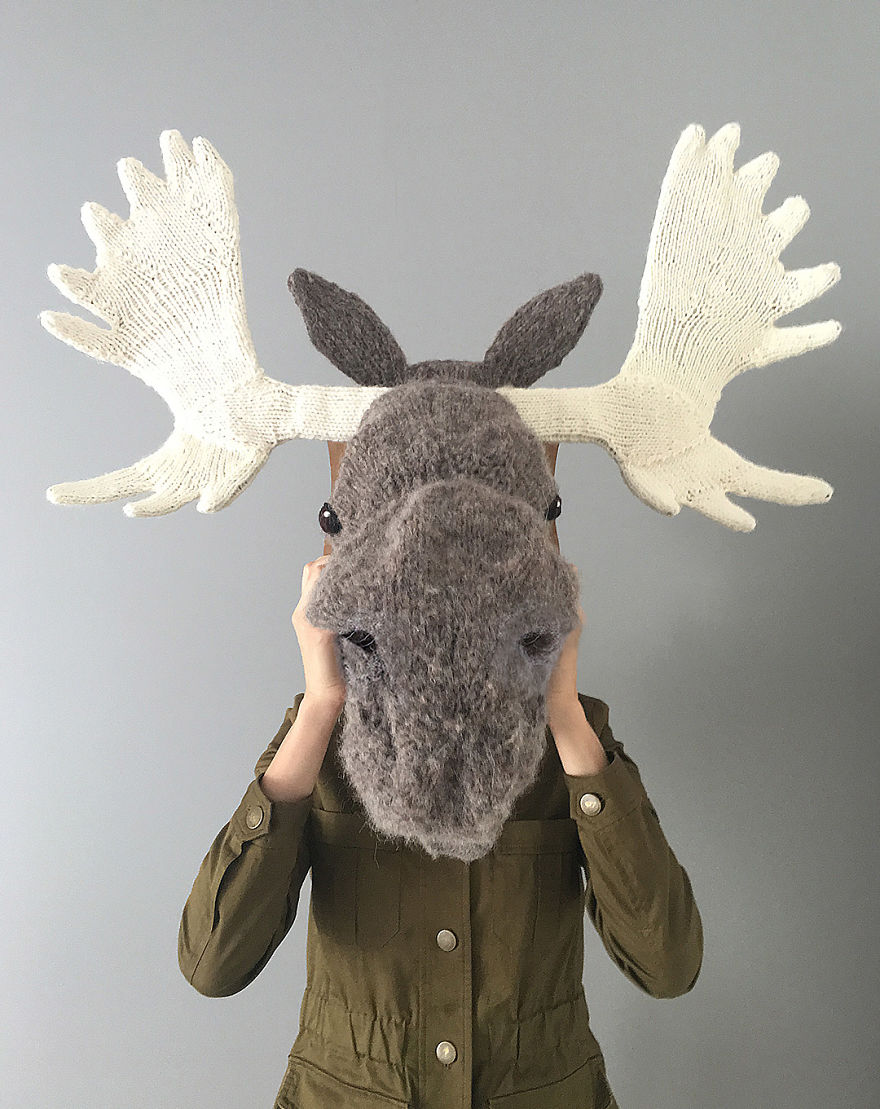
I have to bring this in luggage from the UK to Newfoundland and I imagine my cousin will need to transport it more easily herself so I have left it with the antlers and ears as removable pieces. I made two slots to fit the antlers and ears on the top. I did this by casting off and then re-casting on stitches to create an opening.
Finally, I stitched the eyes on. I used thick wool and layered it to give them a three-dimensional feel. I also added a white fleck to bring them to life.
I am very pleased with the overall result and now I am making one for myself! Hope you enjoy!
More info: Instagram
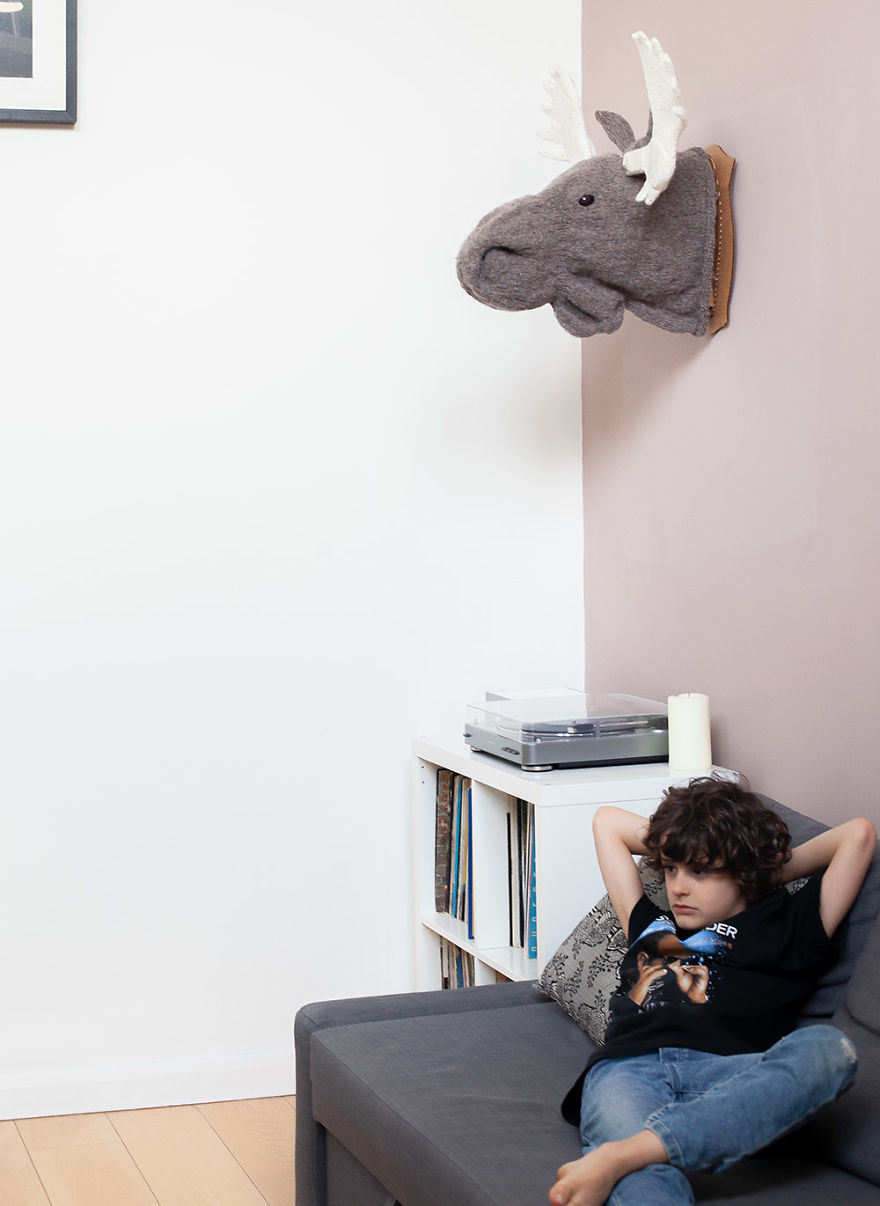
Oh, hi. Here’s a knitted moose head I made from scratch as a present for my cousin
It started with a cardboard base I found on eBay
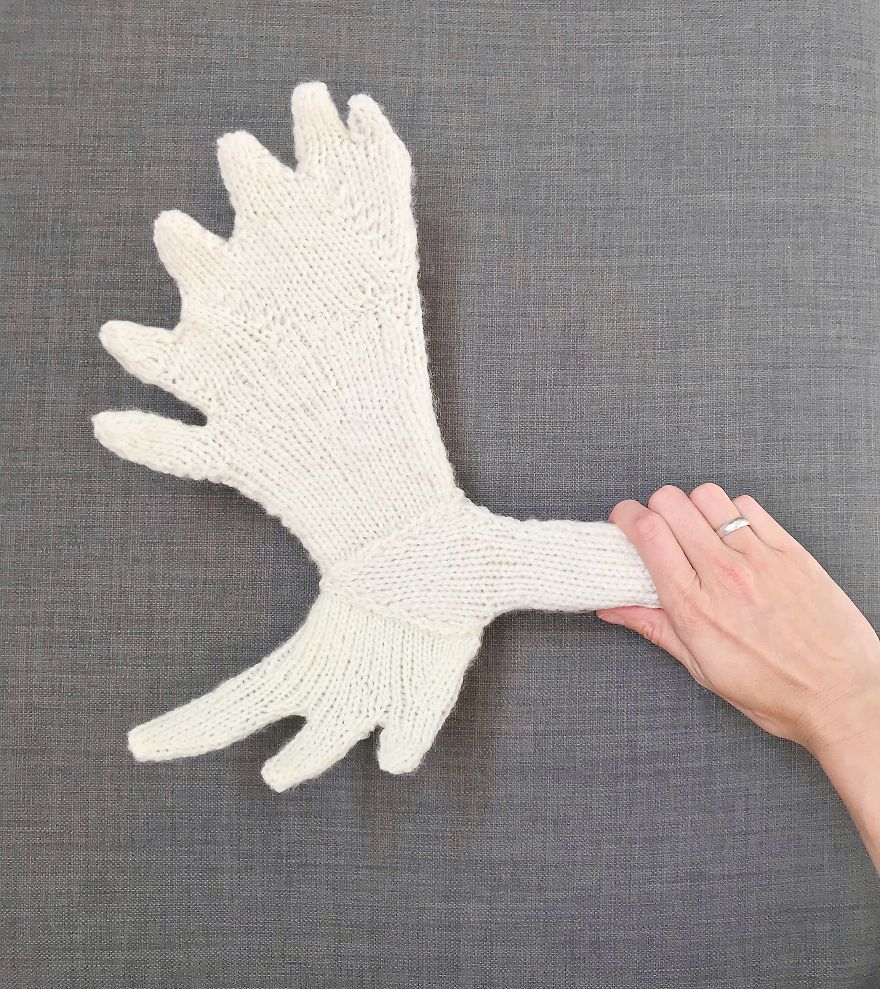
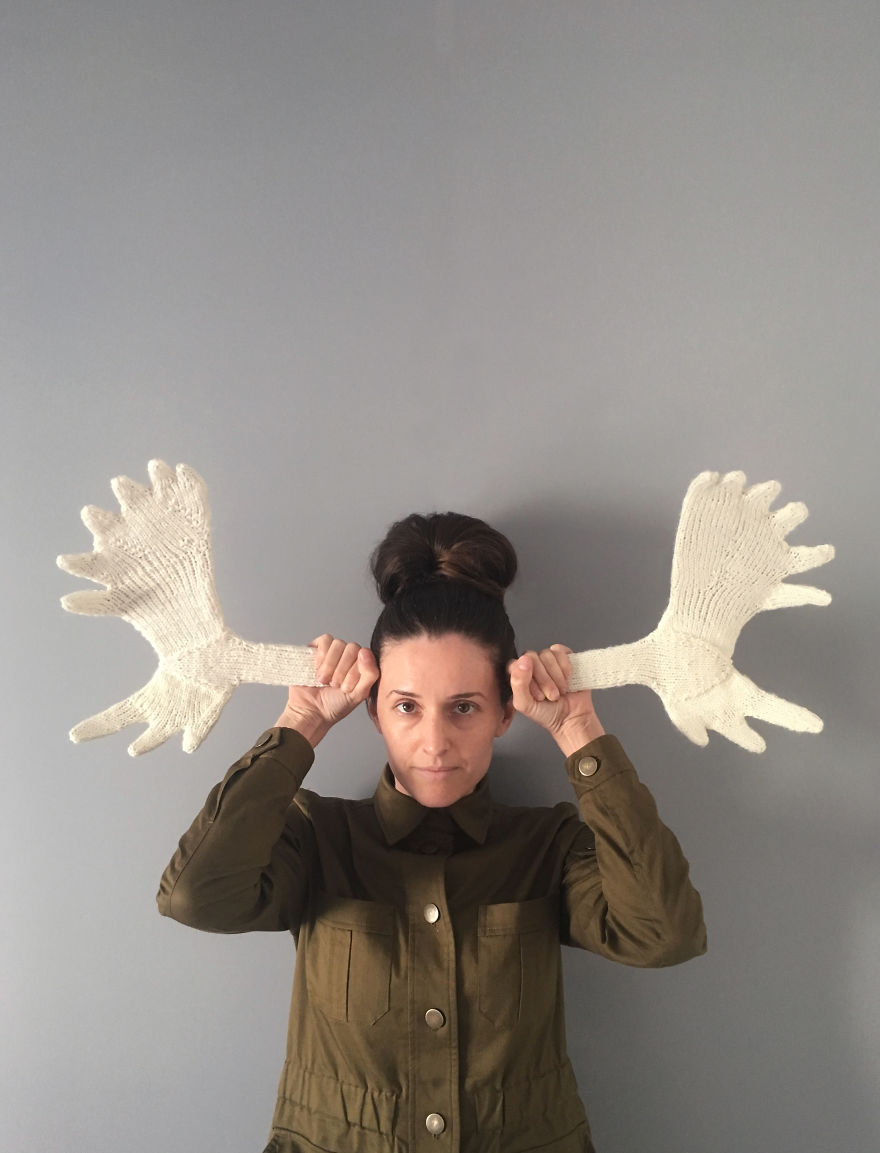
I knit the antlers using four needles directly around the cardboard as I went. I shaped it using increasing and decreasing stitches
That resulted in a perfect fit with no need to sew anything together
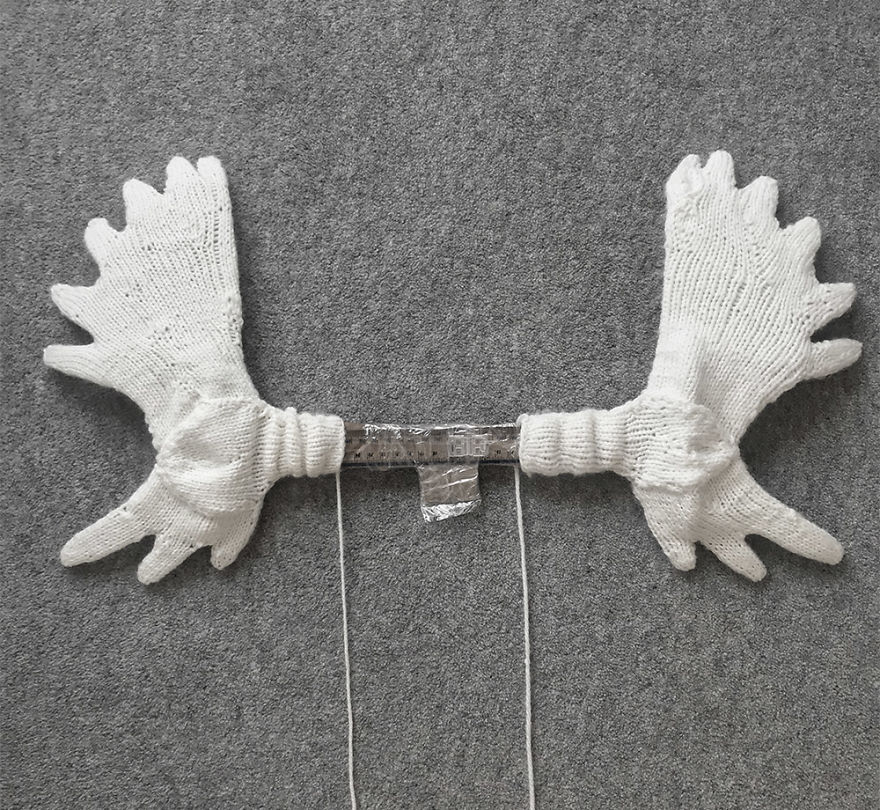
The antlers were two separate pieces…
I joined and reinforced them with a ruler and tape
I also knit the head directly onto the shape with multiple needles, shaping as I went. I created large baubles but in reverse to make a nostril stitch
I increased and decreased stitches at the bottom to make the floppy chin (technically called a bell or dewlap)
I made two slots to fit the antlers and ears in the top
I stitched the eyes on using thick black and brown wools with a small white fleck
I layered stitching to give them a slightly three-dimensional feel
I’ve left the antlers and ears as removable pieces so I can transport the gift from the UK to Newfoundland!
It’s very easy to assemble
And hang anywhere
Bye!
1Kviews
Share on FacebookAww thank you! Not yet but I have a website where I do sell things time to time :) karlacourtney.com <3
Load More Replies...I’m not taking orders (yet) but I’ll share the pattern when I’ve perfected it! I’m on Instagram @karlacourtney xo :)
Load More Replies...Hello! Thank you 🥰 it took a few weeks of regular knitting all night after work! The antlers took longer than the head as I used finer wool and it was fiddly shaping them!
Load More Replies...Aww thank you! Not yet but I have a website where I do sell things time to time :) karlacourtney.com <3
Load More Replies...I’m not taking orders (yet) but I’ll share the pattern when I’ve perfected it! I’m on Instagram @karlacourtney xo :)
Load More Replies...Hello! Thank you 🥰 it took a few weeks of regular knitting all night after work! The antlers took longer than the head as I used finer wool and it was fiddly shaping them!
Load More Replies...
 Dark Mode

 No fees, cancel anytime












49
8