
I Have No Opportunity To Photograph A Real Rocket Launch, So I Made My Own With LEGO
Watching a rocket launch live must be a breathtaking experience. I hope I will have a chance to see it at least once, but I can't wait until then, so I made a miniature version with practical effects.
I am an amateur space junkie. I love space science, especially the Moon landing. I even make educational videos about it from a photographer’s perspective. I have had sooo many arguments with people who say the Moon landing was a hoax… But I have patience, and I tell and describe to them for the 789th time how it was.
I am really passionate about this; it’s fascinating how people in the Apollo program could achieve this almost impossible challenge. And now we do it again, but at the next level! In their honor (the scientists, astronauts, engineers, programmers, and many more), I put every bit of knowledge and energy into this photography project. I wanted to make something “WOW” that is worthy of this mission.
Of course, I did my research to understand what the Artemis program is all about. Why we go back, how we go back, and what the long-term plans and goals are. Really exciting. The Artemis program is actually the first step to landing on Mars. Long story short, the Artemis program’s main goal is to create a permanent moonbase where we can start our journey to Mars.
I looked at many photos of the Artemis I launch and studied how the rocket works and how Orion operates. For example, in the Orion photo, I was wondering if I should put some engine fire behind the module (because that would look cool) or not. So I watched some video simulations and saw that during the Moon orbit, they won’t use thrust. Only for the Earth-to-Moon path. Actually, this is really logical; once they reach the Moon, gravity does its job and keeps the Orion capsule in orbit.
Let's see the photos and I will tell you more stories about the whole process! :))
More info: Instagram
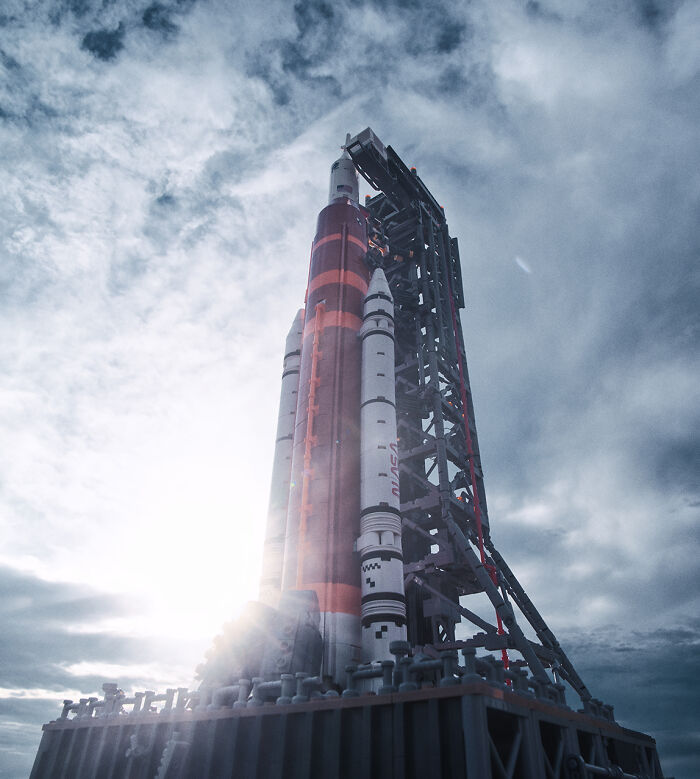
Waiting For The Launch
This photo, which represents the calm, mighty look of the rocket before the launch, was the easiest. I just needed a nice cloudy sky. But I was dumb enough to transport the rocket in a stupid way, so it crashed. I had to go home, rebuild it, and go back to the shooting location, which was the same place where the lift-off pic was made.
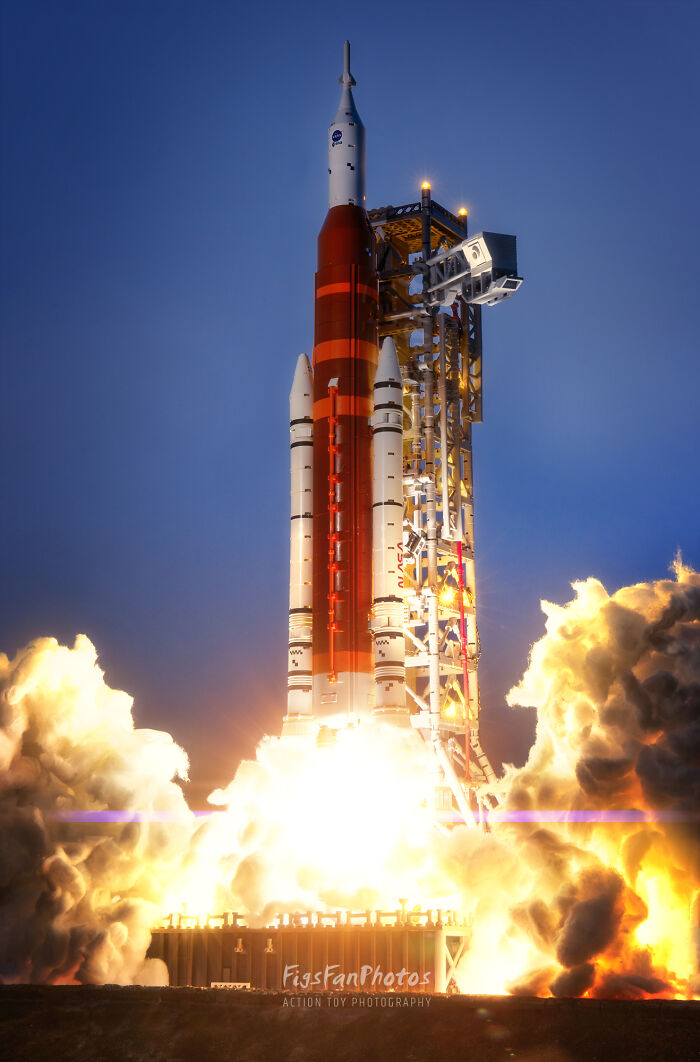
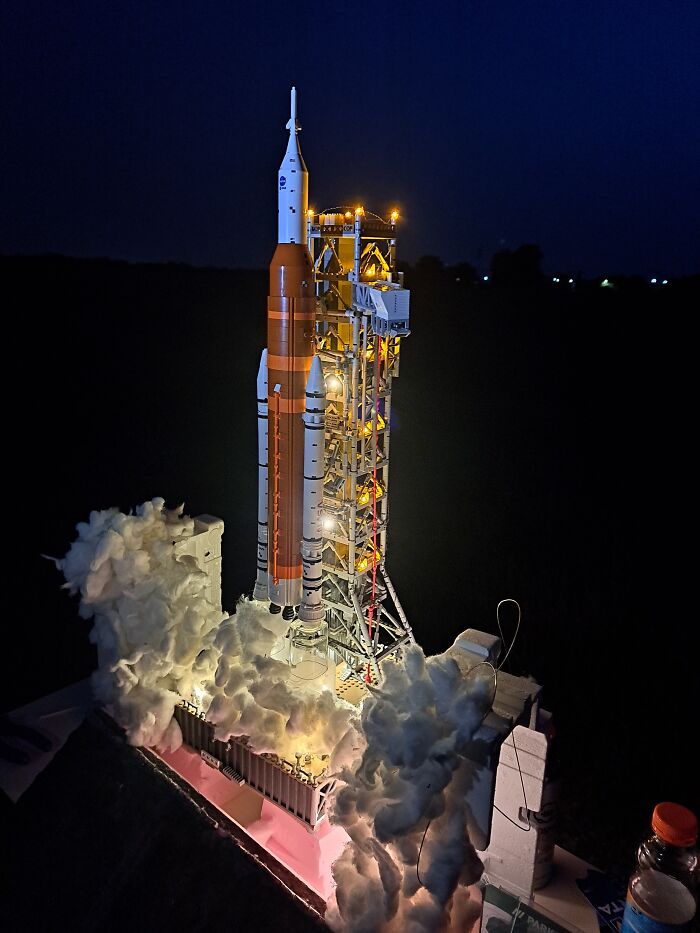
3…2…1, We Have A Lift-Off!
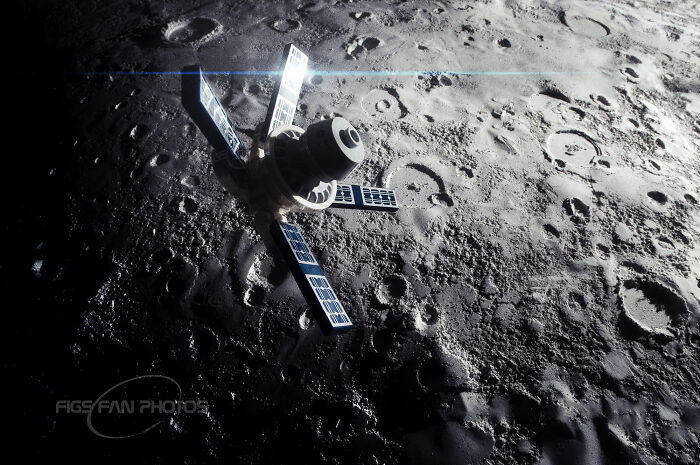
Orion Module Around The Moon
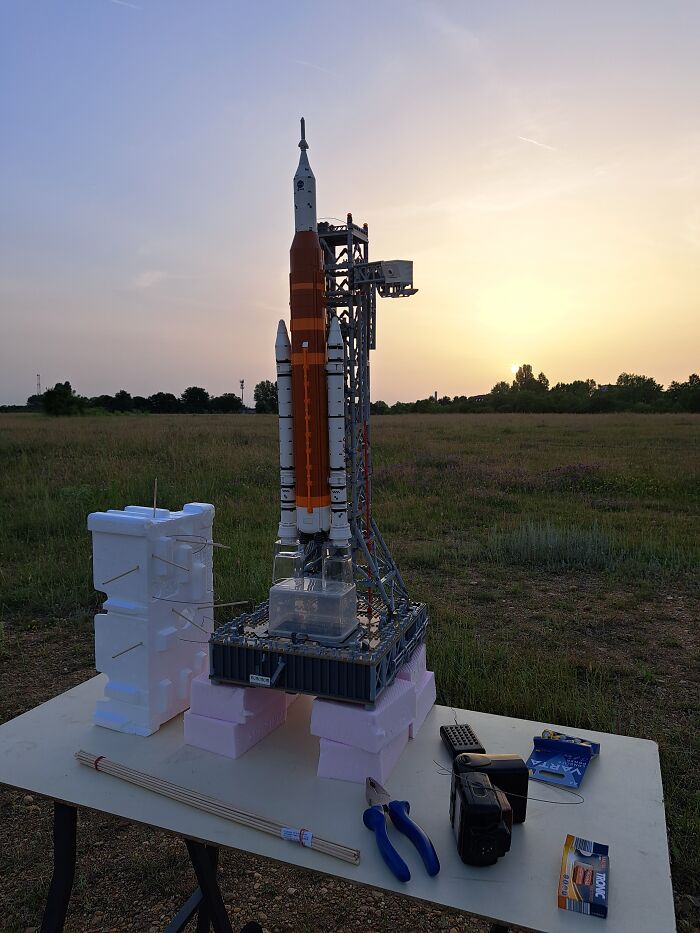
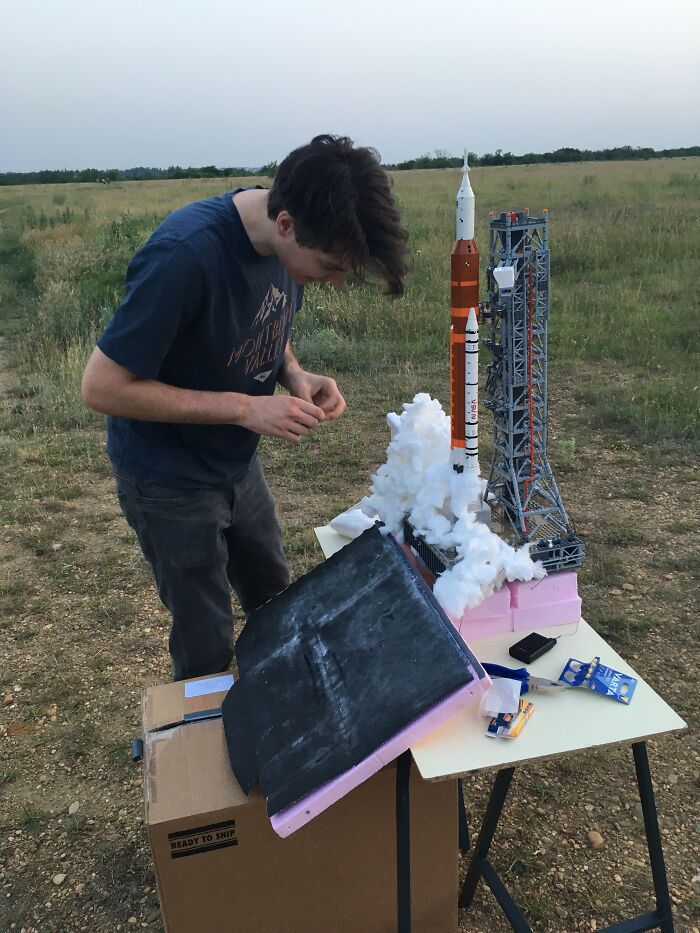
Before the blue hour, I built up the scenery in the last rays of the sun.
The biggest challenge was the lift-off image. I knew I would use cotton balls, and the old airfield nearby was going to be a perfect location. I miscalculated two things. One: the amount of cotton balls, I nearly ran out of them. Second: the mosquitoes. They ate me alive.
The full setting, with LED kit to light up the tower and the launchpad. Yepp, that’s a shot glass under the boosters.
Also, I had to be careful with the LEGO set not to get it destroyed during the transportation (spoiler: I crashed it before the last pic…). The fire smoke was quite a challenge to build from cotton. I made several test shots with the flashlight to see how it looked.
Using cottonballs to create smoke.
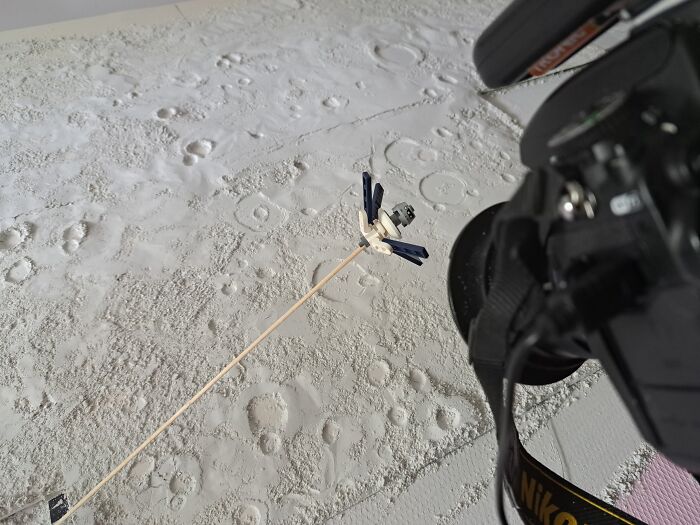
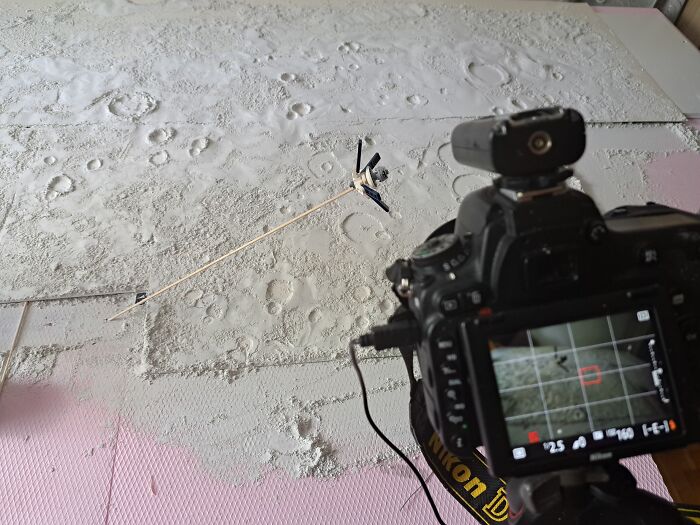
The Orion module and the Moon surface from gypsum.
With the Orion photo, I realized something during the set building. If I just pour the gypsum powder on the table, its structure will be quite unrealistic and strange, especially when I use low-angle lights.
The lights were essential at this picture.
As a solution, I took a simple A/4 paper piece and compressed the powder a bit, so I got smooth surfaces mixed with the powder texture. After that, I used my finger to “draw” craters in the gypsum.
Watch the full behind the scenes video!
508views
Share on FacebookI think that was a great project . and in the end, it turned out t be really cool. BRAVO.! to a job well done.
I think that was a great project . and in the end, it turned out t be really cool. BRAVO.! to a job well done.

 Dark Mode

 No fees, cancel anytime







21
3