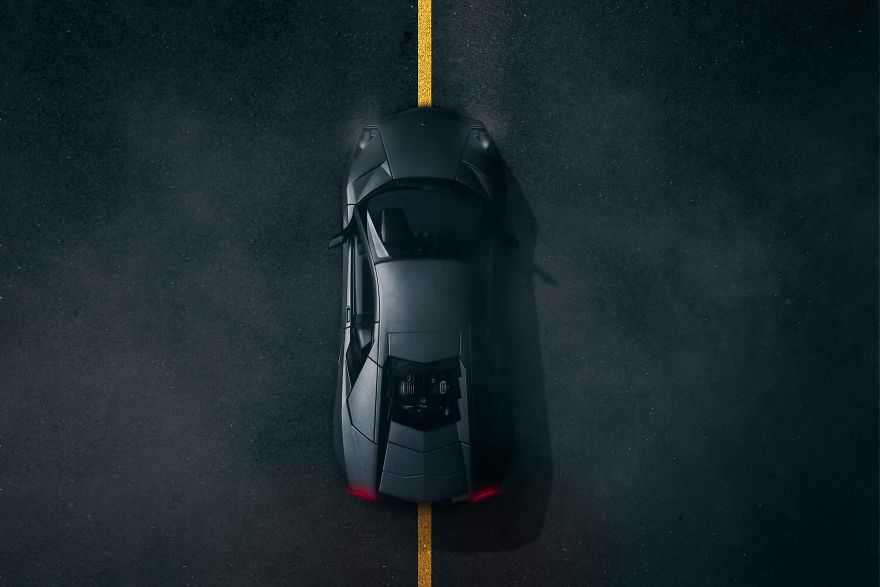
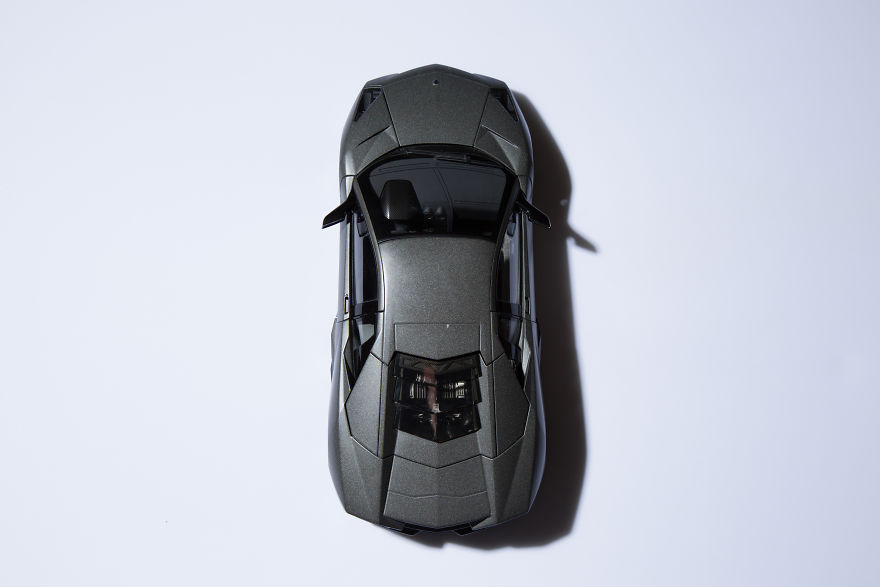
Last week I posted this photos of the Lambo reventon & I got many requests to show how I shot it… I am going to share with you the techniques that I have used but before I do so, please allow me to introduce the car first.
Yes it’s a toy car, I got inspired by some amazing creative people that have used toy cars in their projects and I decided to experiment with toy cars.
I had no prior knowledge of the die cast model cars so I went online and did some research to figure out the best ones out there and I settled on Autoart, they achieve a good balance of details and price.
Now it’s worth to mention that the best company out there in terms of details is BBR but I couldn’t afford buying their cars especially that it was an experimental project, it would cost about 500 dollars for 1/18 car model.
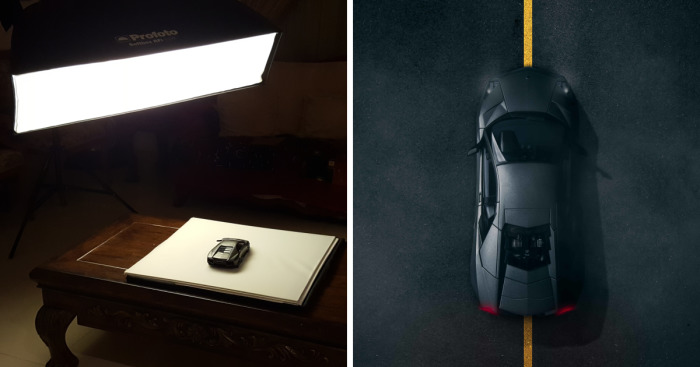
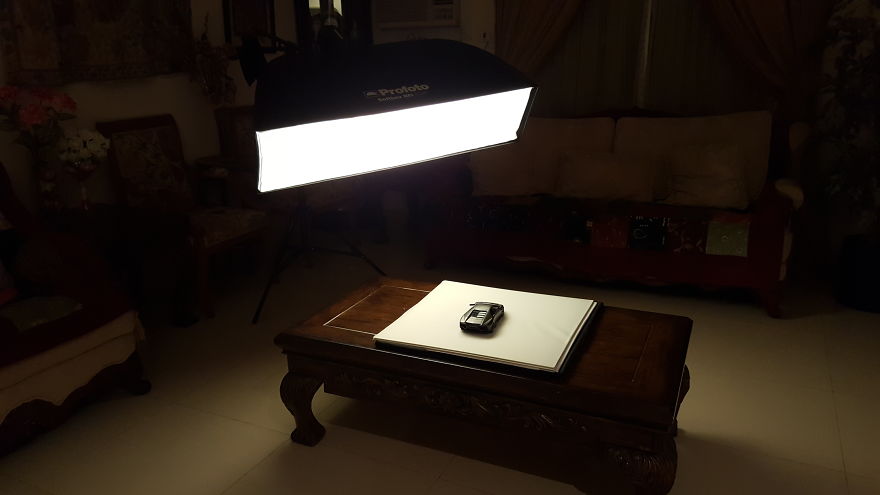
Alright time for some fun, let me show you how I shot the first photo, here is the setup.
I use Profoto B1 for my automotive photography, for this shot I used a 4 by 1 softbox modifier to soften the surface of the car and make it a bit more realistic by hiding the non realistic details, the position of the strobe will allow the light to spell to the other side of the car allowing some details to show.
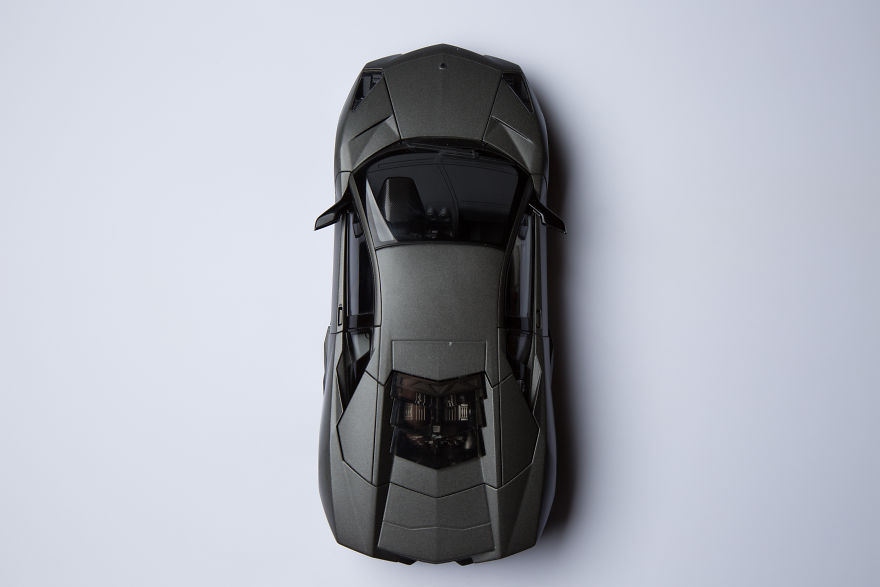
I then shot another one without the softbox simply to copy the shadow later on.
Now I had a general Idea of what I wanted to do but I didn’t have a background image to work with & so I went on istock and got this photo & then manipulated it to suit my needs.
I then Added the car in photoshop, check the video below for the entire process from shooting to post.
More info: Instagram
The setup
The final composite
Soft light = Soft Shadows and more realistic details
Hard Light = Harsh shadows & shows the unrealistic details
468views
Share on Facebook
 Dark Mode

 No fees, cancel anytime
















16
0