Water and environmental issues are undoubtedly inexhaustible and extremely relevant topics today. Did you know that rain can have a significant impact on the environment? According to the United States Environmental Protection Agency (EPA), heavy rainfall can lead to crop damage, soil erosion, and increased flood risk.
The Water Infrastructure Improvement Act 2019 defines green infrastructure as stormwater management using natural or artificial elements that can be efficient at various scales. For instance, at the urban scale, this could involve a simple yet effective measure like placing a rain barrel against your house.
Taking a step further, you can contribute to environmental preservation and save money simultaneously by implementing green infrastructure in your own yard and making a DIY rain barrel. According to Michigan State University, a rain barrel can save you around 1300 gallons of water during the peak summer months!
Image credit: lynchburgparksandrec
Use collected rainwater to water the garden, wash your vehicles, and refill fountains, fish ponds, and swimming pools. This practice will eventually save you money by eliminating the need for tap water expenses. However, it’s essential to note that without a proper purification system, you should not use rainwater for drinking, cooking, or bathing.
A DIY rain barrel requires a relatively small investment, as a food-grade plastic barrel typically costs up to $160. Have we piqued your interest in building one in your yard? If so, we have compiled an easy 8-step DIY guide to make one. In case you were looking for Earth Day activities with your family, this one is perfect! Now, let’s get the ball rolling with a list of necessary tools and materials.
Tools and Materials You’ll Need
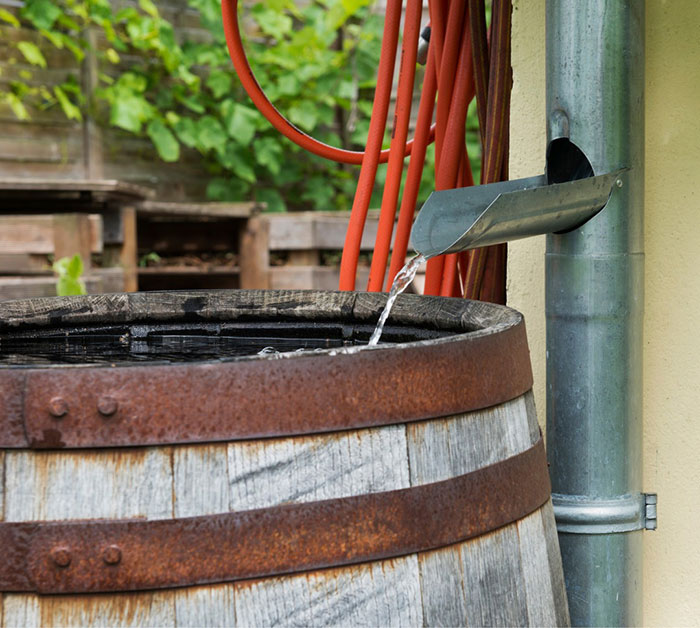
Image credit: Marco Verch, CC BY 2.0 DEED
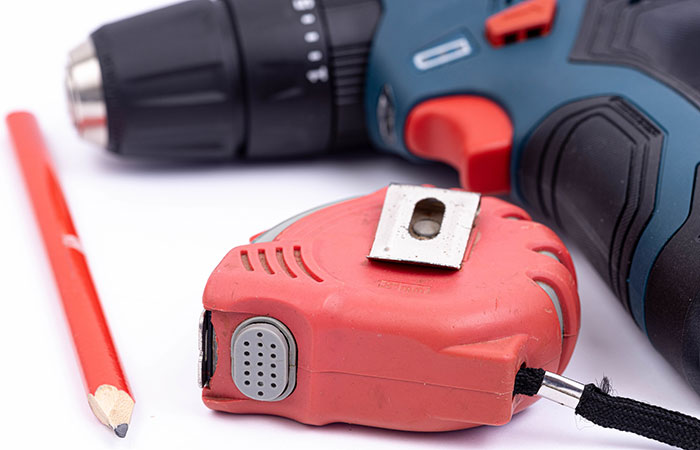
If you want to make a rain barrel, start by gathering all the tools and materials you’ll need. Here are the tools you’ll need:
- Drill
- Drill bit (3/4” bit or opt for smaller or the same size as the spigot)
- Tape measure
- Marking pen
- Box cutter
Here are the materials you’ll need to make a rain barrel:
- 50 to 100-gallon food-grade plastic barrel
- Spigot (½ inch)
- Metal washer (¾ or ⅞ inch)
- 2 rubber washers (#11 or #12)
- Waterproof sealant
- Hose clamp, hex nut (⅞ inch), or hose adapter
- Hose or PVC pipe (optional)
- Landscaping fabric
- Concrete blocks or wood
- Inline downspout diverter
- Screws, brackets, zip ties, or clamps
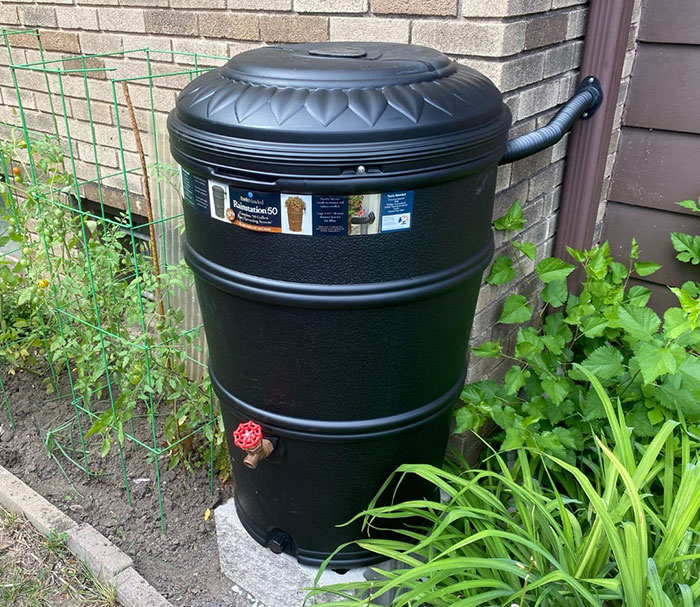
Image credit: fresh_coast_guardians
If you want to make a rain barrel yourself, we are here to assist you. Utilizing the tools and materials listed above, we will illustrate how to construct a DIY rain barrel in just eight simple steps.
Step 1: Drill a Hole for a Spigot
Using a drill bit that’s a little smaller than or the same size as the spigot for a tight fit, drill a hole approximately 4 to 6 inches above the bottom of the barrel.
Create your hole near the base of the plastic barrel, but remember that you need to have space to fit a watering can beneath.
Tip: You can also raise the barrel up on the pavers to allow for more space and pressure.
Step 2: Install the Spigot
Take a metal washer and slide it onto the threaded end of the spigot. Then, place a rubber washer over the threads to secure the metal washer and prevent any leaks.
Then, apply a bead of waterproof sealant over the rubber washer and insert the spigot into the hole from the outside of the barrel. Place the second rubber washer onto the threads of the spigot inside the barrel and apply more waterproof sealant.
Tip: Secure the spigot in place inside your barrel using a hose clamp, hex nut, or hose adapter. This is important because it will keep your spigot from coming loose.
Step 3: Drill Holes in the Lid
Measure the diameter of the downspout and mark it on the lid with a marking pen. Cut a hole in the lid of your rain barrel using the box cutter. Position this hole directly under your home’s downspout to ensure that the water runs straight into the barrel.
You’ll also want to drill a hole or two near the very top of your rain barrel. This hole will allow water to overflow.
Tip: You can connect multiple rain barrels by running a short length of PVC pipe or hose from the overflow hole of one barrel to the other. If your first rain barrel fills up, the excess water will run into the next one.
Step 4: Install a Piece of Landscaping Fabric
Cut a piece of landscaping fabric to cover the top of your rain barrel. Then, place the lid over the fabric to secure it.
Tip: This step is crucial to keep mosquitoes and other pests out of your rain barrel water. Creating a barrier with the fabric not only protects the water from contamination but also ensures its purity.
Step 5: Rain Barrel Stand DIY
Do rain barrels need to be raised? Yes, it’s important to raise your barrel by creating a stable base. You can use concrete blocks or construct a DIY stand from wood for this purpose.
Tip: Elevating the rain barrel not only makes it easier to access the spigot but also allows for a lower spigot location, increasing water pressure.
Step 6: Position the Rain Barrel
Position your stand beneath the downspout and place the rain barrel on top of it.
Tip: Pay attention to the height and choose a spot that’s most convenient for you to access and use the barrel.
Step 7: Connect the Rain Barrel to the Downspout
To divert water flow from the downspout to the rain barrel, connect them using an inline downspout diverter—a plastic or metal device designed to replace part of a home’s downspout. Slide the inline diverter onto the downspout, aligning it with the hole you made on the rain barrel lid.
Tip: Make sure the downspout is securely attached to the rain barrel and there are no leaks or gaps. You can use screws, brackets, zip ties, or clamps to fasten the downspout to the rain barrel.
Step 8: Test the Rain Barrel
After you install the rain barrel, wait for the rain to test and ensure everything works properly. If not, make any necessary readjustments.
Tip: Before using the system to collect water, it’s essential to ensure that the gutters are spotless.
Popular Questions Covered
If you still have some questions about DIY rain barrels, don’t worry. Below, we have compiled a list of the most popular questions and answers. Learn more about rain barrels’ benefits, costs, maintenance, and safety.
Where to Find a Barrel?
Online: You can find a vast supply of barrels on platforms like Amazon, eBay, Home Depot, or Lowe’s.
Stores: You can find new or used plastic barrels at hardware stores, outdoor and garden centers, or farm supply stores. Try asking store employees if they have any surplus or damaged barrels that they are willing to sell or give away.
Landfills: Visit your local landfill or recycling center and look for plastic barrels that have been discarded or donated.
What is a Cheap Alternative to a Rain Barrel?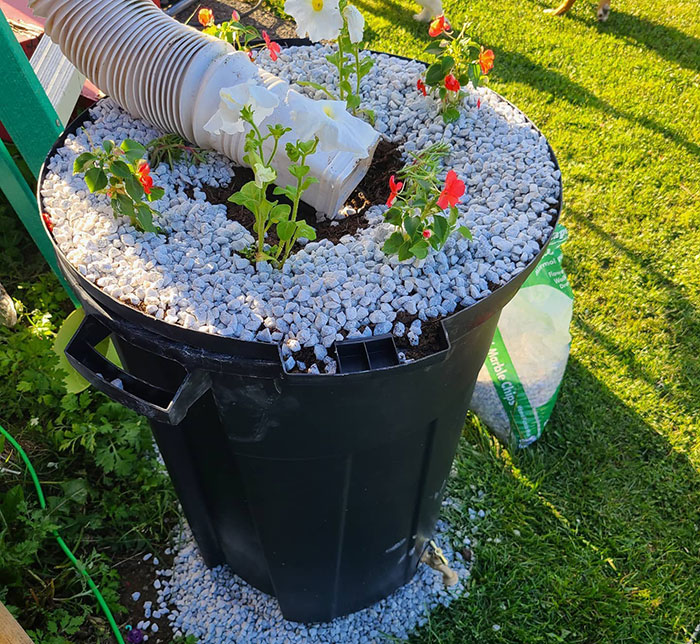
Image credit: jenwearsmanyhats
If buying a rain barrel seems expensive and time-consuming, a plastic outdoor trash can with a lid is the perfect cheap DIY rain barrel alternative.
You can easily buy a trash can at any supermarket or hardware store and convert it into a rain barrel by following the same steps we have provided. This eco-friendly solution will help you save money, time, and water.
How Do You Keep Rainwater Fresh in a Barrel?
Keeping rainwater fresh in a barrel is quite challenging, as rainwater can become contaminated by debris, algae, bacteria, insects, or chemicals. Here are some tips to keep your rainwater fresh and clean.
Barrel: Use a clean, durable, food-grade barrel. If you reuse an old barrel for a cheap DIY rain barrel project, clean it thoroughly before use.
External impact: Install a landscaping fabric on the top of the barrel to shield it from leaves, dirt, insects, and animals.
Placement: Avoid direct sunlight and place the barrel in a shady, cool location to reduce the growth of algae and bacteria.
Regular cleaning: Empty and clean the barrel at least once a year, preferably before the rainy season. Scrub the inside of the barrel with a brush and a mild detergent.
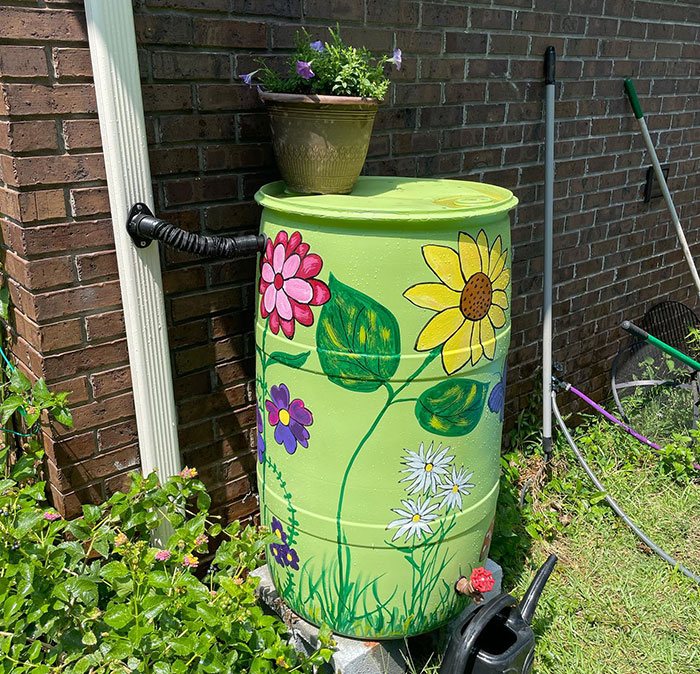
How to Make a Rain Barrel Look Good?
Image credit: returning_to_my_roots
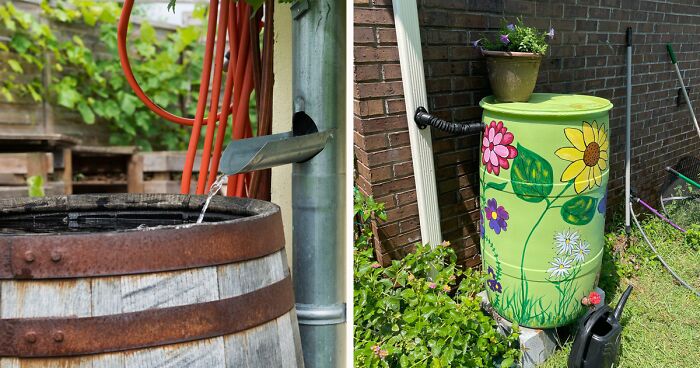
While plastic barrels are ideal for water collection, they may not complement your yard’s aesthetic. Fortunately, there are easy and creative ways to integrate them into your landscape.
Re-painting: Paint your rain barrel with a color that matches your house or fence. Alternatively, express your style with a drawing design. You can use acrylic, latex, or spray paint for this purpose.
Wood or metal covering: Cover your rain barrel with wood or metal to make it look rustic or modern. Wrap it with wooden planks, pallets, or metal sheets to enhance its appearance.
Cultivating plants: Plant flowers or herbs around your rain barrel to create a natural or edible border. You can use pots, planters, hanging baskets, or dig a small bed in the ground for a more organic feel.
3Kviews
Share on Facebook
 Dark Mode

 No fees, cancel anytime












15
0