How to Stencil A Color Wash Wall
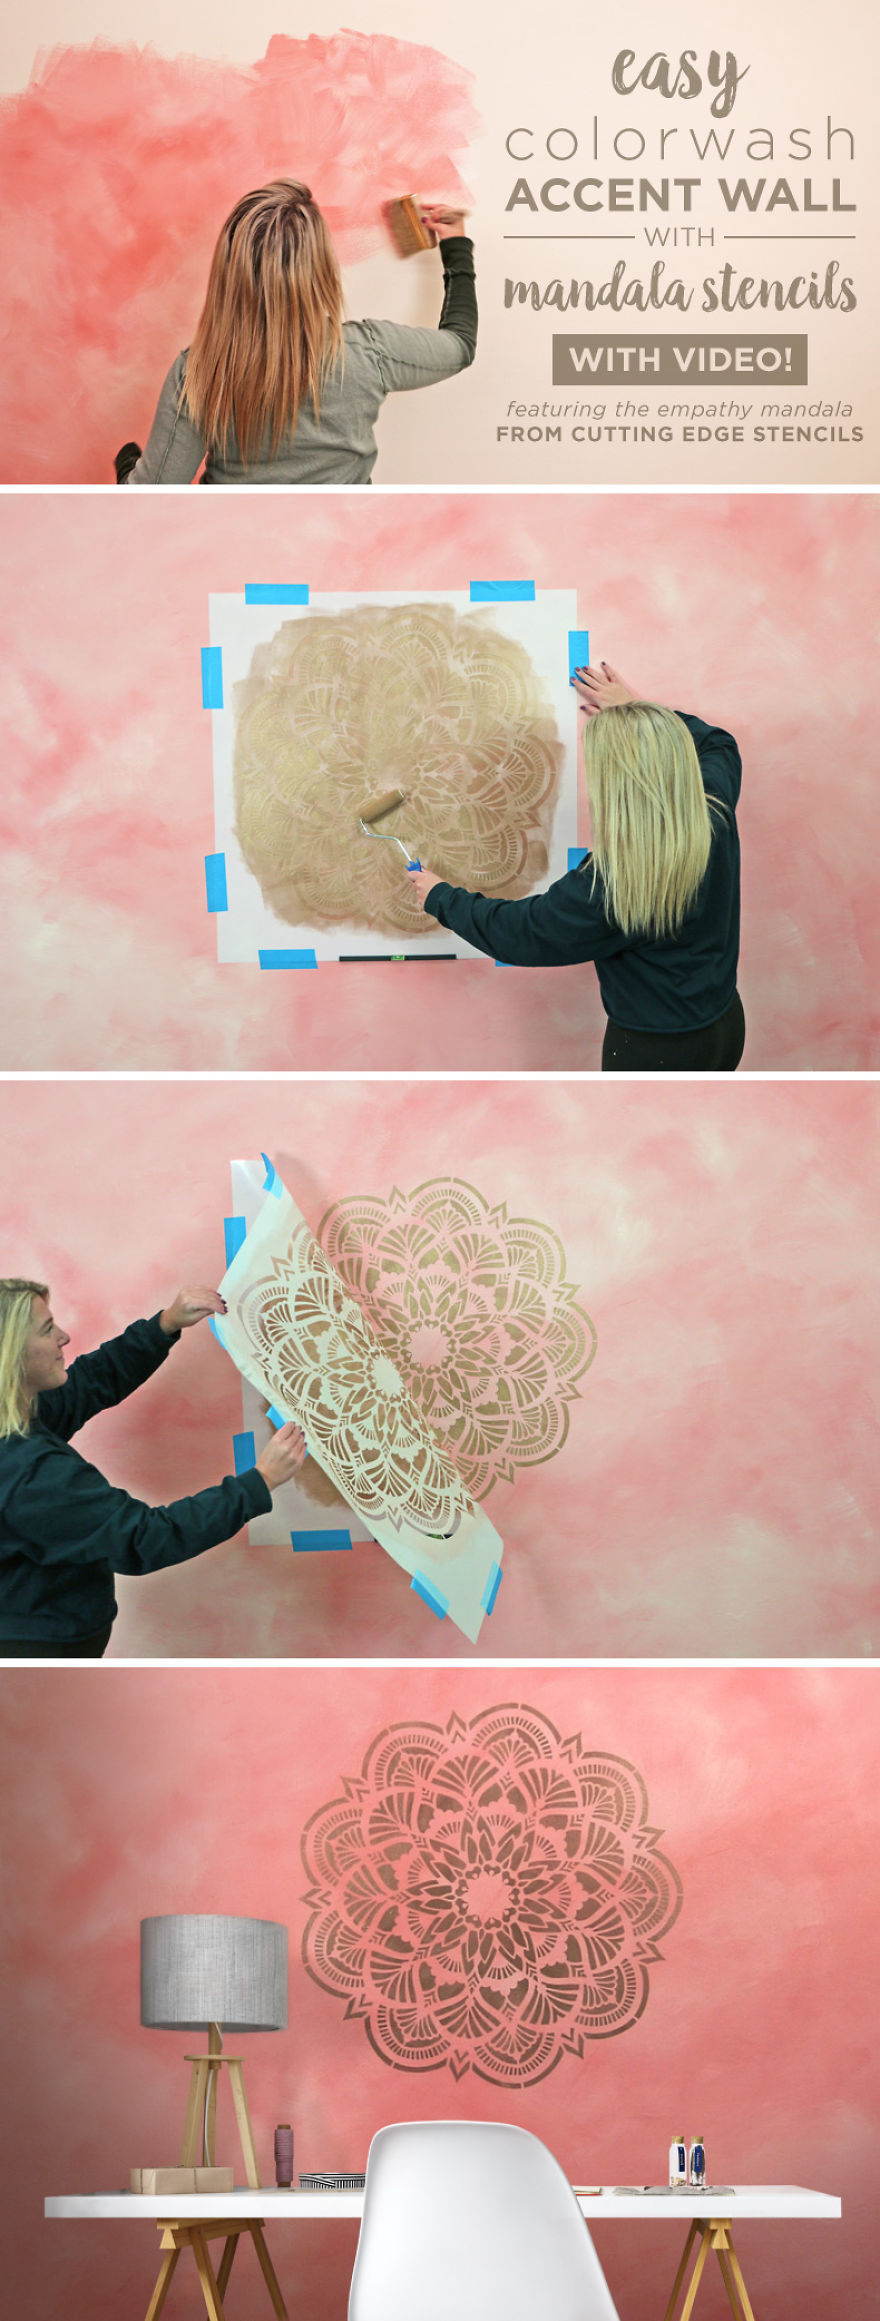
Hey there, Cutting Edge Stencils bloggers! Learn step-by-step how to color wash your accent wall and stencil a metallic mandala with Cutting Edge Stencils! In the beginning of the video we will teach you how to color wash with ONLY TWO paint colors without the hassle of expensive glazes and crazy time consuming techniques! In the second part of the video, we will go into detail on how to stencil a mandala stencil with metallic paint.
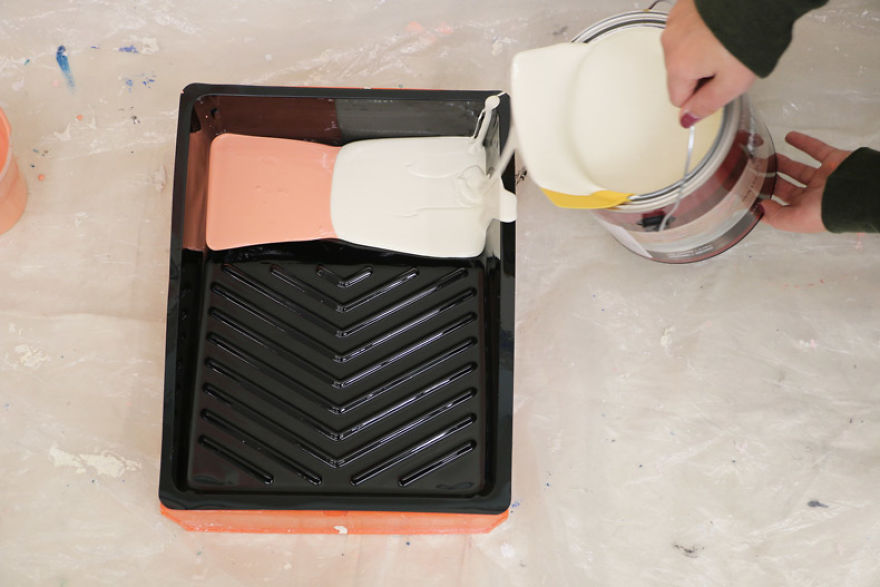
When you buy your paint, it must have a FLAT SHEEN. This is important when color washing because when you have a sheen, the paints will blend together the best and you will not see your application marks. If you like this look, you want to pick two colors that don’t have too much contrast. It is harder to blend contrasting colors and your wall will look choppy. If you want to color wash a more dramatic wall, then contrasting colors will look best for you. In our case, we choose a medium value and off-white paint colors. You also DON’T want to choose two paint colors that are too close in value. This is important because when you start to blend both colors on the wall, it morphs into the same color and you won’t be able to achieve a color wash look.
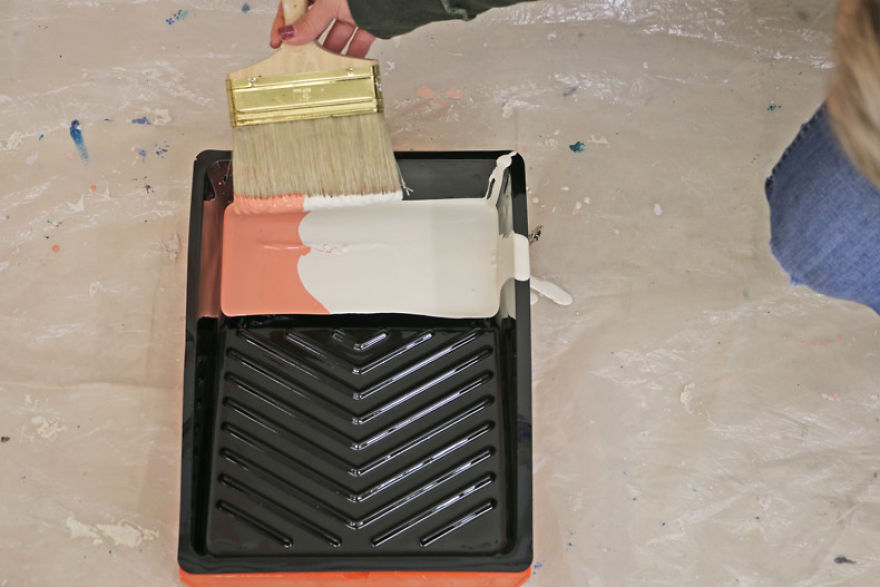
Once you have poured both colors into your tray, dip your large staining brush into both colors at once.
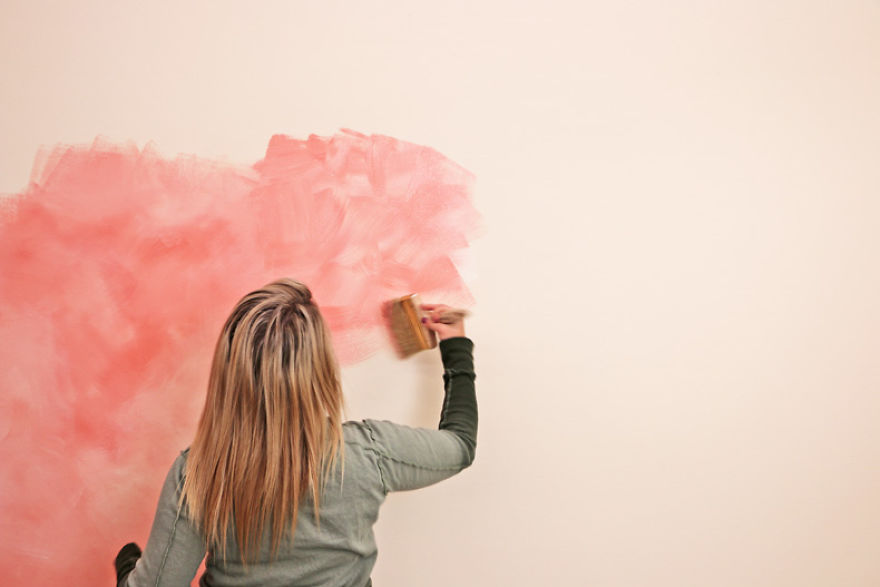
Blend your colors together right on the wall using a crosshatch technique. Keep your movements light and fast and move your wrists in different directions while you do this. Always remember while painting your color wash, try to avoid round bulls-eye’s or rigid linear horizontal and vertical lines. From time to time, step back and evaluate your technique.
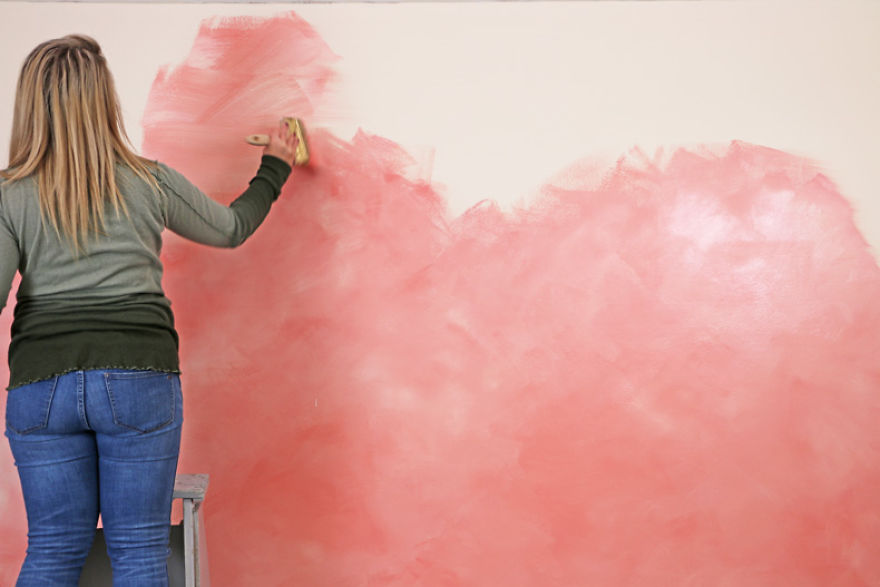
Aim to create these continental shapes that are organic and irregular within your color wash. You can lightly mist your wall here and there using a spray bottle while working to blend the colors. But do this very lightly and use a fine mist to avoid water dripping down your wall.
Keep adding more paint with your brush and blending colors until you get your desired look. Use the same blending technique for your edges and corners. You can use a chip brush to get into those tighter creases. After the color wash is complete, let it dry fully and lightly sand the wall using 220 to 240 grit sand paper or even a folded brown bag to knock off any paint pieces or brush hairs that have been left behind.
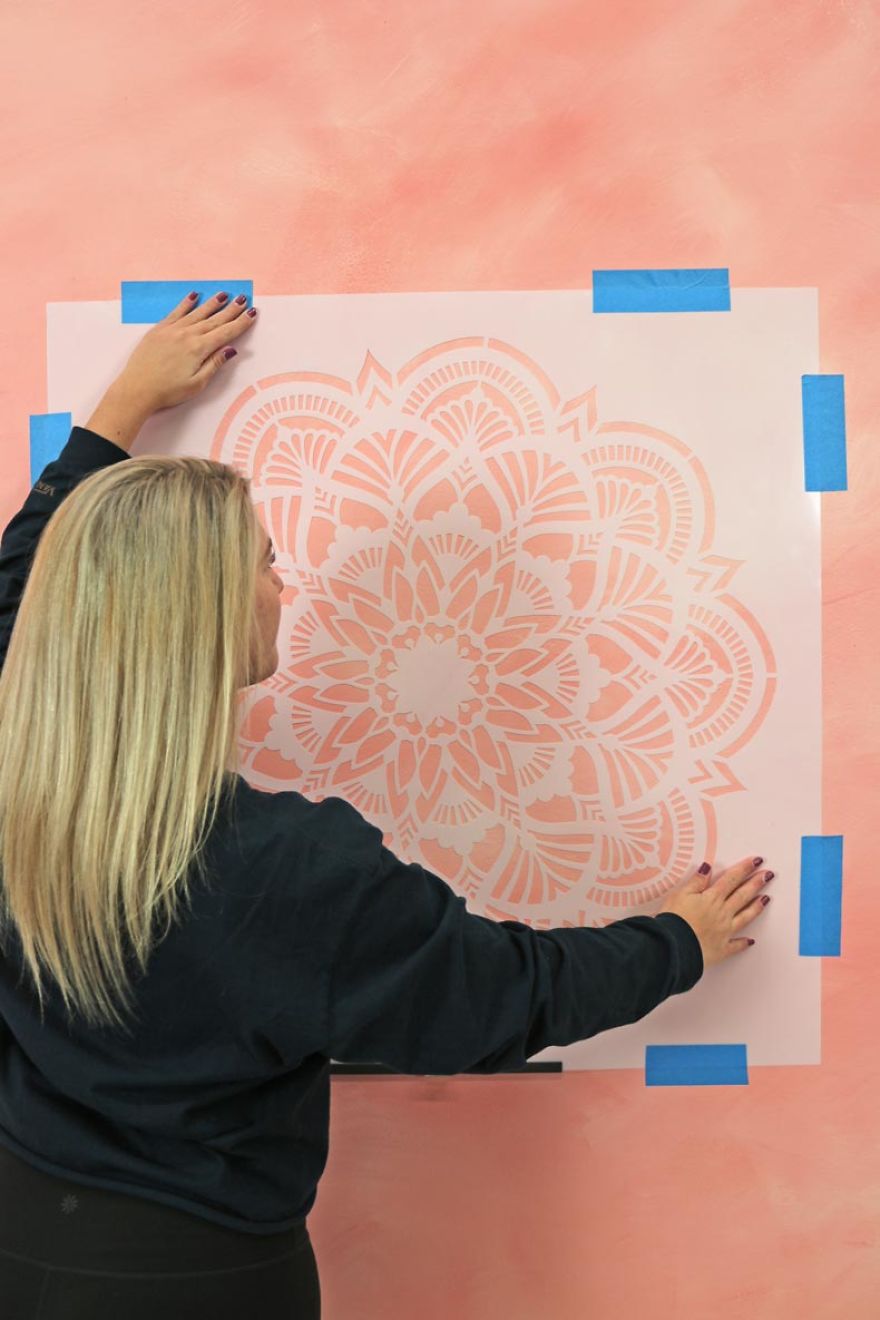
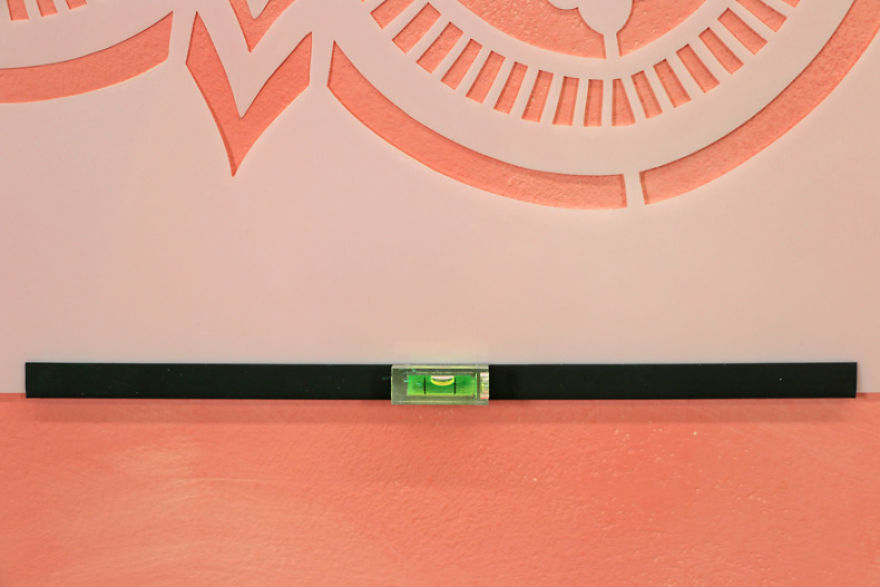
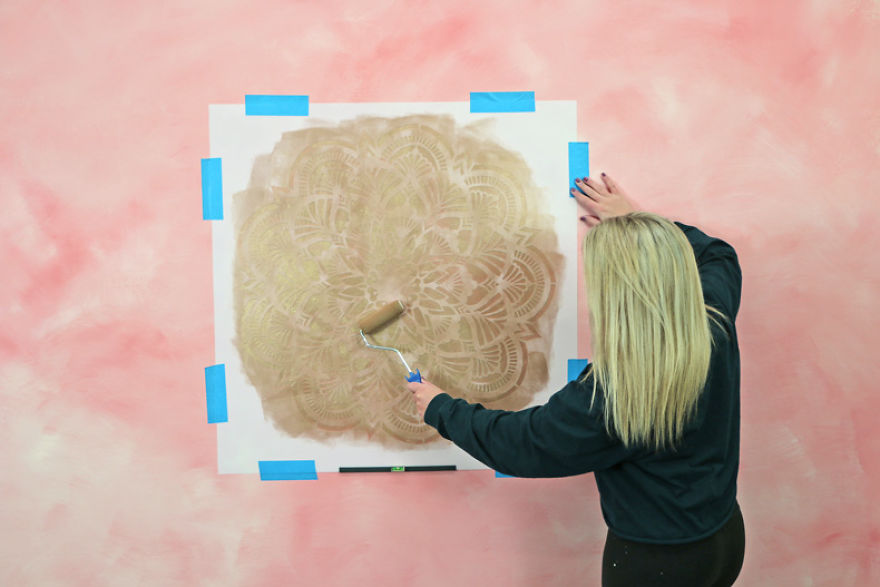
Lightly mist the back of you stencil with spray adhesive to reduce bleed. When hanging your mandala stencil, make sure it is straight with a clip-on level.
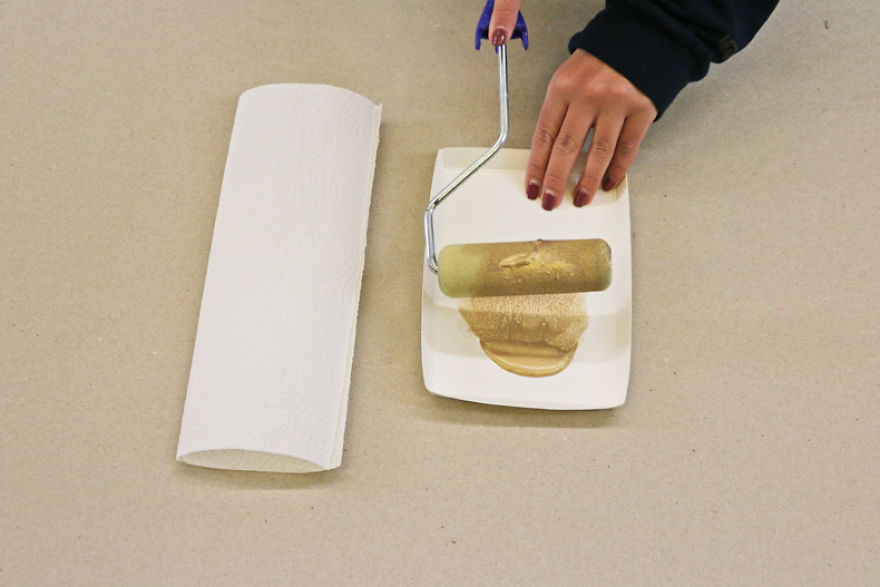
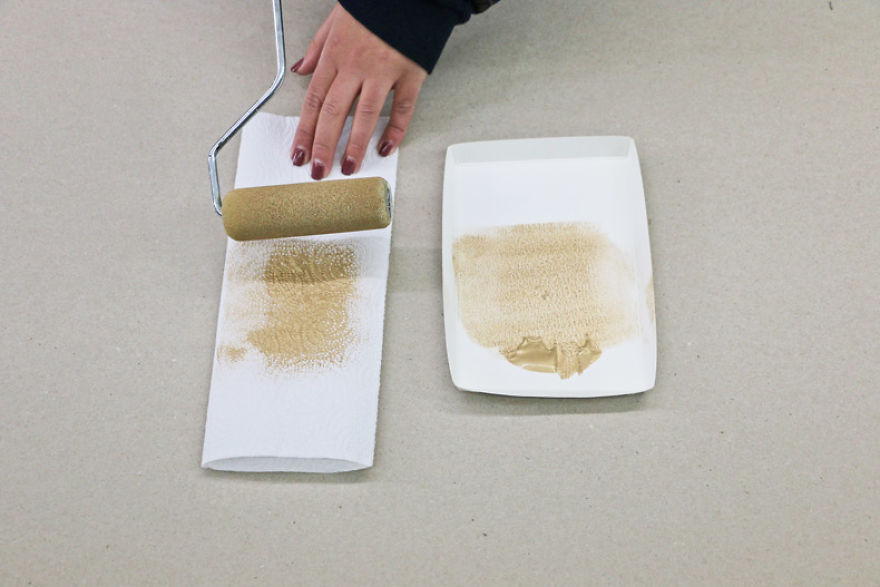
Now it’s time to get some paint onto your roller! Evenly load your 4″ dense foam roller with metallic paint. We used Modern Masters Pale Gold paint. Then offload excess paint onto a paper towel.
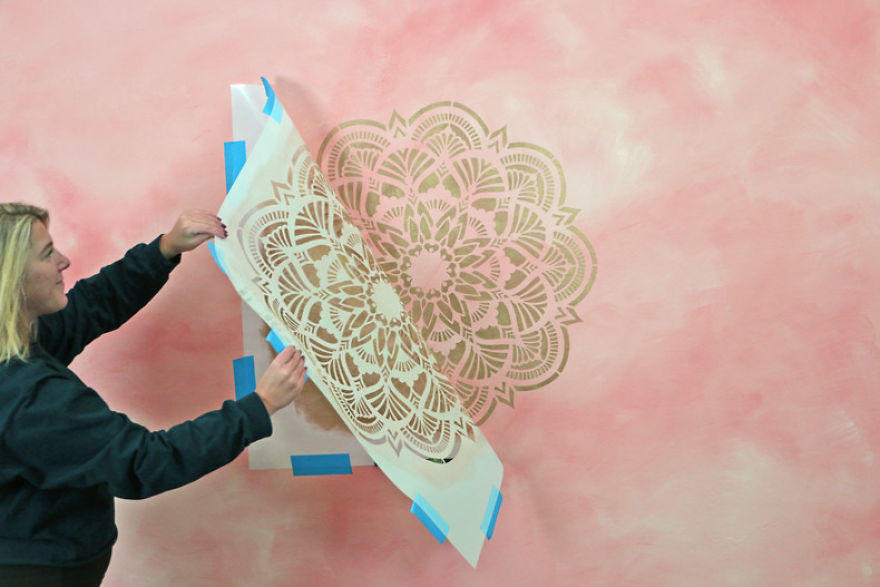
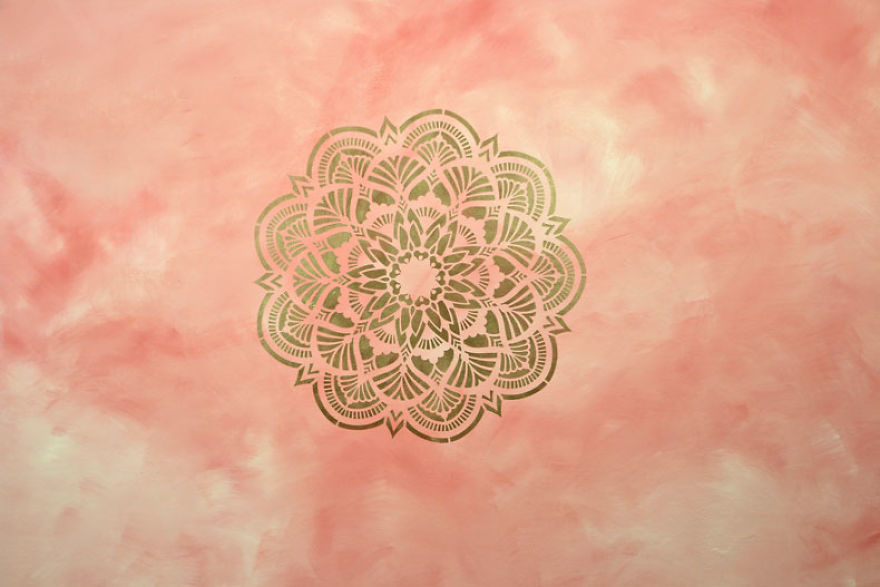
Lightly roll on your metallic paint over the stencil and onto the wall. Make sure the whole mandala is covered and then you can go back with a second coat. This way your mandala will look fierce against your color wash wall!
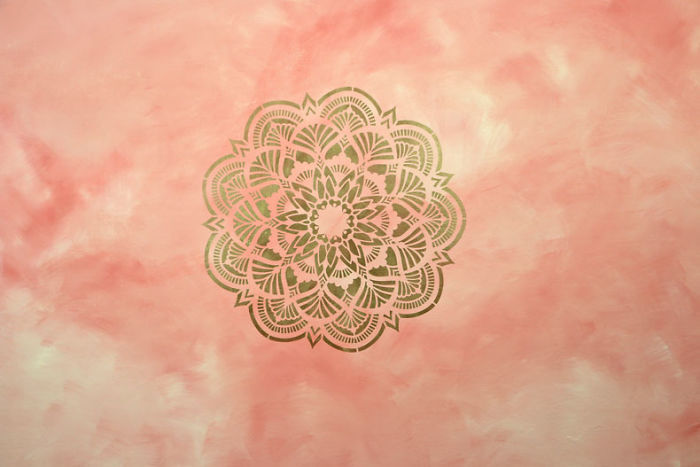
Seriously, how easy was that! Our Mandala stencil looks incredible over this color wash accent wall! Plus, you can have pride knowing that you created this gorgeous stencil project yourself!

 Dark Mode

 No fees, cancel anytime












1
0