I guess everyone has their own occupations and techniques when it comes to clearing the head for fresh ideas. I, for my part, love to build lamps in such cases. I usually create them in the times between my larger model projects and they are always a good opportunity to try out some new techniques for which I otherwise rarely find a chance to practice.
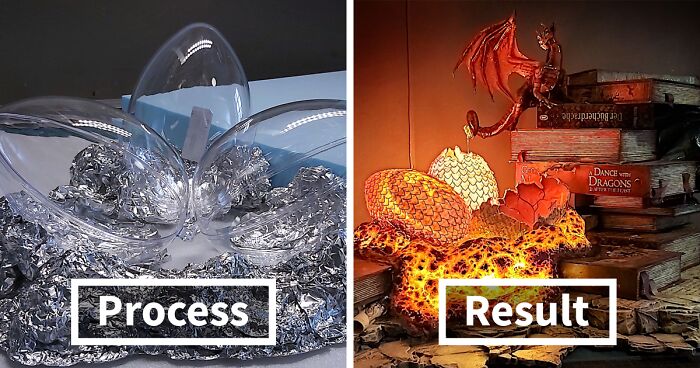
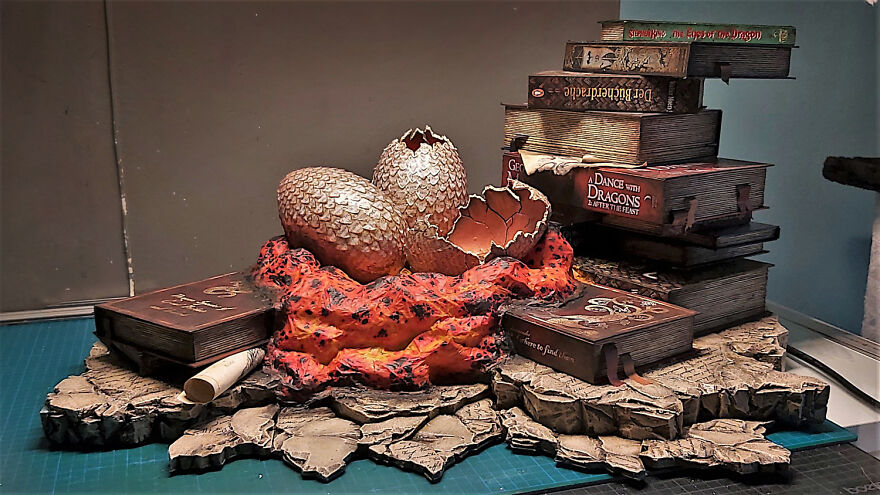
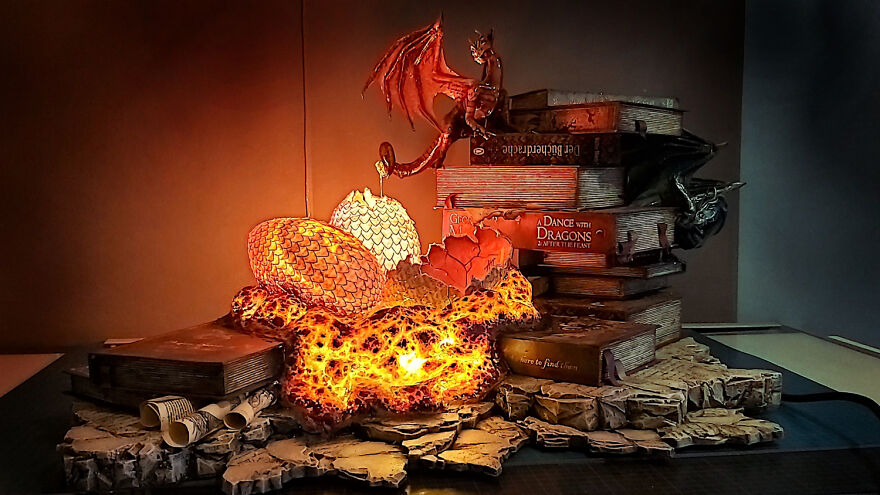
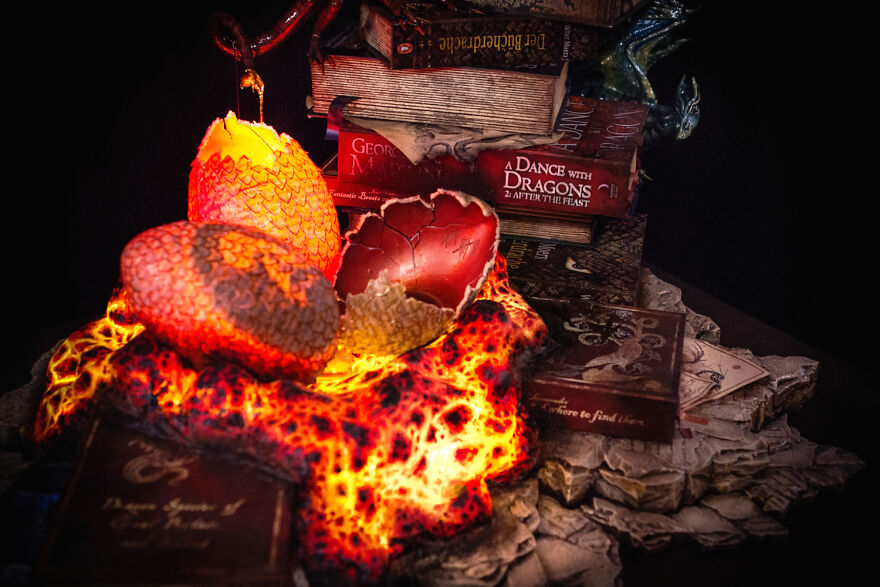
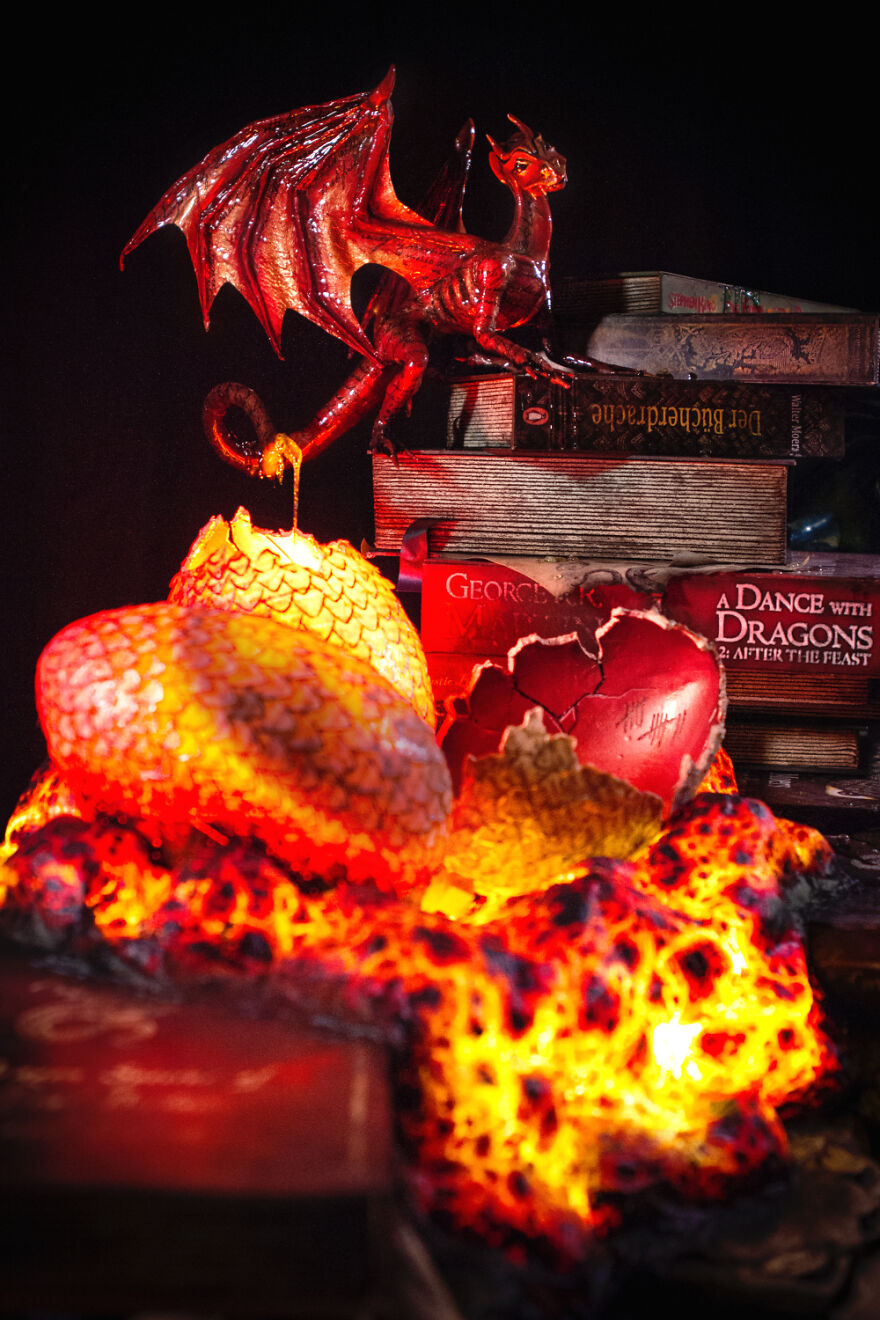
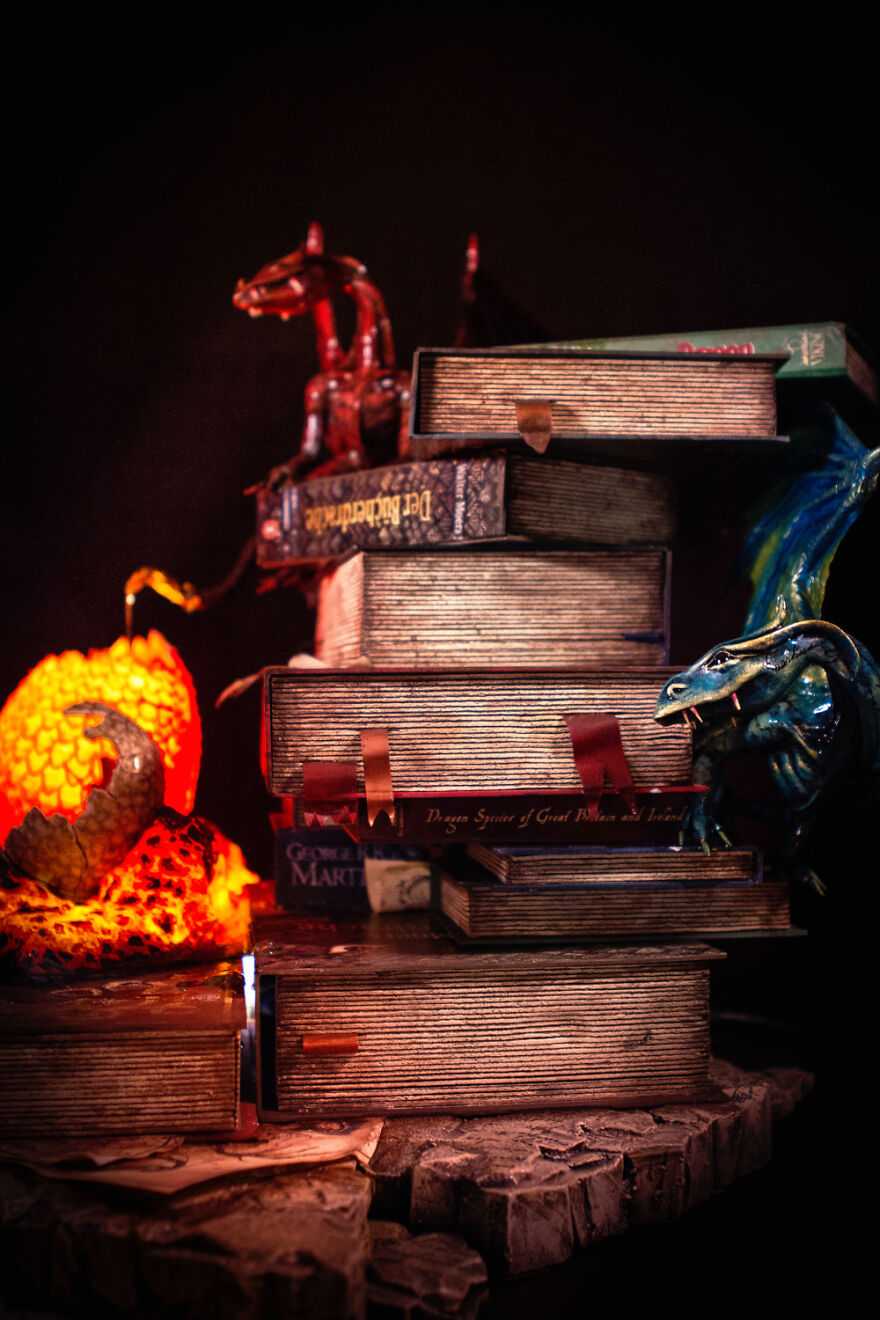
This particular intermediate project was especially fun for me. A colleague of mine asked me to do a small commissioned work—a gift for a friend, who is a big fantasy fan and an avid reader. In the end, I was taken away by the project and it became not at all as small as expected. It resulted in a dragon book lamp with a glowing dragon’s nest and two newly hatched little dragons climbing around on a stack of books.
Here is only a small part of the project’s genesis—those who would like to go into more detail will find the more detailed WIP documentation on my website!
More info: kassiopeya.online | Instagram | Facebook | youtube.com | pinterest.at
Below you’ll find the whole dragon book lamp tutorial
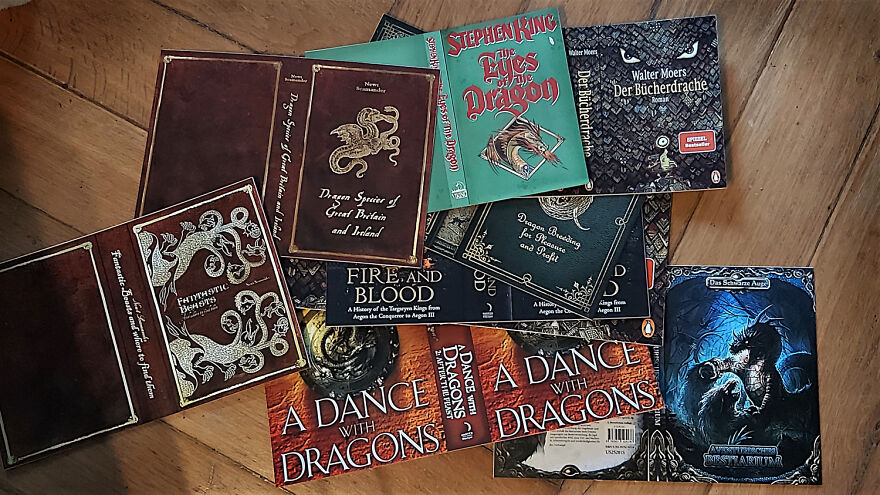
As this lamp is again going to be a book lamp I start with building some books for a start. The book covers are first printed on paper and glued to cardboard…
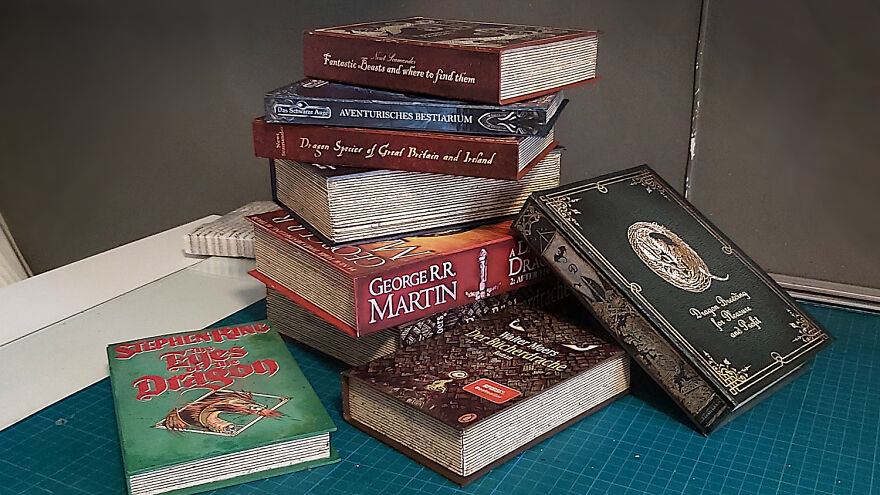
To be then equipped with book pages that I cut out of Styrodur.
And so, little by little, a whole pile of dummy books is created.
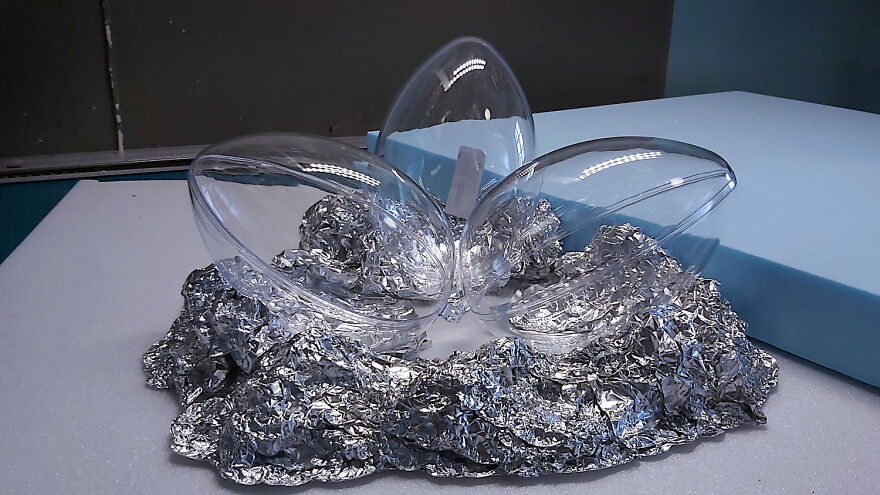
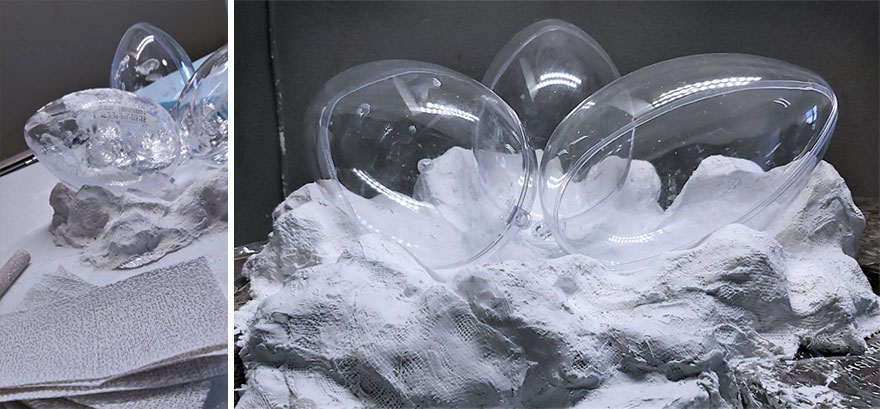
I continue with the construction of the dragon’s nest: Here everything starts with some acrylic easter eggs and a “nest” roughly formed from aluminum foil.
After the nest got its basic shape, the next step is to cover it with several layers of plaster bandages.
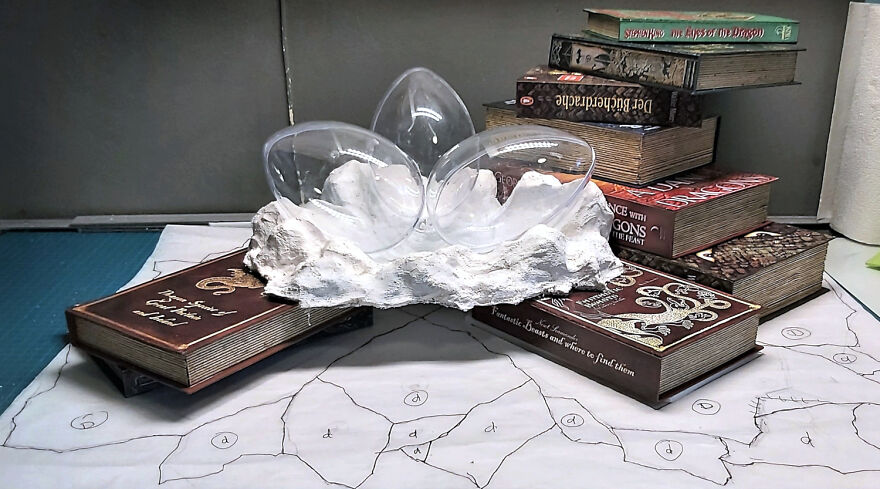
After drying the nest and books can be arranged for the first time – and the planning of the base plate can begin:
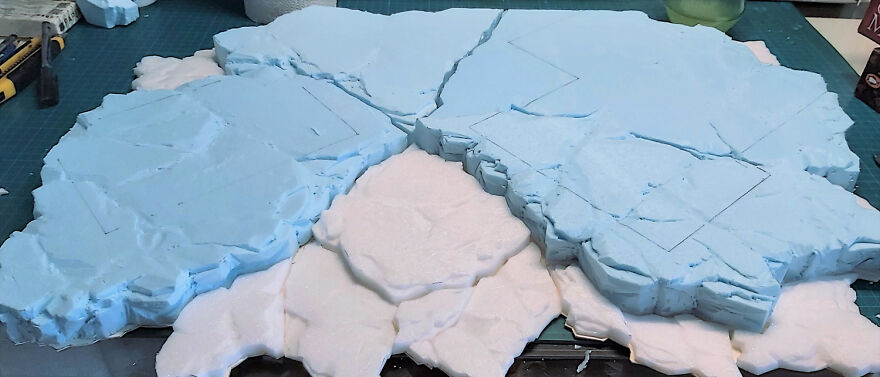
First, I draw the basic outlines of the carrier plate on tracing paper…
…and then cut the individual elements of the base plate from different heights of Styrodur sheets.
After gluing and coloring the several parts the first books (in the middle) are fixed in place – and the final shape fitting of the dragon’s nest can begin: For this books and carrier plate have to be covered with foil before the nest is placed in its intended position…because the next step is going to be some dirty work again.
In the next step, the gap underneath the nest is stuffed with aluminum foil and is then again covered with plaster. This creates a nest shape, which now perfectly fits the stacks of books.
But as I want the nest to be glowing I need it to be transparent. So after drying I once again cover it with foil. The foil serves as a separating layer – because on it I now glue several layers of yellow transparent paper on it. This transparent layer will dry up very hard…
Gluing the layers turns out to the foil turns out to be a little tricky.
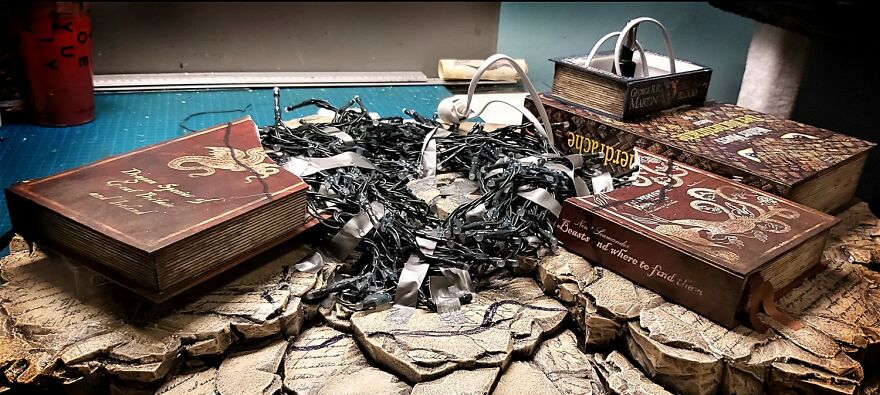
Before the finished transparent nest form can be fixed in place the electrics for the lighting have to be installed. For the nest, I use here a LED Christmas light chain, for the lighting of the dragon eggs two separate lamp sockets with cable. This results at first in a nice cable mess, which has to be secured with hot glue and tape.
The transparent nest form is now placed over the cable mess in the middle of the plate and fixed at the edges.
After that, I start painting the nest n shades of orange, red, and black.
The paint job here must be done in the dark and with the lights on to see the real color effect while painting.
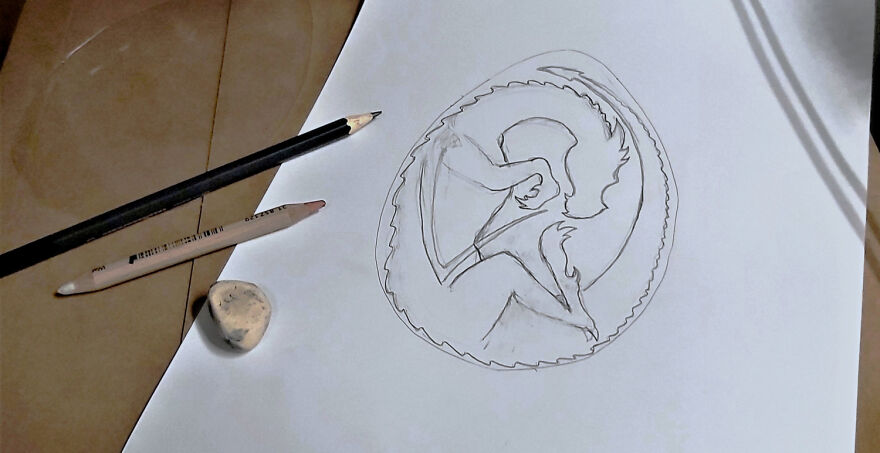
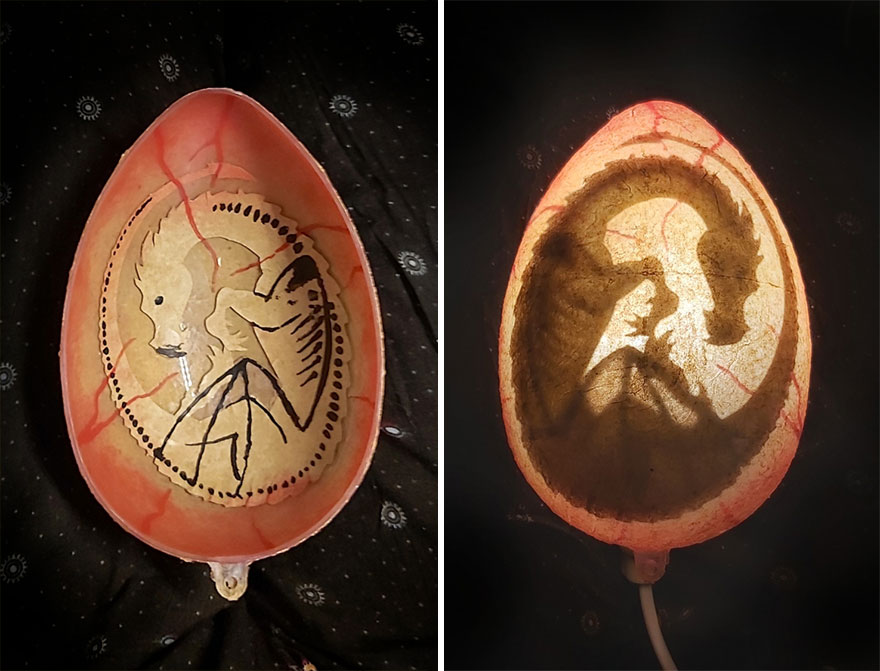
After finishing the glowing dragon nest, I start working on the dragon eggs. First I create a small dragon silhouette that will “sleep” in one of the eggs. This is first pre-drawn on paper…
I then transferred it to more stable paper that I glue from the inside to the painted egg half.
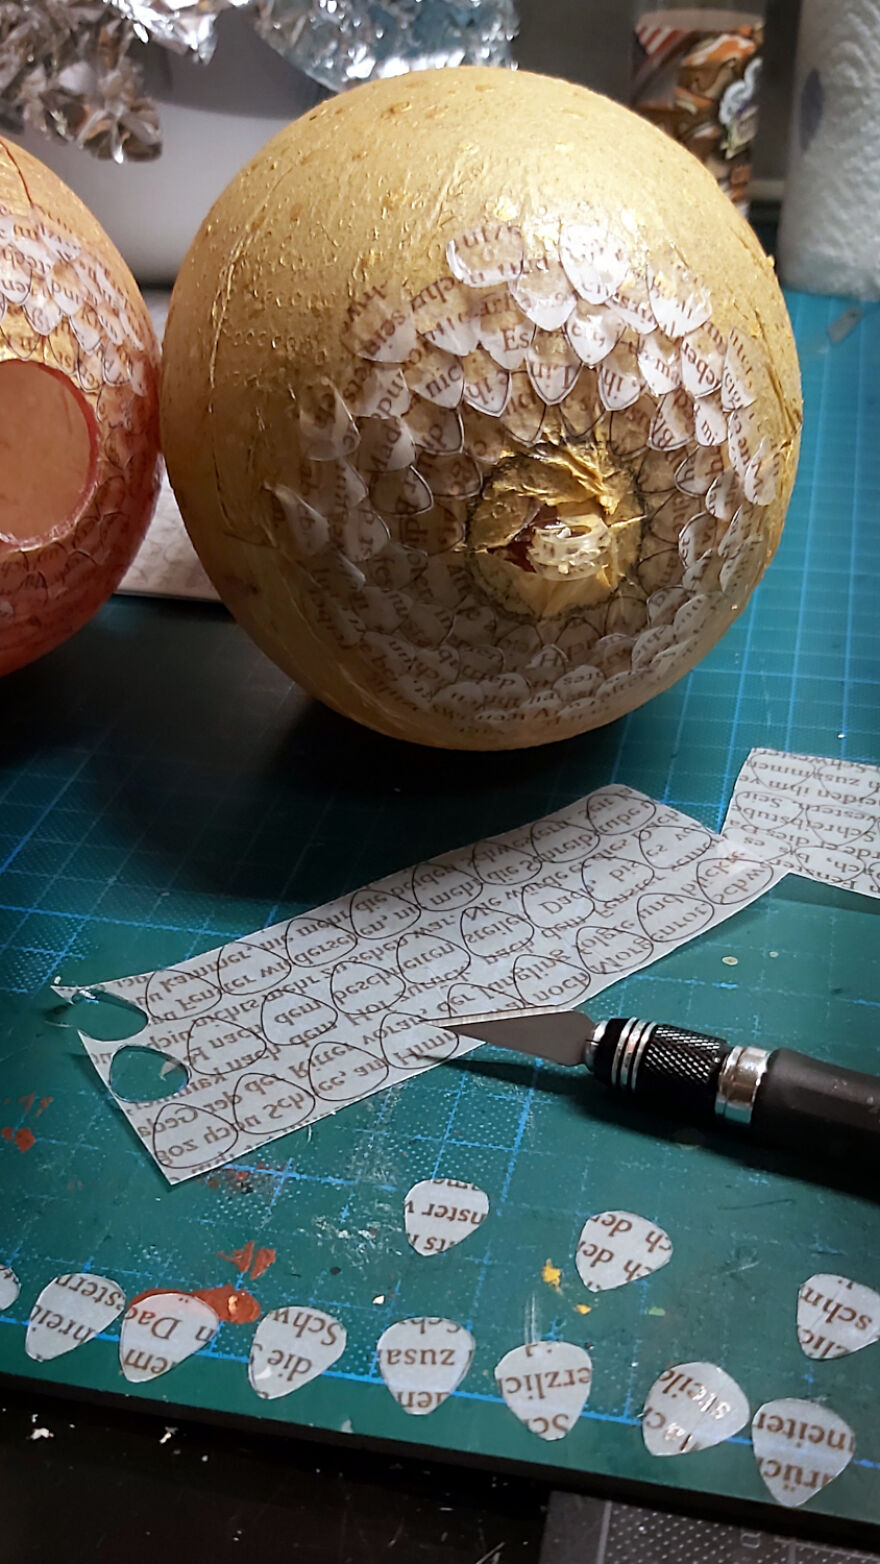
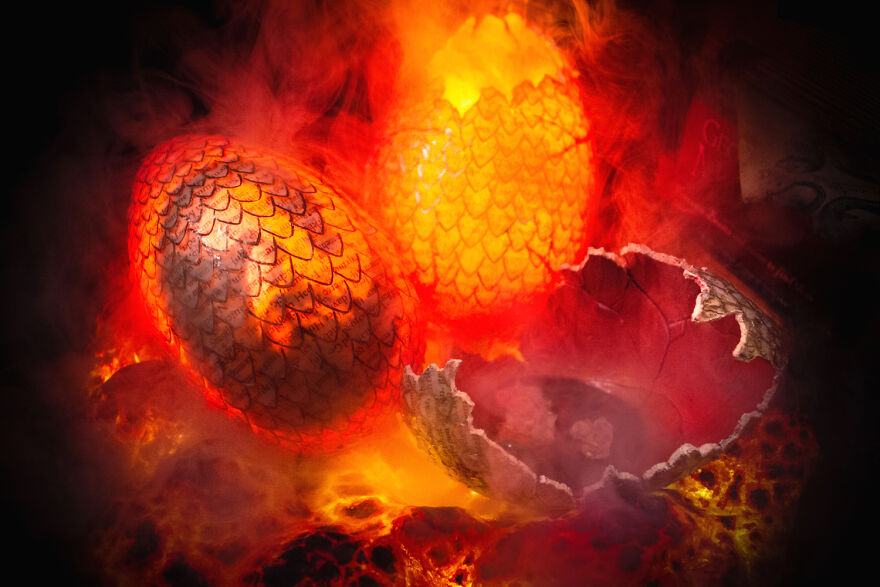
The next step is to cover the eggs with dragon egg scales.
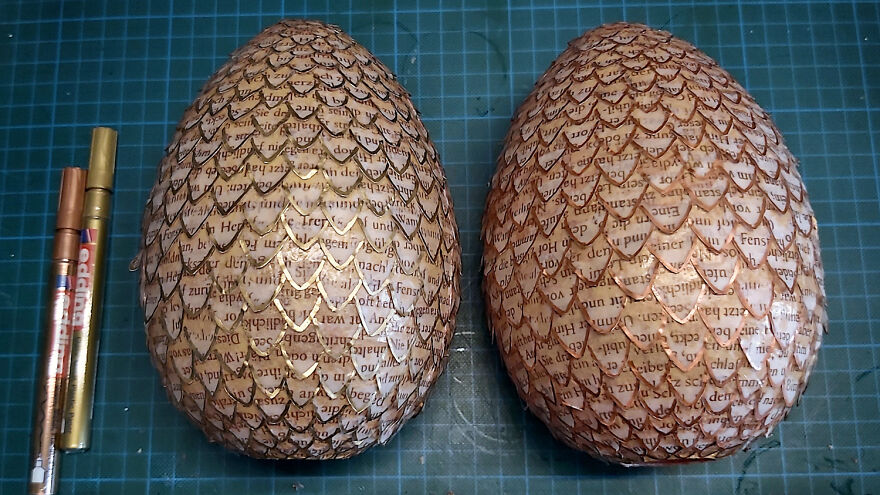
These I cut out of strong transparent paper, which I have previously printed with text, and glue them on my eggs layer by layer…
…before I add a contour line to each scale.
Now that the nest, eggs and books are finished, all that’s missing are the tiny dragons.
I start the construction of the dragon figures with a bent wire – the dragon’s backbone – on which I glue a cardboard rib cage and form it with modeling clay.
I add hip bones and shoulder blades of cardboard and further shape the body with aluminum foil.
After the legs and tail are added, I first cover everything with papier-mâché and then shape it further with modeling clay.
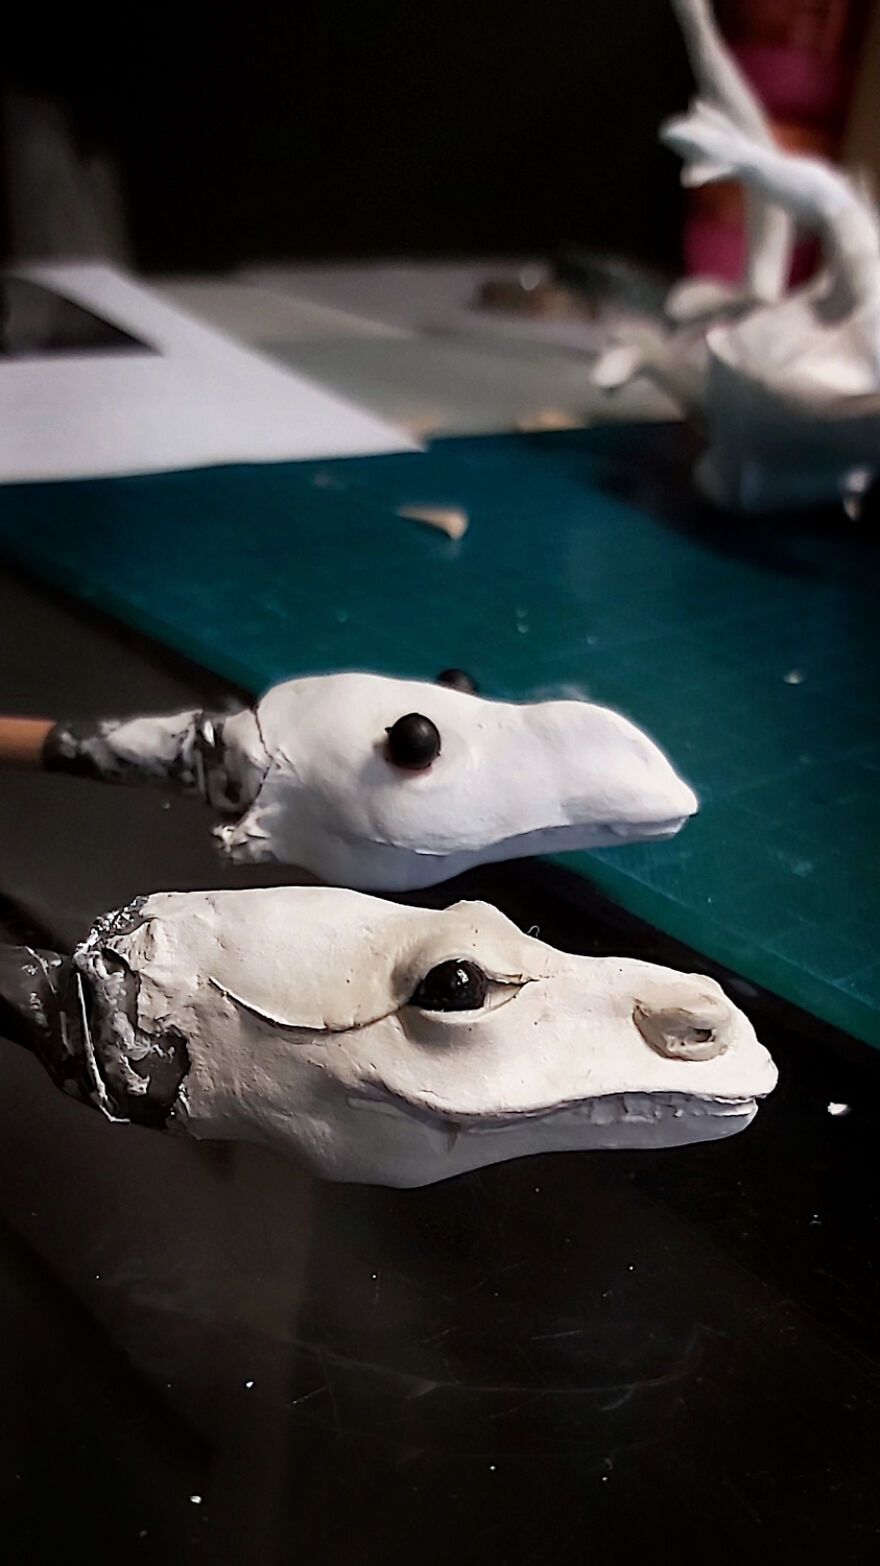
The heads of the two dragons are finally built separately. For this I build a small holder/ substructure out of sticks and foil, on which I can comfortably work on. So I create the basic shapes of two heads from modeling clay and pins (for the eyes). After the heads are dry, I can carefully pull them from their substructure of foil…
…and fix them to the necks of the figures.
Last but not least I build the dragon wings. Herefore I start with a bone framework from wooden sticks that I connect to one another with wire and thin papier-mâché.
The next step is to stretch a hankie soaked in glue over this basic framework. This hardens amazingly sturdy so that later I only have to cut it a little into shape for getting some proper dragon wings!
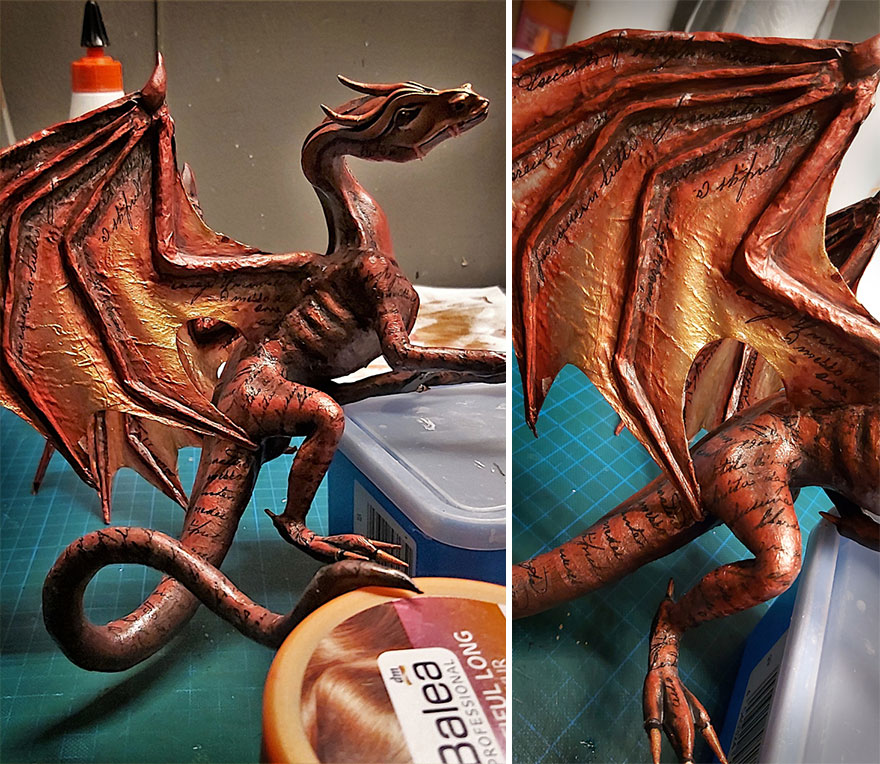
All parts of my dragons are now complete, so I can attach the wings finally start painting the figures. As a final touch, the dragons get their pattern of script marks – these are glued on bit by bit using the napkin technique.
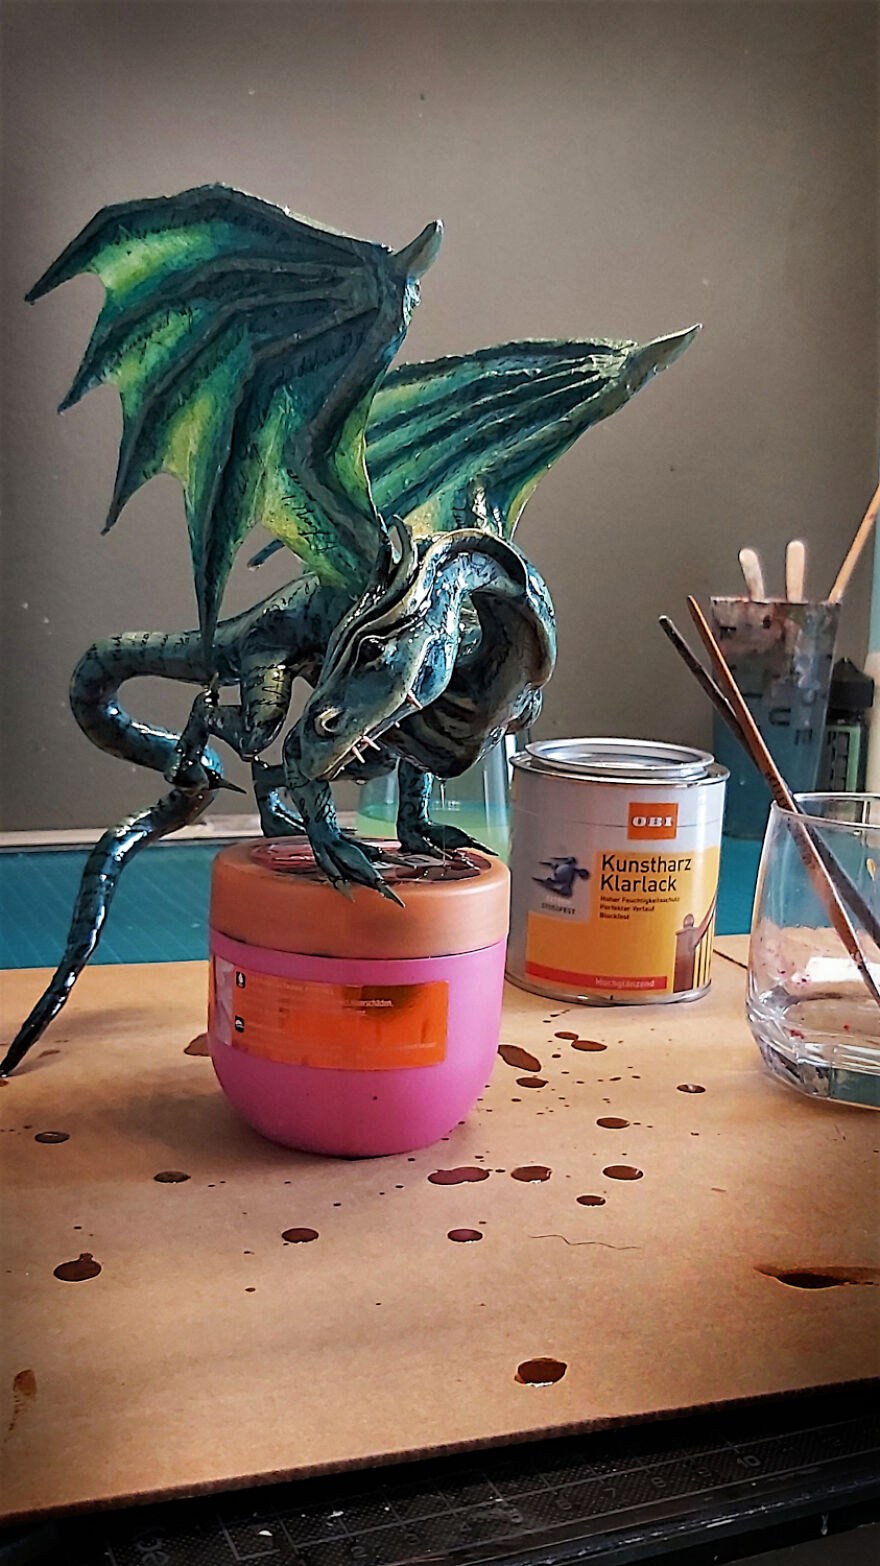
Of course, not only one dragon is painted – at the same time as the first, red dragon, another green one is created. After both figures are finished painting, I varnish them with high gloss varnish (after all, they are supposed to look freshly hatched and pretty wet).
And after the dragons are finally fixed in their intended places on the book pile, my dragon lamp is finally finished!
What made this work so versatile and interesting was that it not only gave me the opportunity to finally indulge in figure making again, I could also try out a new technique: The construction of a thin, translucent, and yet stable amorphous basic form—in this case, a glowing dragon nest, which is also the centerpiece of the lamp. Three dragon eggs are now smoldering in it, and two of the three dragons have already hatched from them and are climbing all over their literary forefathers, while the third is still blissfully slumbering in its egg.
So with the glowing nest and the illuminated eggs this time, the construction and the new techniques tested were all about building transparency—a relatively new construction aspect for me, which kept the project enormously interesting until its end… and besides, like Hagrid, I always wanted to see the hatching of a tiny little dragon myself!
6Kviews
Share on FacebookSuper talented and a wonderful lamp. (Never did figure out why people want to put scales on the EGG, but that's kind of irrelevant atm, this is a nice lamp!)
Hehe, thank you so much! And yes - you are absolutely right about the scales on the eggs. It's not logical at all when you think about it. But this is I think a classic case of the design principle that "effect sometimes trumps logic". The scales show at first glance that these are not normal eggs of normal animals, but eggs hatched in embers and fire - and are at the same time a clue to which animal we are talking about. I think that is the reason why this design is used so often. I personally liked it for the project because the scales give the eggs an additional interesting surface texture. Especially with the interior lighting they look a lot more interesting this way.
Load More Replies...Super talented and a wonderful lamp. (Never did figure out why people want to put scales on the EGG, but that's kind of irrelevant atm, this is a nice lamp!)
Hehe, thank you so much! And yes - you are absolutely right about the scales on the eggs. It's not logical at all when you think about it. But this is I think a classic case of the design principle that "effect sometimes trumps logic". The scales show at first glance that these are not normal eggs of normal animals, but eggs hatched in embers and fire - and are at the same time a clue to which animal we are talking about. I think that is the reason why this design is used so often. I personally liked it for the project because the scales give the eggs an additional interesting surface texture. Especially with the interior lighting they look a lot more interesting this way.
Load More Replies...
 Dark Mode

 No fees, cancel anytime




































119
27