It is known to everyone – from young to old – that in the winter cute bears are fast asleep :) Curled up, their noses are covered with their paws and they see colored dreams. But few people guess that on the eve of the New Year and the main fairy-tale night polar bears are not averse to wake up! After all, when else do you want to make gifts for friends of the little girl, the chanterelle, and the rabbit?
Yes, and take a walk through the snow-covered forest, you have to play snowballs, and ride on the sleds – and if you stay on your side, the winter will pass in a jiffy!
Therefore, our New Year’s Bear decided to go to visit his forest friends – he dressed and warmed and went on the road!
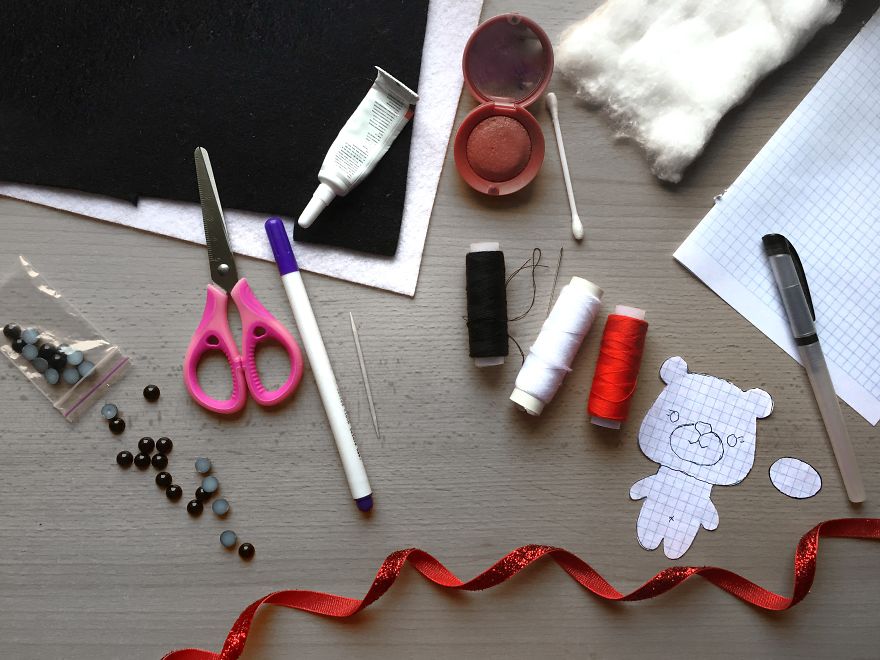
So, for sewing a handmade toy called New Year’s Bear, we need:
- Soft felt of white color
- Soft felt of black color
- Black beads
- Synthesis or cotton wool
- Marker on the fabric
- Red ribbon
- Ruler
- Toothpick
- Blush or art pastel
- White and black thread
- Scissors.
- Needle
- Adhesive for fabric (or glue gun)
More info: Etsy
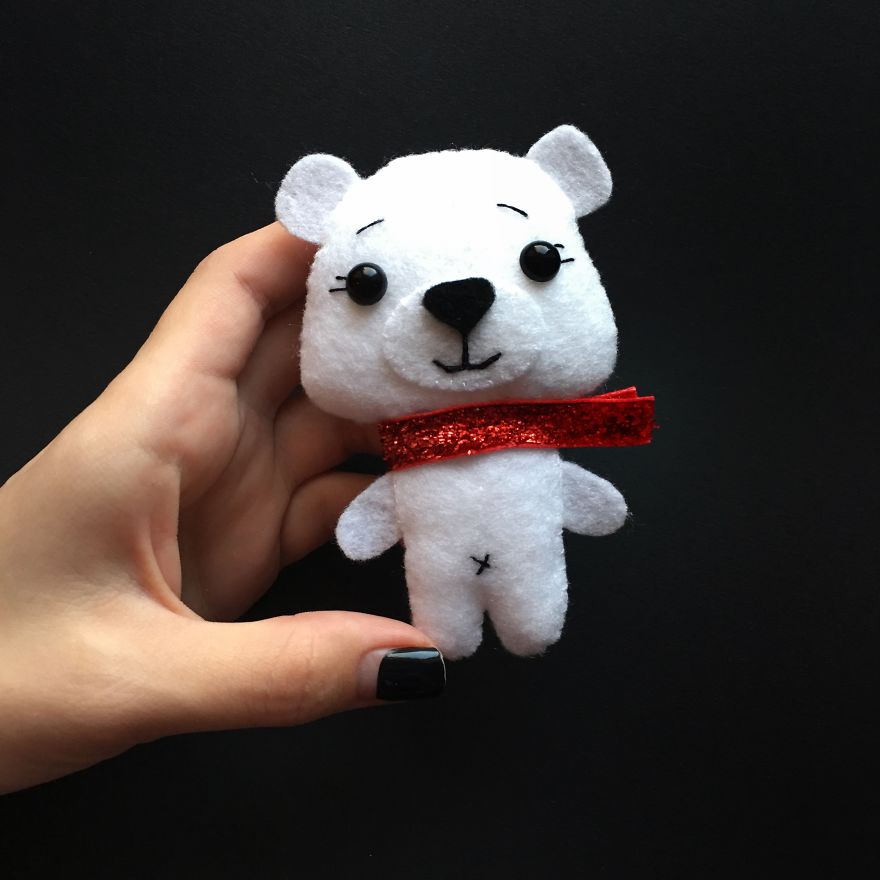
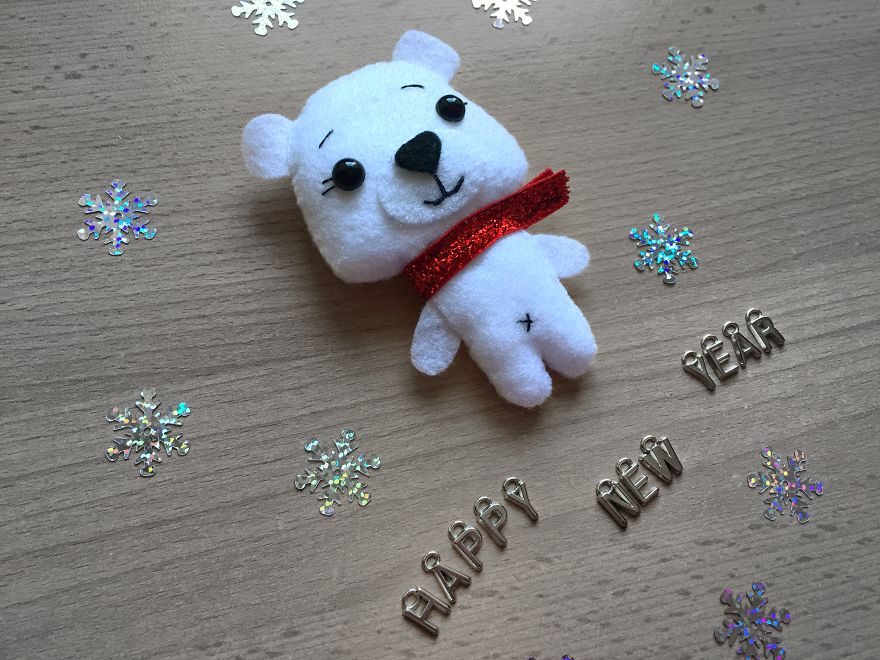
Here is the finished bear
What we need
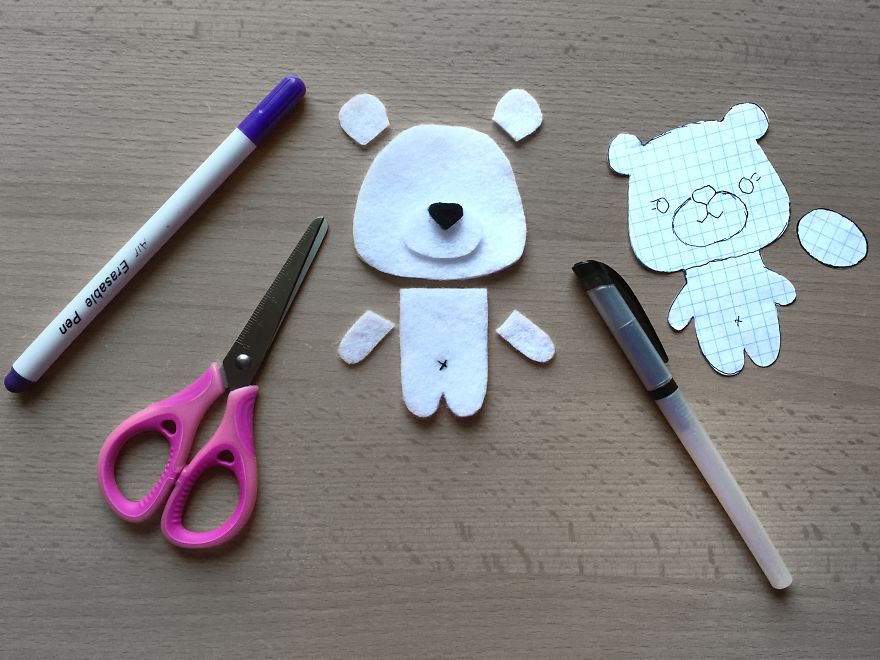
First, we cut out all the elements we need
Make sure that all patterns are smooth and symmetrical (this can be checked by folding the pattern in half)
A small detail of the muzzle should be located exactly and at the same distance from the edge of the white base
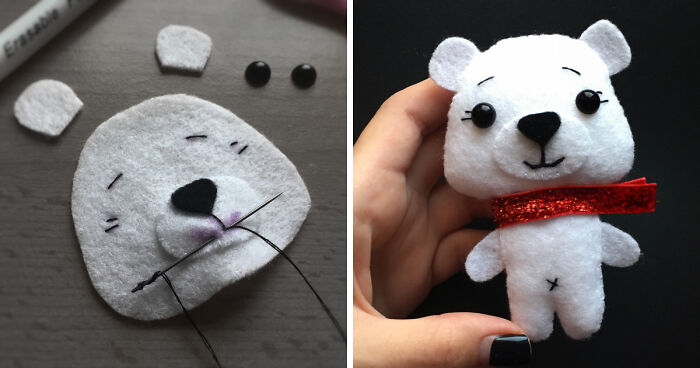
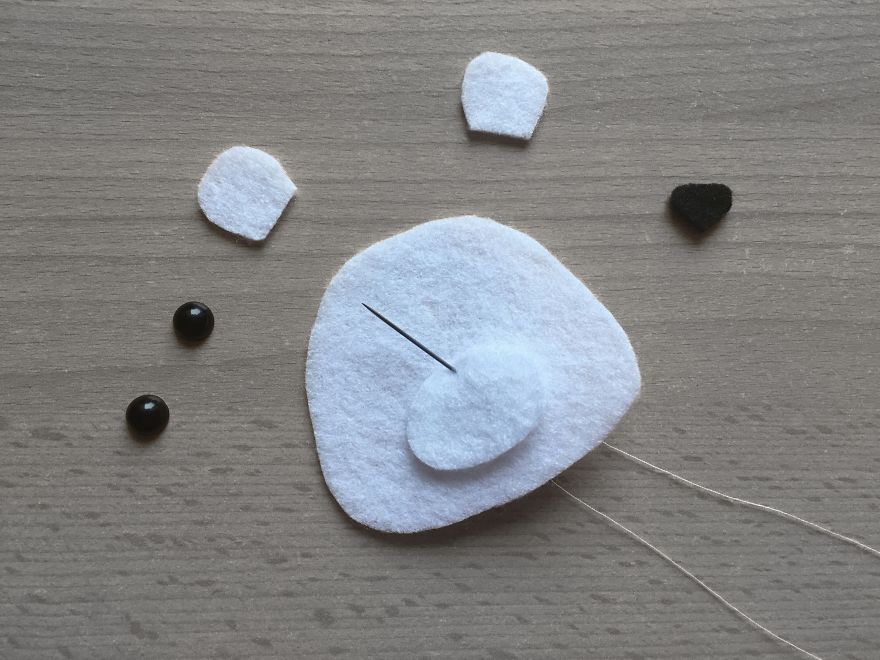
Let’s start this DIY project by sewing our New Year’s Bear face. We take a needle with a single thread in the color of felt chosen for your face and pass it from the backside in place, as shown in the photo.
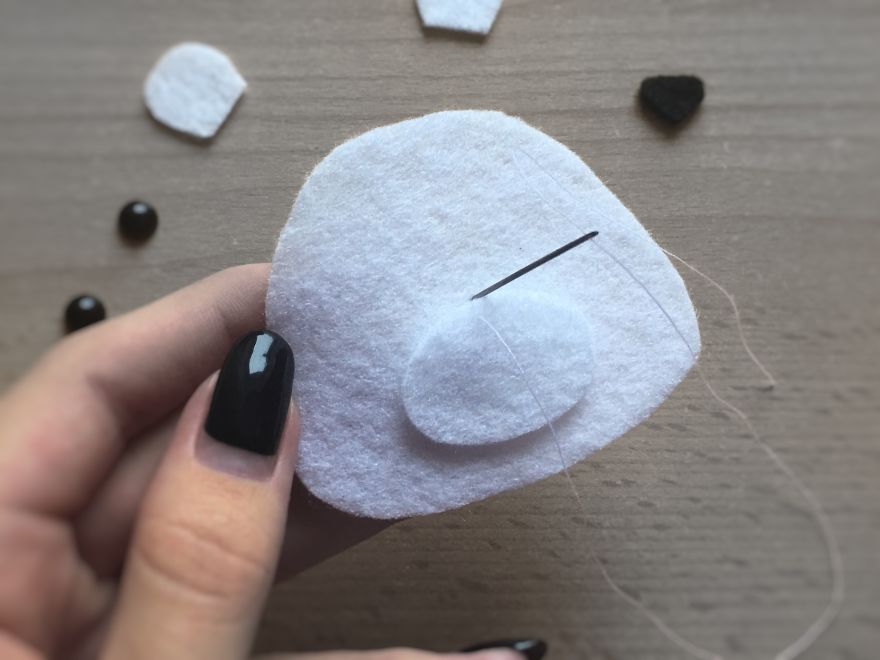
Further, we pass the needle directly above our “point of origin”
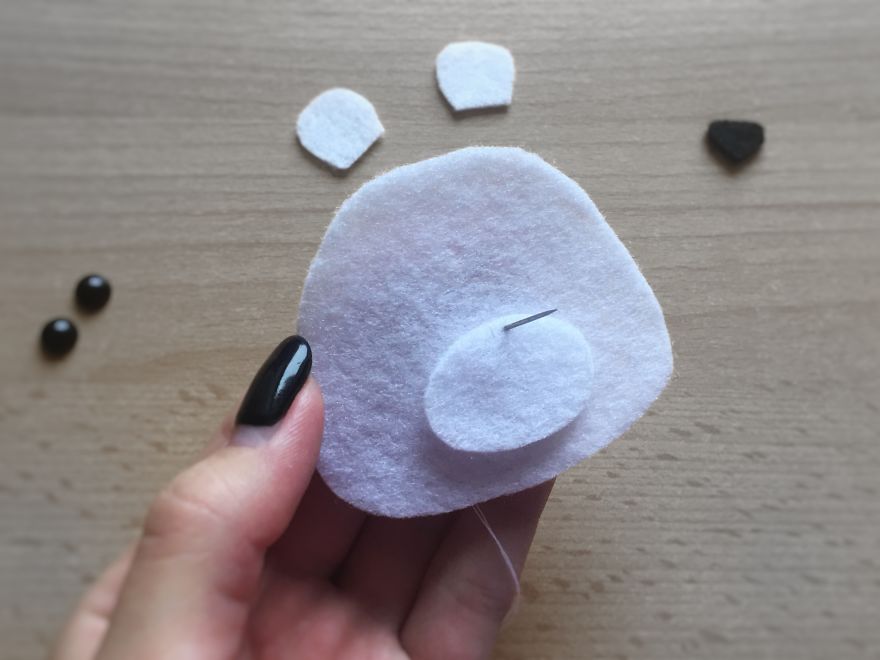
As a result, we get such a vertical stitch
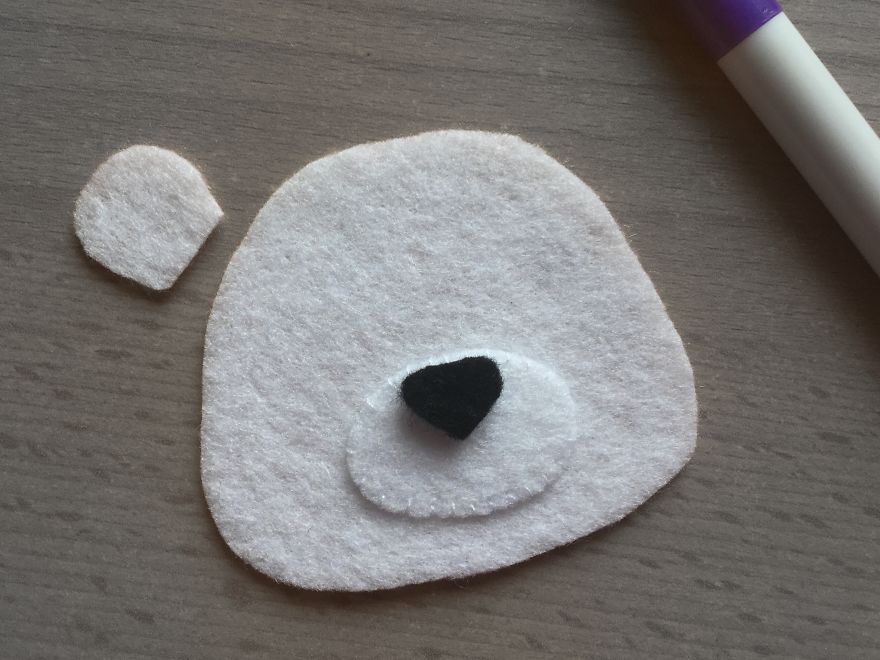
In this way, we pierce the entire detail of the muzzle
We take a carved nose (or a special plastic spout for toy animals) and glue it to the plush toy’s muzzle. Again, make sure that it is located at the same distance from the edge of our white base-pattern.
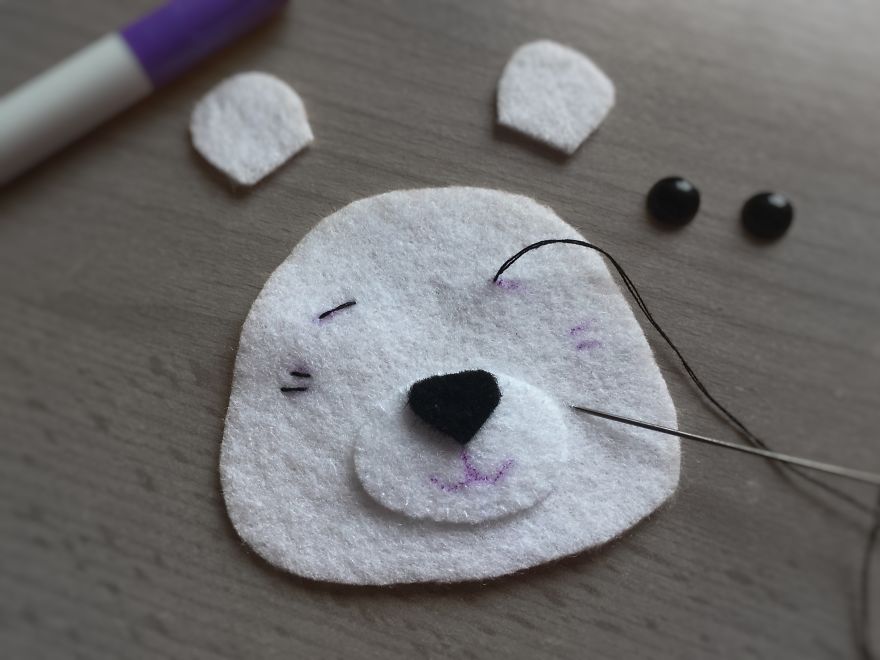
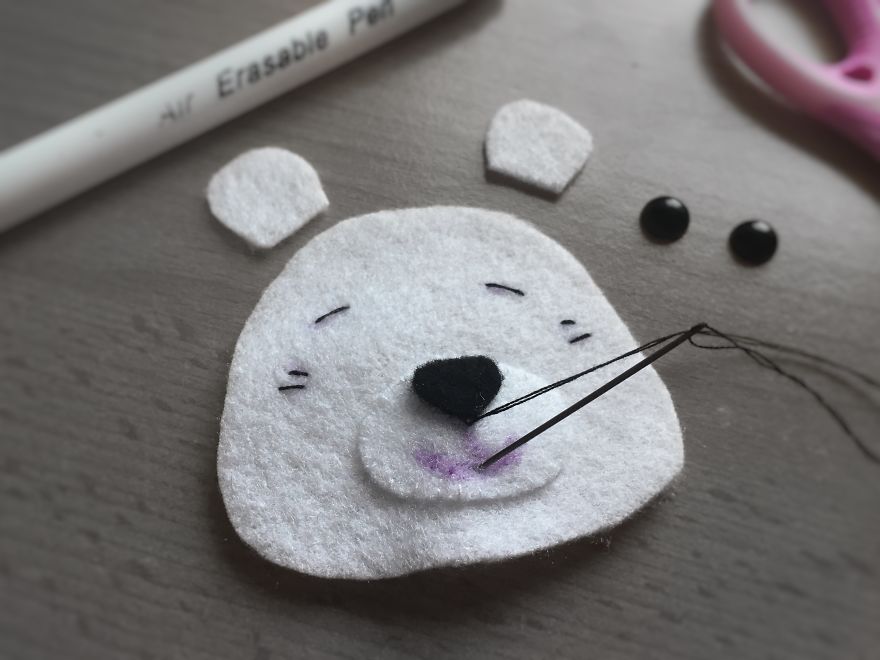
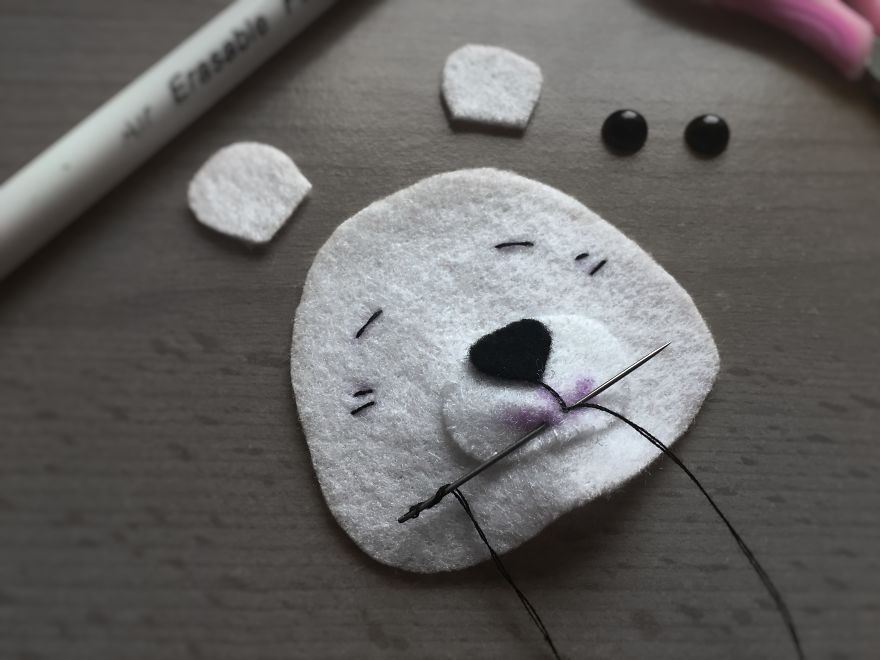
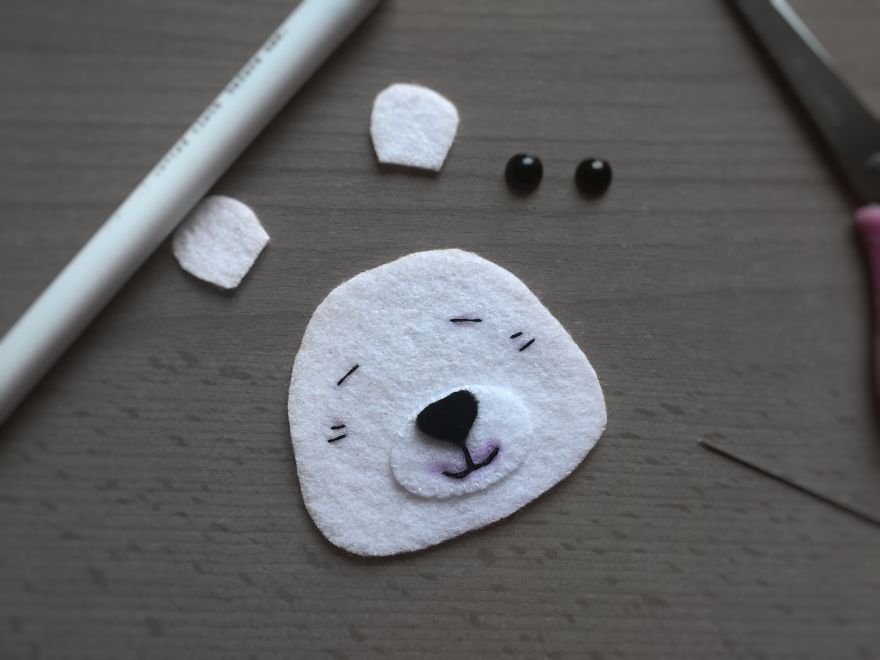
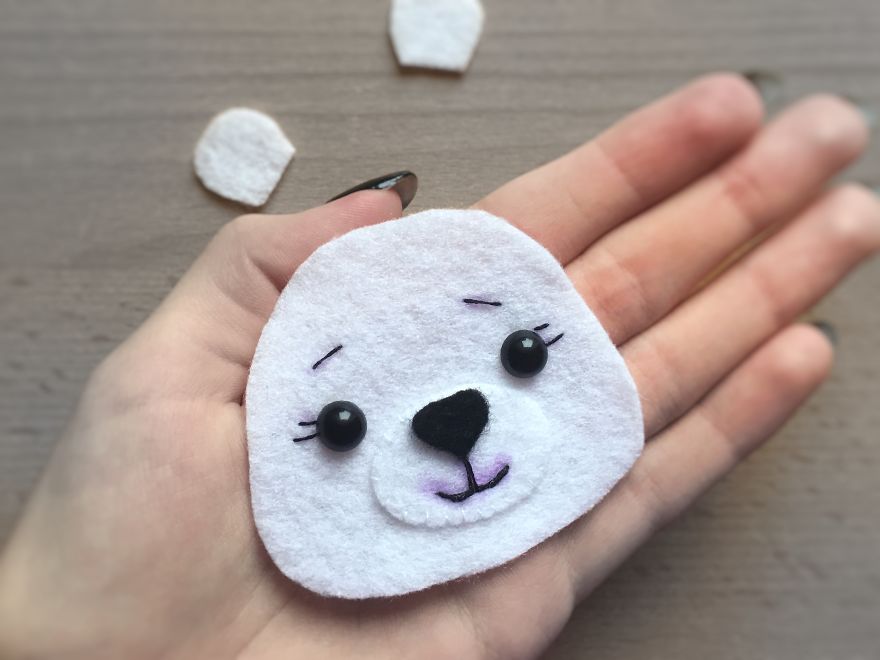
Now take a black thread and stitch eyelashes, eyebrows and mouth
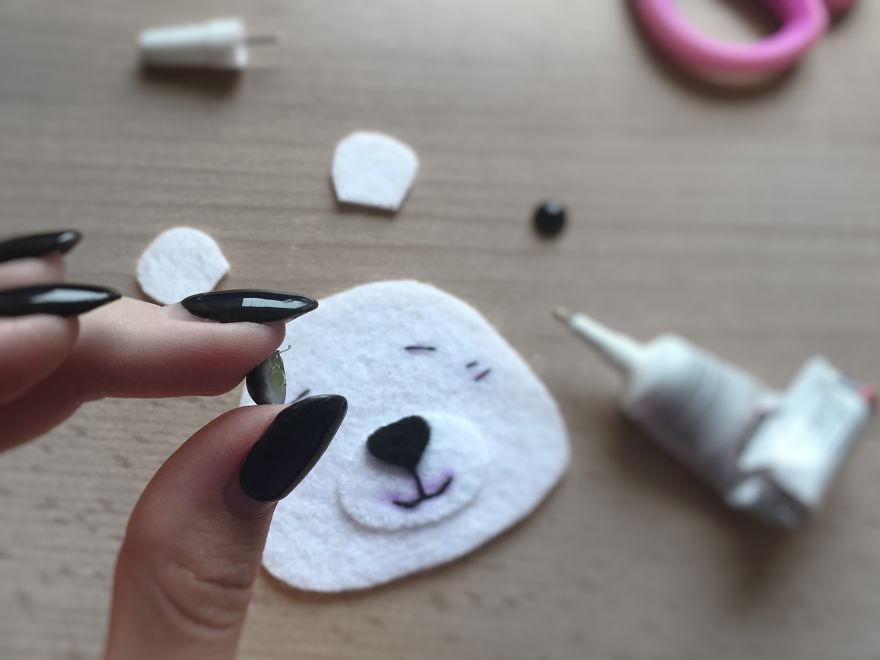
We take the glue and glue the eyes
I think it turns out very cute
We continue sewing the head of the toy
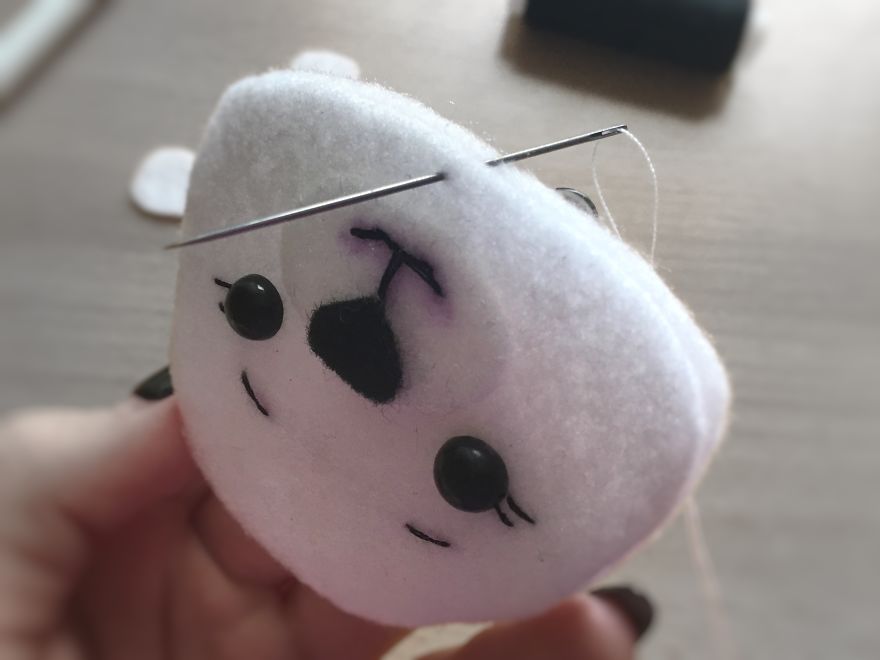
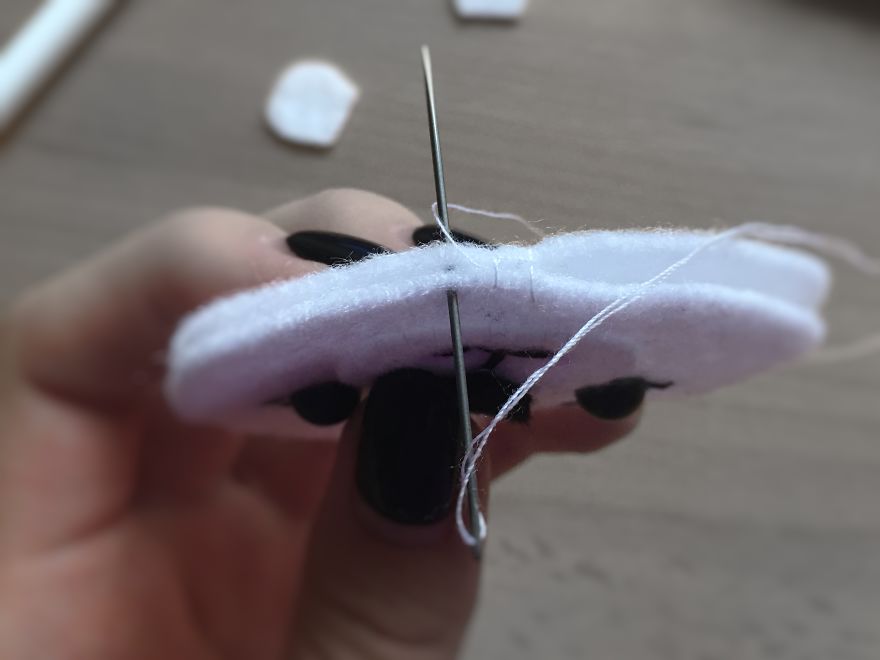
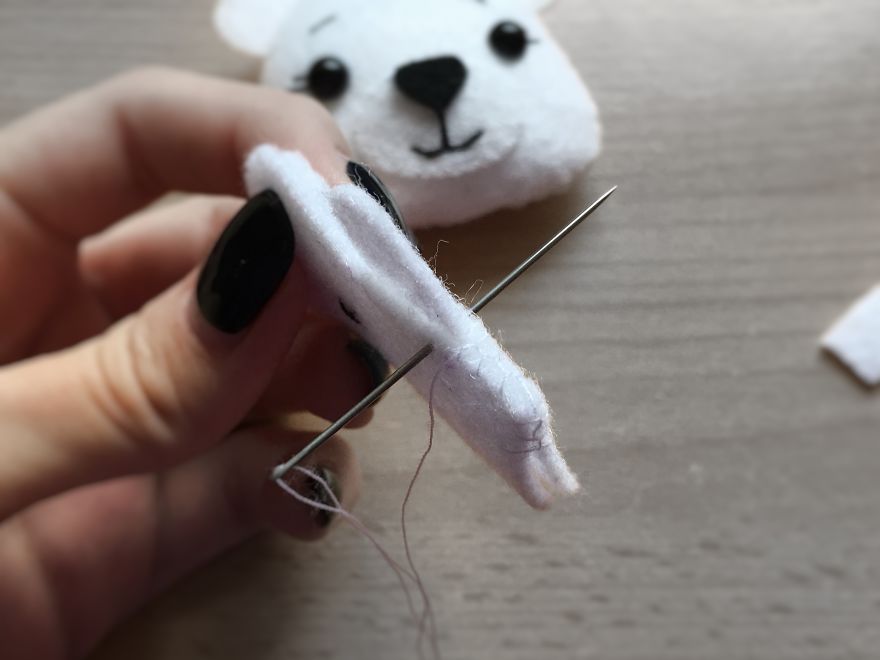
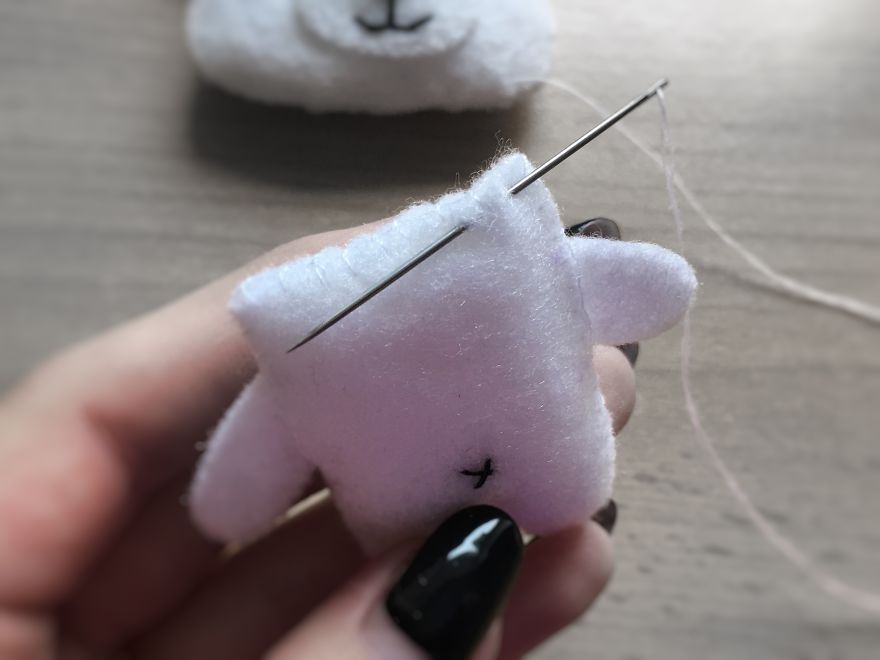
We take the facial detail with the face and its opposite side. Now we learn how to sheathe our little muzzle with a stitch. We take for this needle with a single thread under the color of white felt.We pass the needle with a single thread into the color of our white felt from the inside to the front side at a small distance from the edge of the part.
We set the needle back and pass it at the same distance from the edge of the eyelet, and the needle should return to the original place on the front side. As a result, we will get such a loop
We put the needle in the loop and tighten it
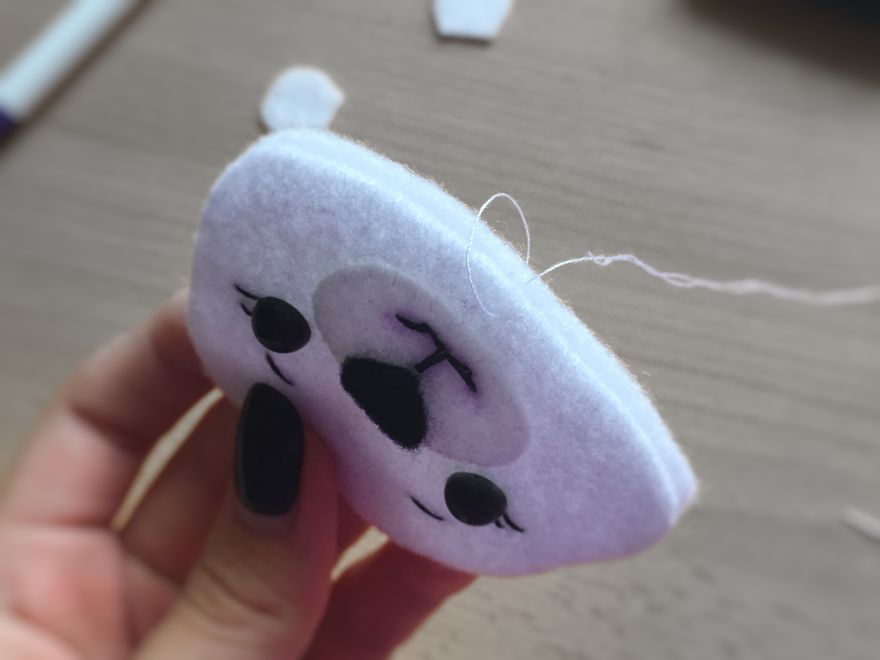
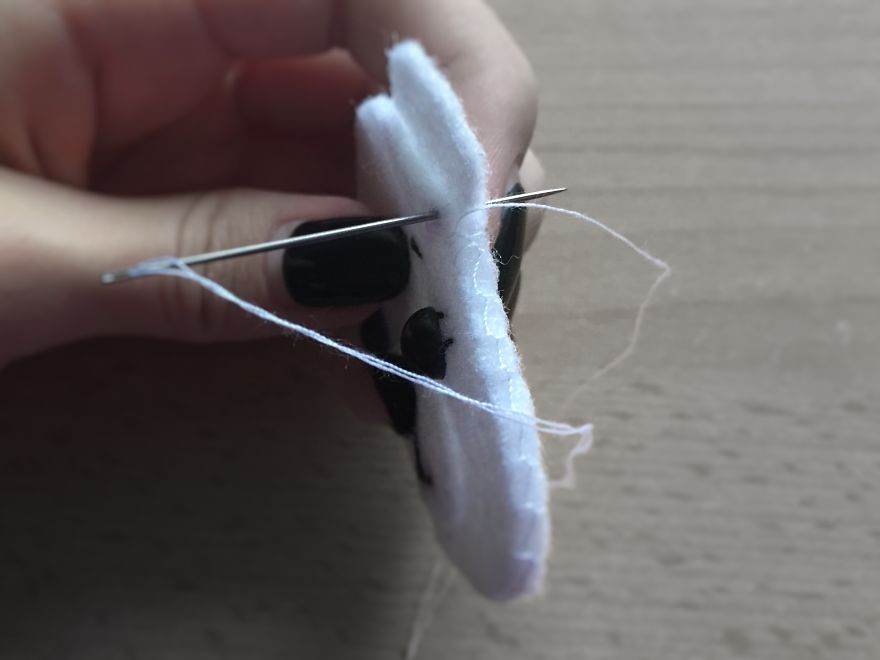
The same we continue to sew on
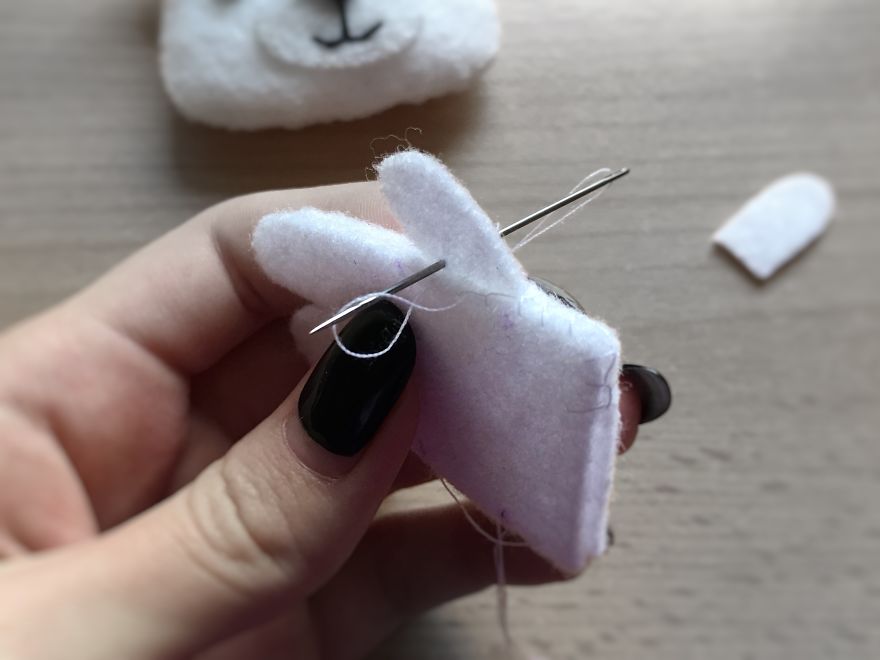
We introduce the needle directly into the ear – in the place directly above the point from which the needle and thread came out
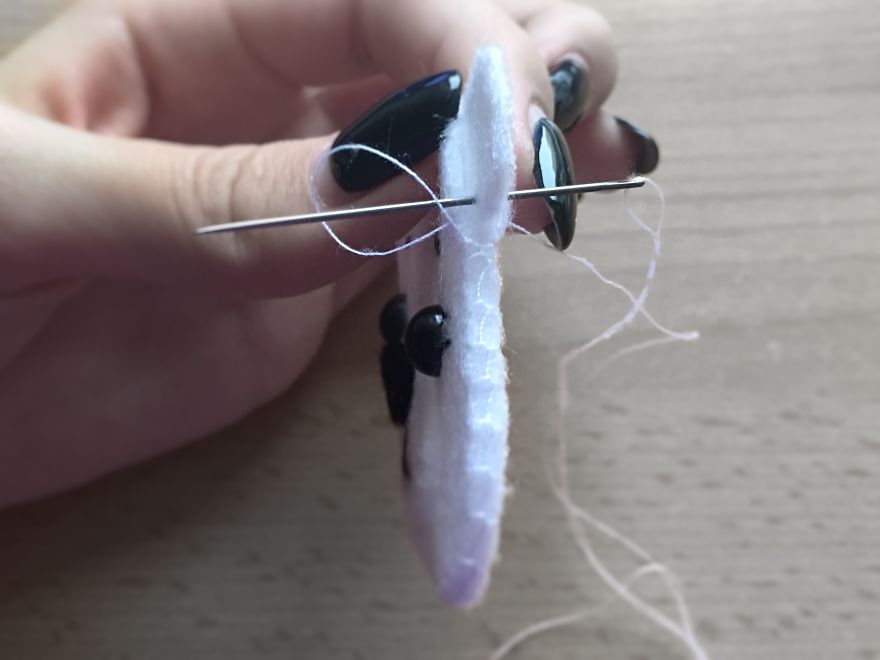
In the end, the needle will also end in the ear directly above the original place
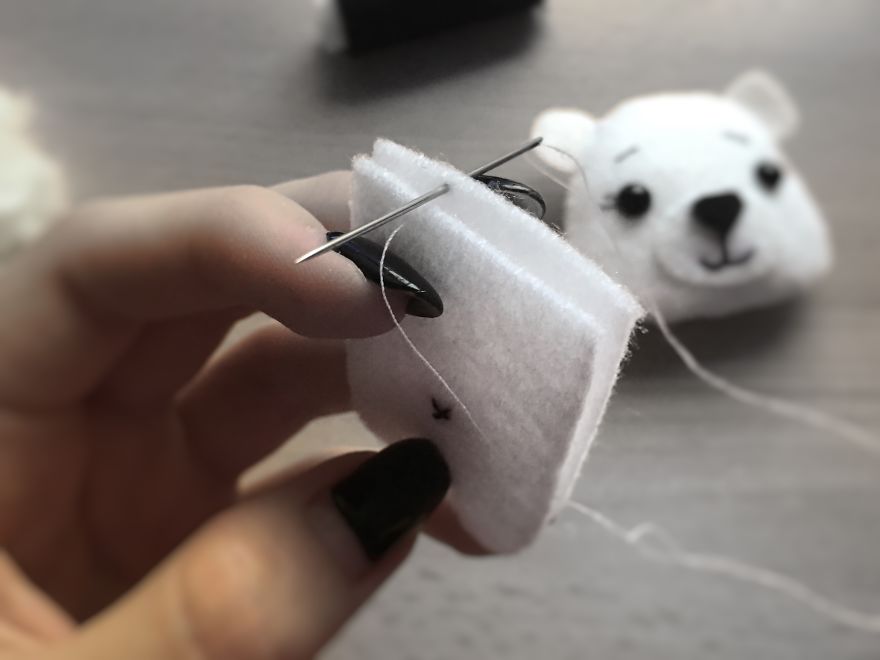
In the resulting loop, insert the needle and tighten. This is the kind of seam that looks like a loop.
The next step: filling the head with cotton wool
Don’t forget to sew the teddy bear’s hands
We sew the body with a stitch, leaving a place for stuffing in the neck.do not forget to sew the teddy bear’s hands
We stuff the torso of the bears tightly and evenly
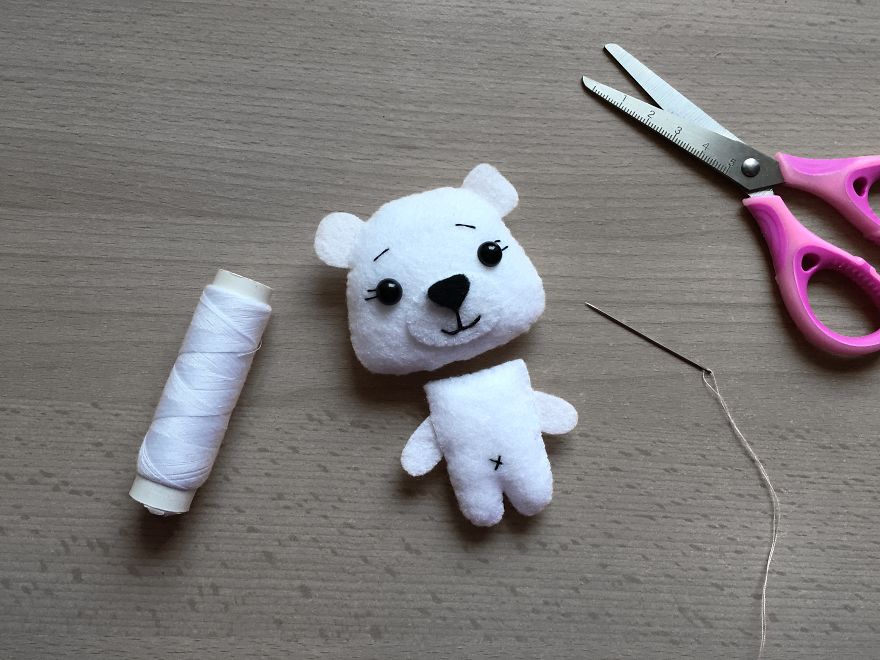
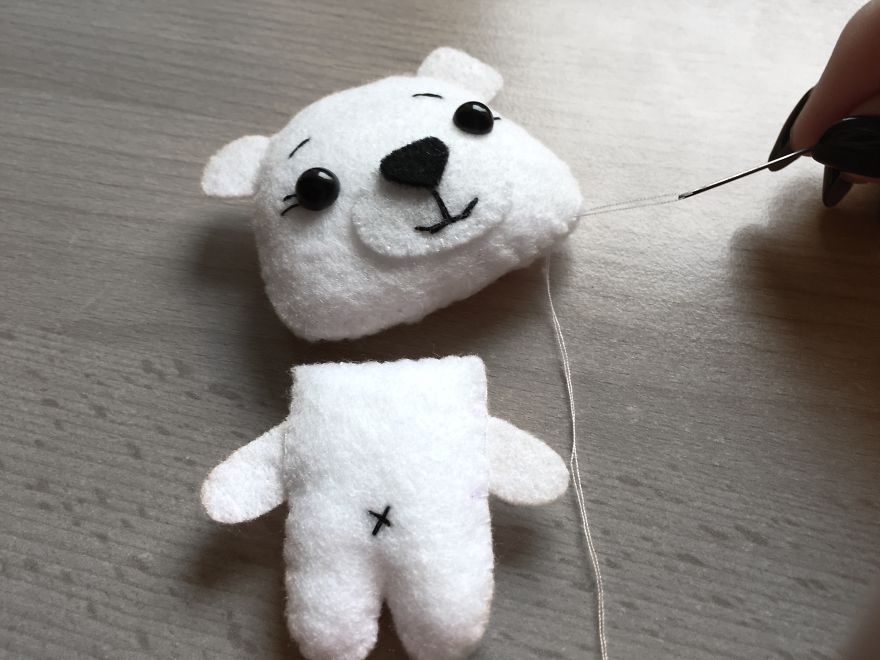
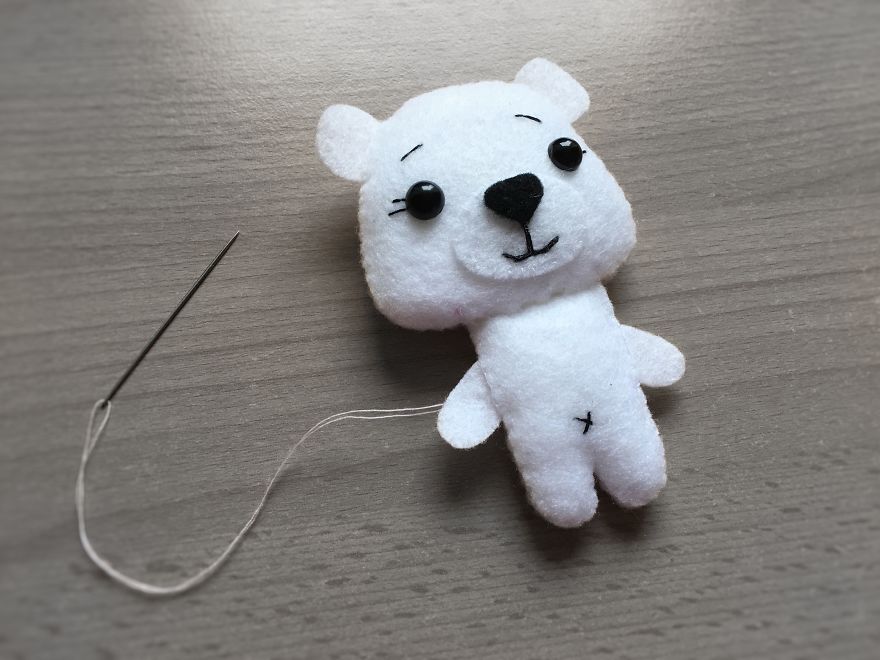
Our Bear is almost ready! It remains to firmly attach the head to the body.
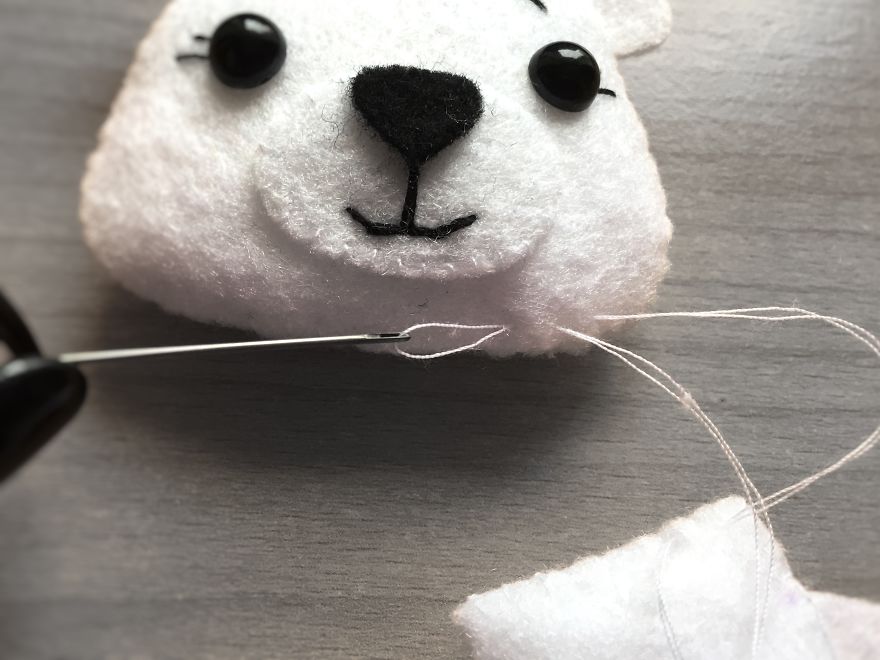
For more convenience, mark the marker on the edges of the head and on the neck where the stitch will begin and end. We take a needle with double thread under the color of white felt and pass it as shown in the photo.
Then we pass the needle through the edge of the trunk (the needle in both the muzzle and the trunk will pass 3-4 mm from the edge). As a result, we will get a secret seam
Then we go up again, then again through the trunk. Each time tighten the seams
On the reverse side of the needle is also in the trunk. Then we sew according to the same scheme.
Well, say hello to our bear!
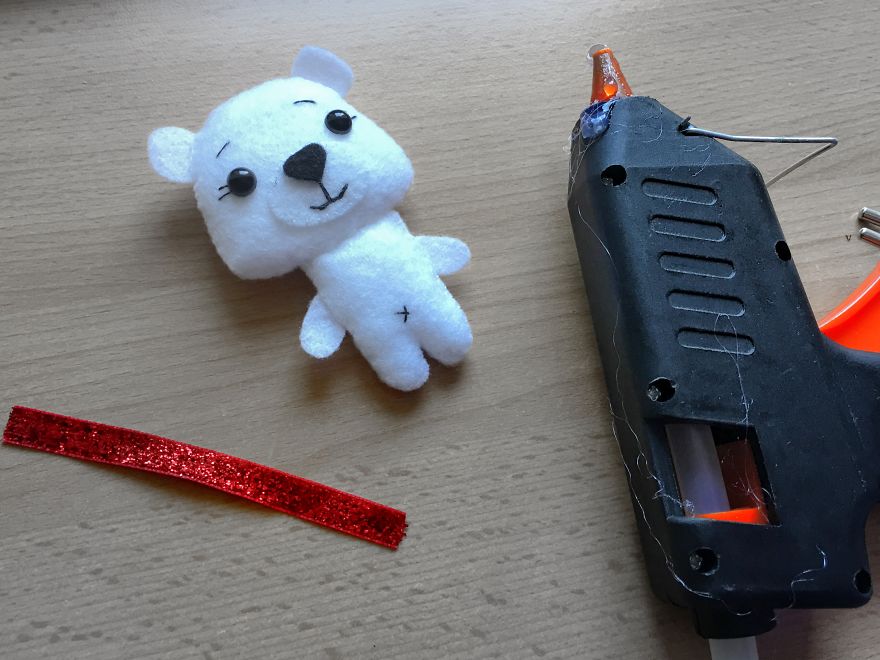
Add a small but important detail . We take a piece of tape and glue it with glue on the neck. We get a scarf
Ready ! Very cute and warm New Year’s bear, is not it?Now you can give this gift it to your relatives or decorate your house for Christmas and New Year
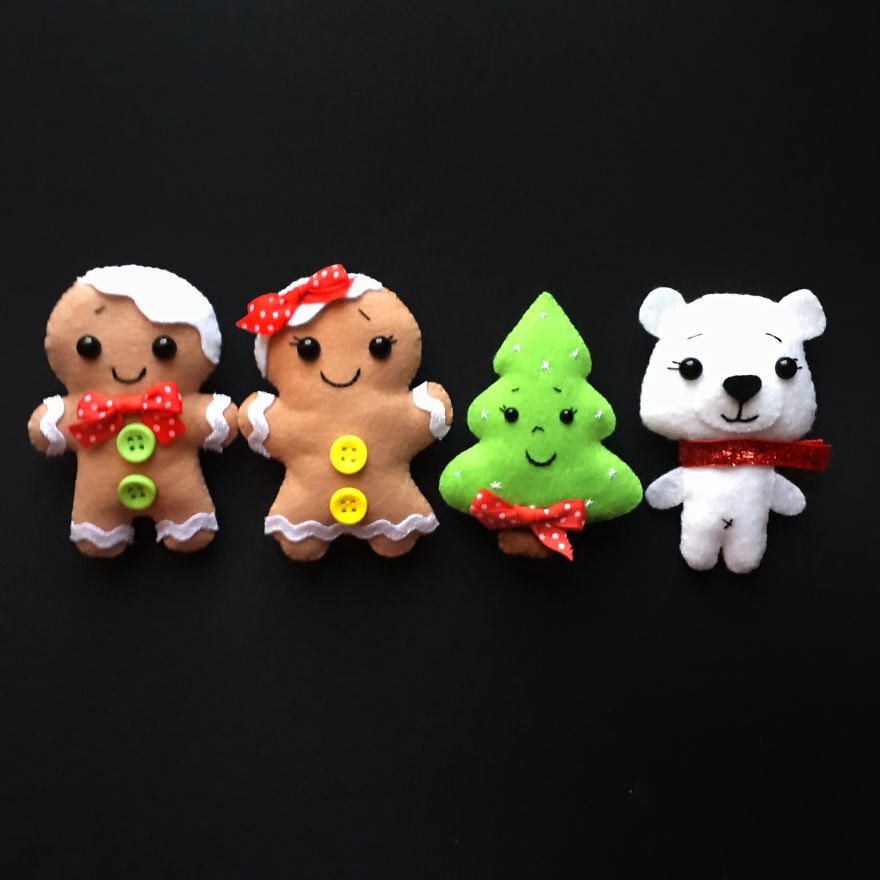
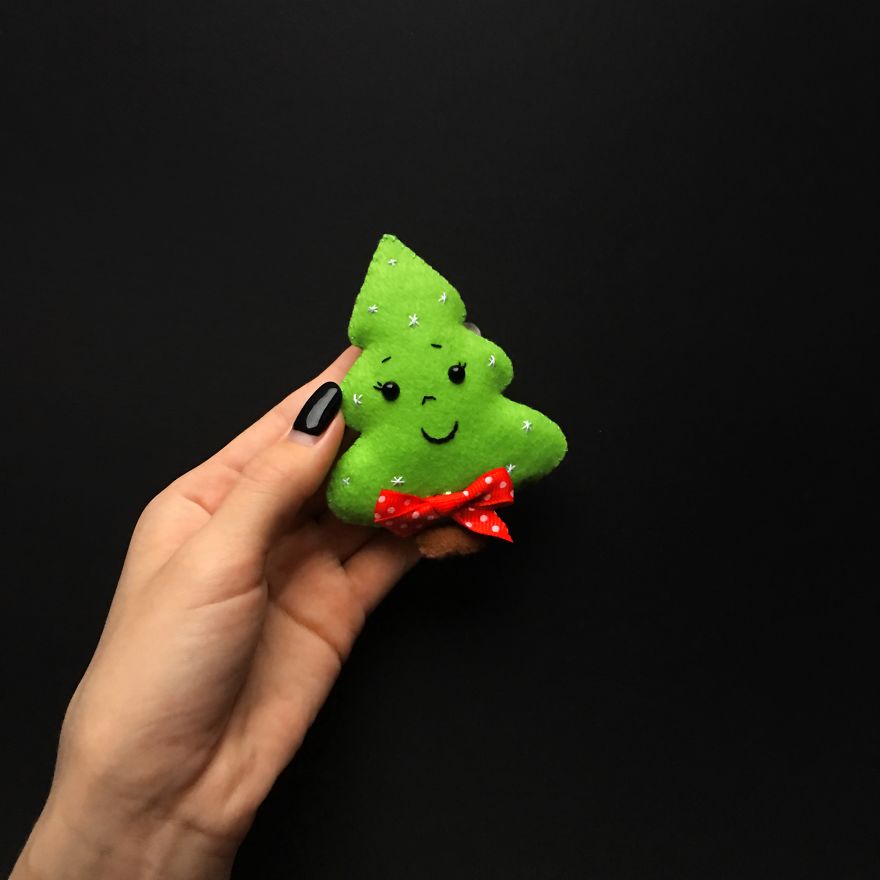
Other fun toys you can make yourself
9Kviews
Share on FacebookI am completely untalented but you made this seem so easy, I might actually try it. They look awesome!
These don't look that hard and they're so cute! (Well, when I make them, they'll look like zombies, but cute anyway!)
Wow... Thanks for sharing this. I've bought quite a few felt appliqué kits and it never occurred to me to just create your own pattern. Silly me! Will definitely be making this for Christmas. So freaking adorable!
This is a really cool idea, but wouldn't it be better to use white thread between the legs. Black looks like he just went through surgery.
Well guess what i'll be doing this weekend....thank you sooo much.It looks soooo cute
Thank you!)sewing is a very interesting activity.
Load More Replies...Very cute and clever, and with some very small changes, the bear could be a cat, dog or rabbit.
Yes, this toy is not very difficult to make.It is possible to change the color and ears and there will be a rabbit)
Load More Replies...cause you might want a bear (i dunno you clicked it)
Load More Replies...I am completely untalented but you made this seem so easy, I might actually try it. They look awesome!
These don't look that hard and they're so cute! (Well, when I make them, they'll look like zombies, but cute anyway!)
Wow... Thanks for sharing this. I've bought quite a few felt appliqué kits and it never occurred to me to just create your own pattern. Silly me! Will definitely be making this for Christmas. So freaking adorable!
This is a really cool idea, but wouldn't it be better to use white thread between the legs. Black looks like he just went through surgery.
Well guess what i'll be doing this weekend....thank you sooo much.It looks soooo cute
Thank you!)sewing is a very interesting activity.
Load More Replies...Very cute and clever, and with some very small changes, the bear could be a cat, dog or rabbit.
Yes, this toy is not very difficult to make.It is possible to change the color and ears and there will be a rabbit)
Load More Replies...cause you might want a bear (i dunno you clicked it)
Load More Replies...
 Dark Mode

 No fees, cancel anytime


















176
17