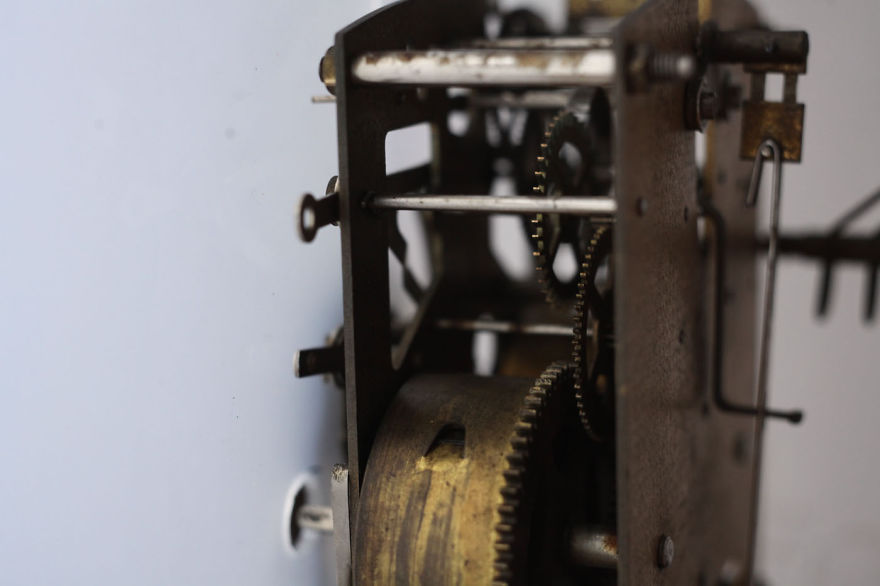
After a family trip to visit our relatives, my father brought back a full mechanical Smiths Enfield clock. Unfortunately, it wasn’t working properly, so we decided to spend some father and son bonding time repairing it.
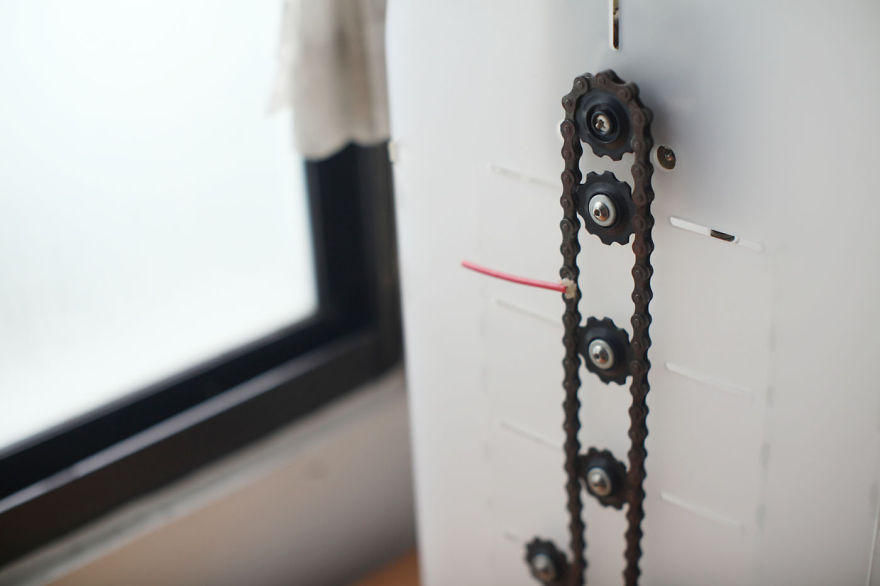
Since my last DIY bicycle chain clock, I’ve always been looking for a time-adjustable core which I can make that concept works, so here I made it into an unconventional working bicycle chain clock!
Hope you like this project. I would like to thank my father for sharing his experience back in his high school days working as a clock smith. This is not perfect and there’s definitely room for improvement. Hope this can inspire you to give new life to other vintage stuff. Please also check out the other DIY Bicycle Chandelier and tilt-shift photography projects!
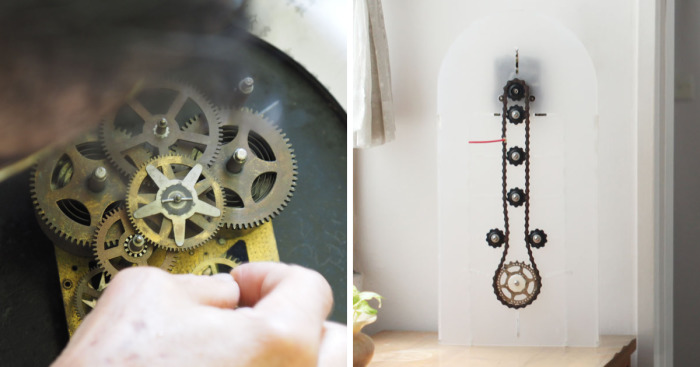
Bicycle chain clock mk2 next to my Italian road bike
The clock isn’t working, so we removed it from the wooden box
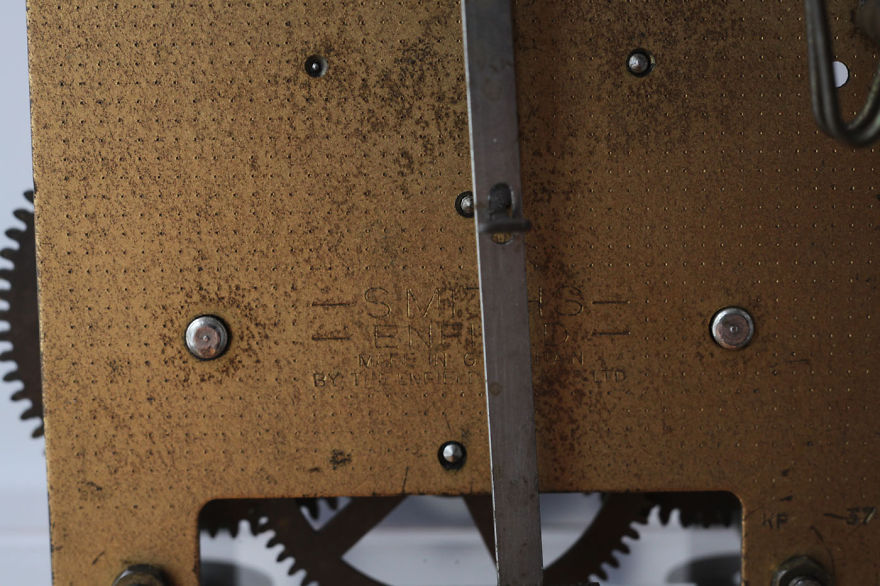
At the back it’s written “Smiths Enfield, made in G. Britain”
My father carefully removed the gears for diagnosis
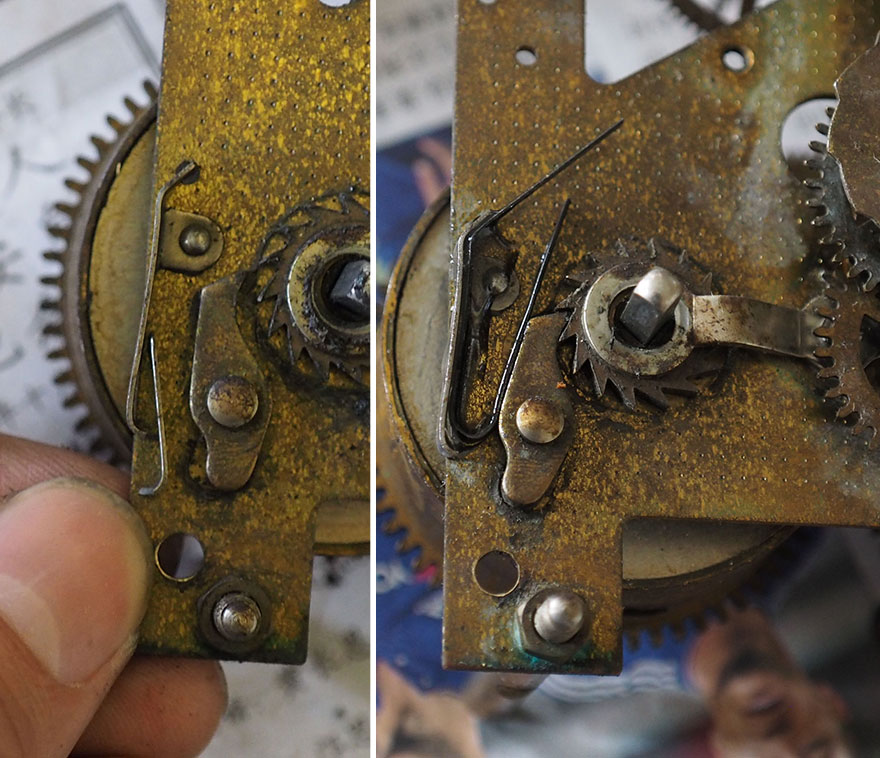
We discovered it was just a broken locking pin. We fixed it with a hair pin
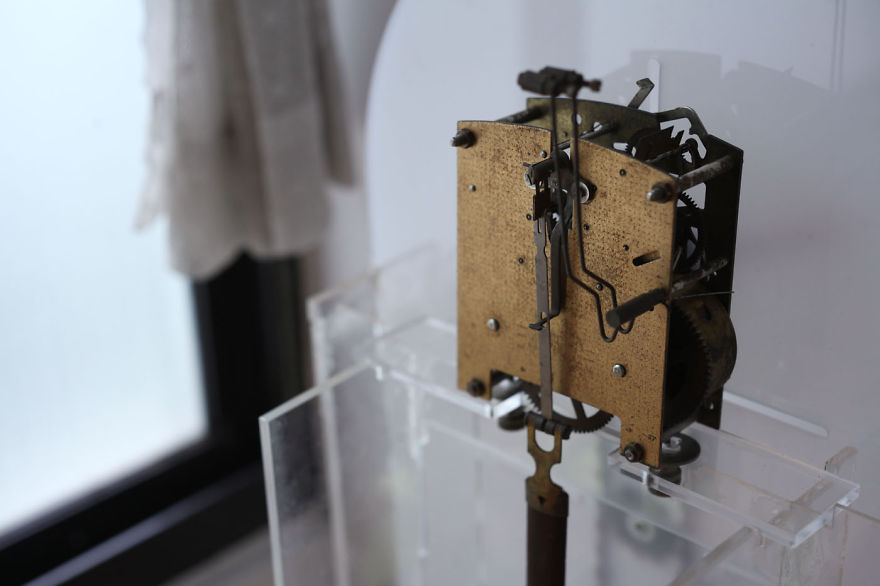
The clock structure was made with laser cut acrylic
I placed a larger cassette gear instead of the derailleur to add variations. The core is 3D printed to fit in a rotating shaft
Similar to mk1, you can tell the time from the position of the ugly red pin I anyhow picked
I should spend some time searching for a better-looking solution. The time between each cut on the acrylic is exactly 1 hour. The prototype 2’s grooves aren’t very visible, this is also something that should be improved with colored lines.
Lastly, the swing is put back on and able to calibrate the timing to match the angular rotation requirements
3Kviews
Share on Facebook
 Dark Mode

 No fees, cancel anytime









30
0