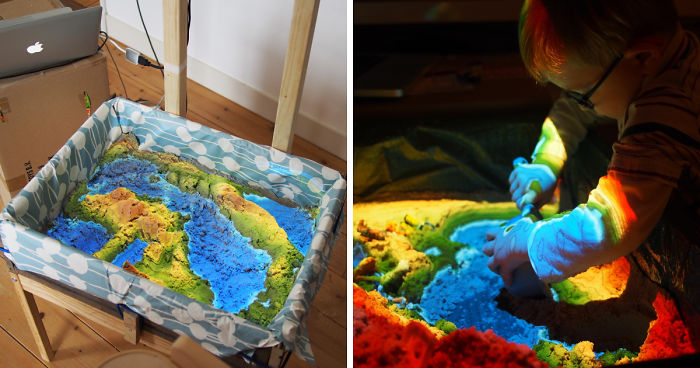
Fascinated by the SARndbox project developed at UC Davis, I decided to make a magic sandbox for my son’s birthday.
I already had some wood & sand left and I could easily borrow a projector from some friends, so all I was missing was a Kinect sensor that I found out to be actually very cheap on the second-hand market.
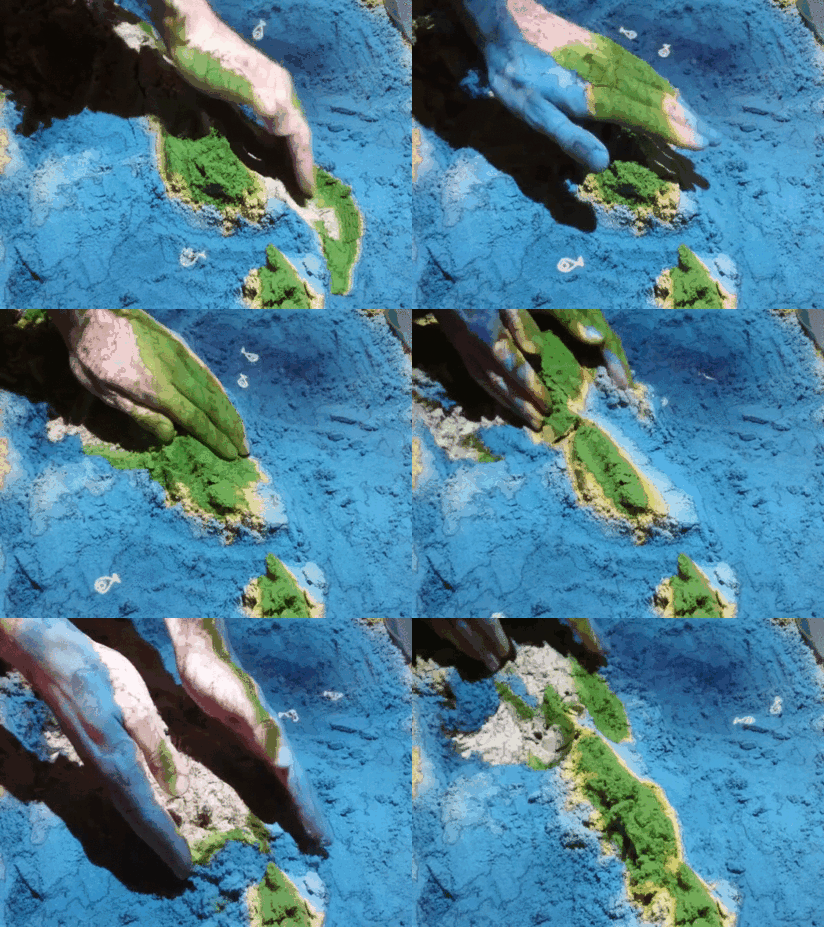
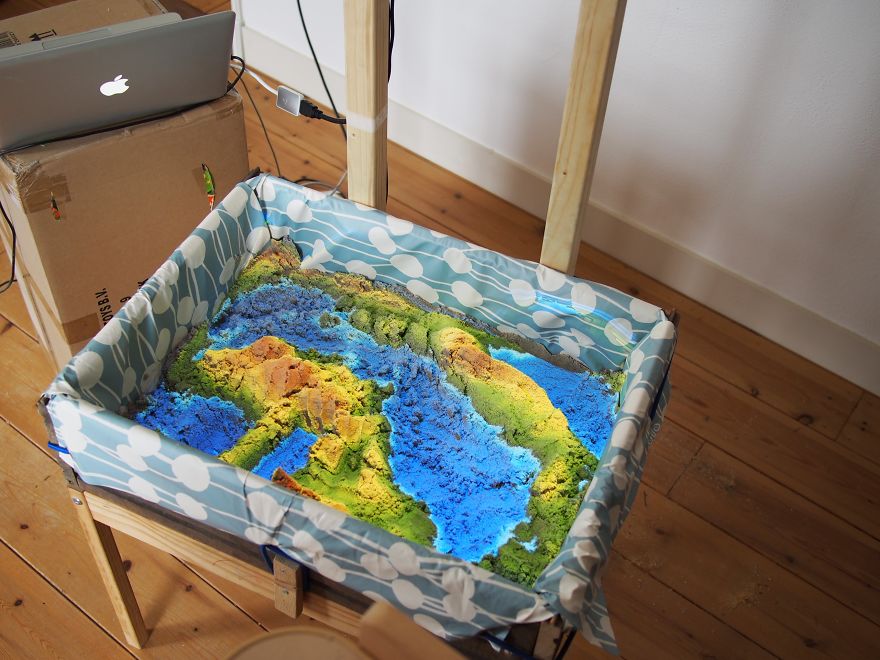
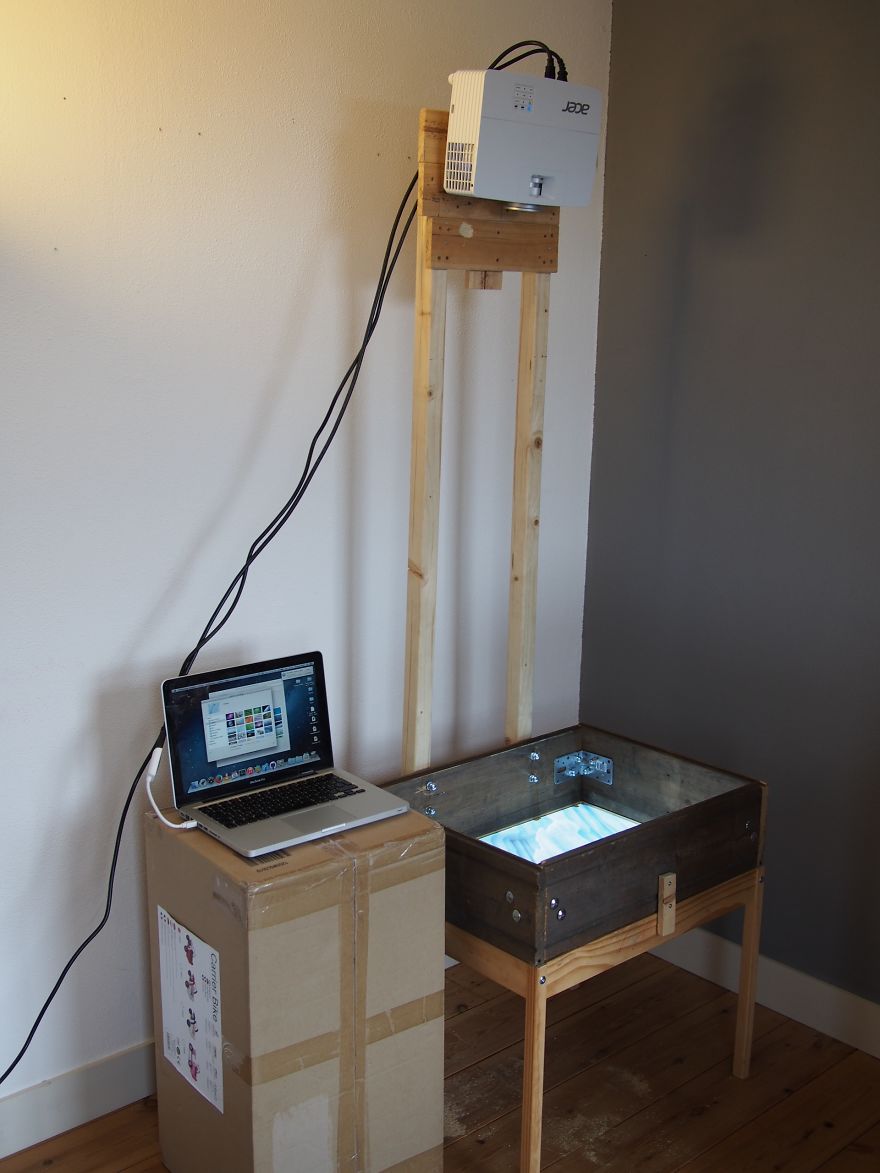
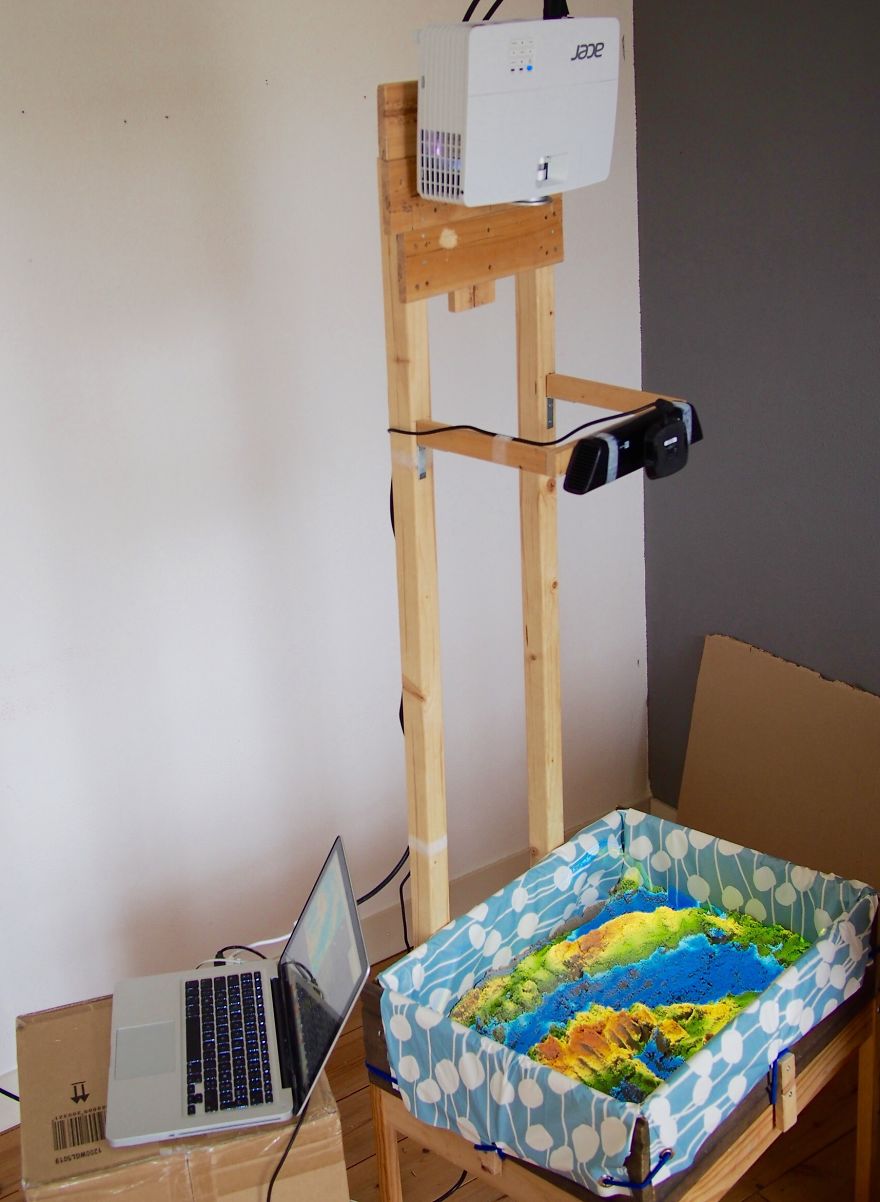
The principle of a magic sandbox is the following: a Kinect sensor checks the level of the sand, send it to a laptop then the laptop control the output of a projector hanging over the sand to project colors depending on the height.
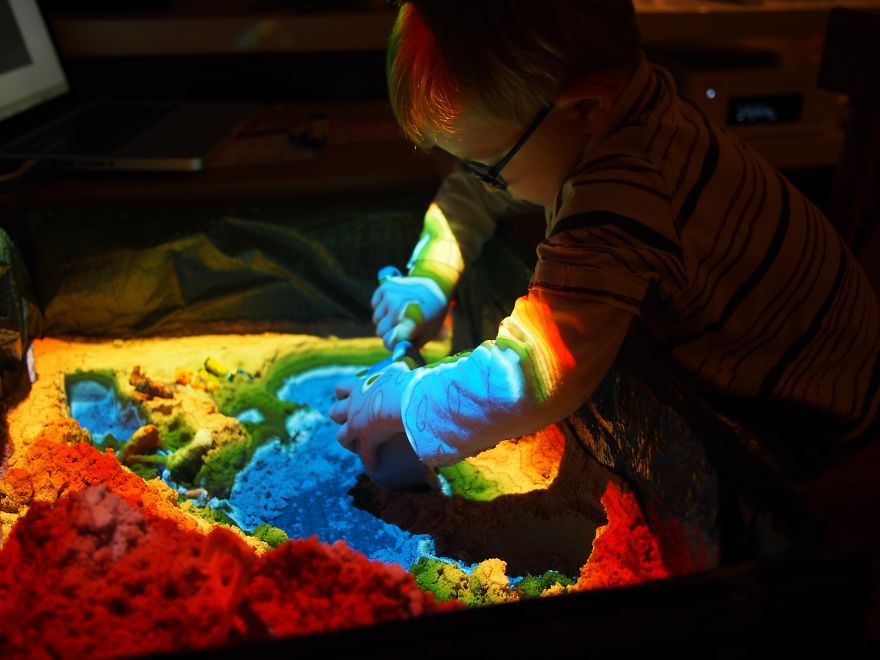
The magic sandbox is an amazing playground for kids. Our friends’ kids naturally gather around the sandbox when they come at our house and build lakes, mountains, tell stories and play adventures together. It is also a great way for a single kid to play an interactive game that is not on a screen and that help him develop its motor and cognitive skills.
More info: thomwolf.github.io
Fascinated by the SARndbox project developed at UC Davis, I decided to make a magic sandbox for my son’s birthday
This is the finished sandbox in action
And you can make one yourself
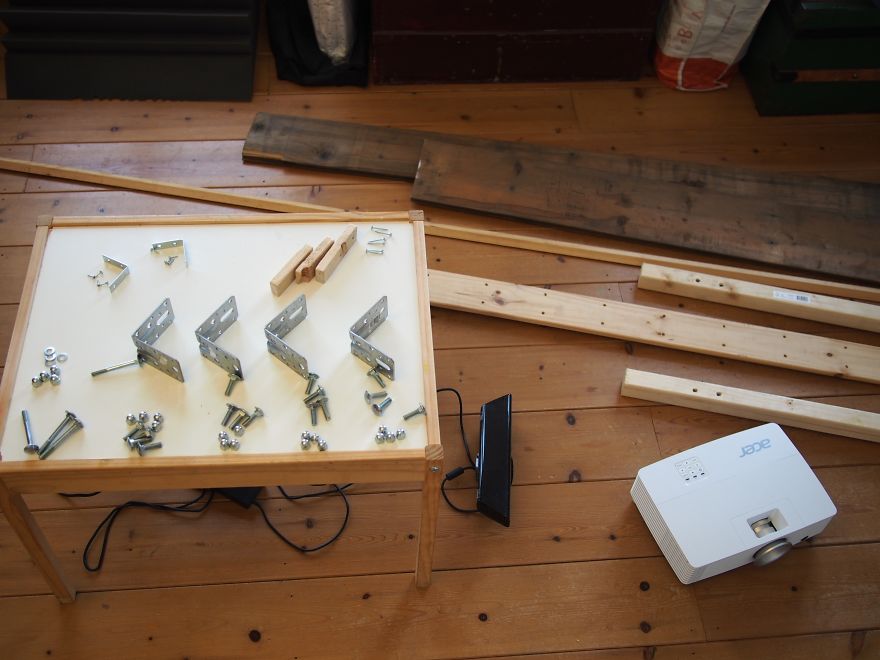
Basically, all you need to make a magic sandbox is a standard home projector, a kinect sensor for Xbox 360, some wood, L-angles, bolts and nuts
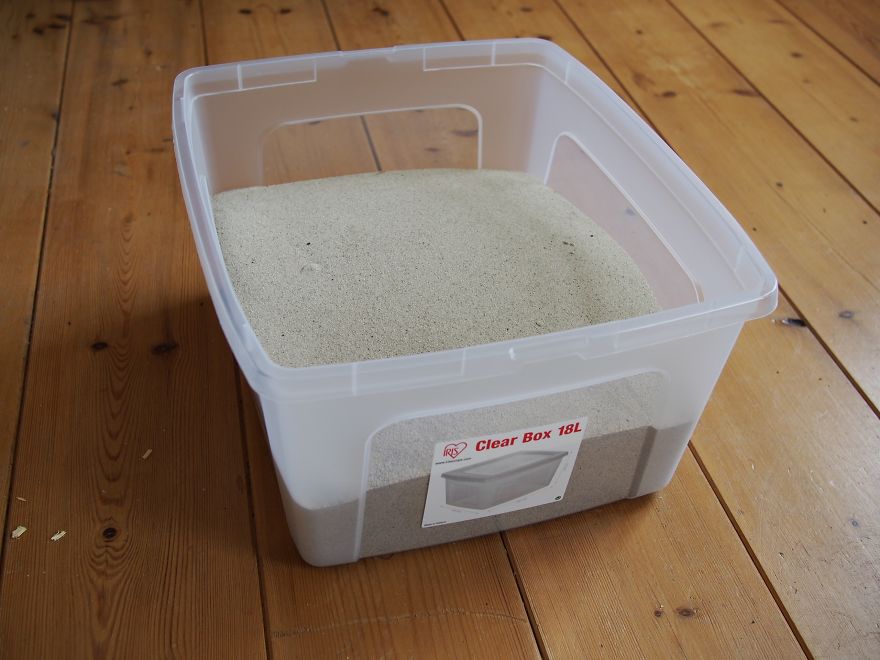
We need about 2-3 gallons of sand, i.e. about 25 lbs (12 kg)
I started with regular sand that I had left and tried later two brands of inside play sands: “kinetic sand” and “sand alive”
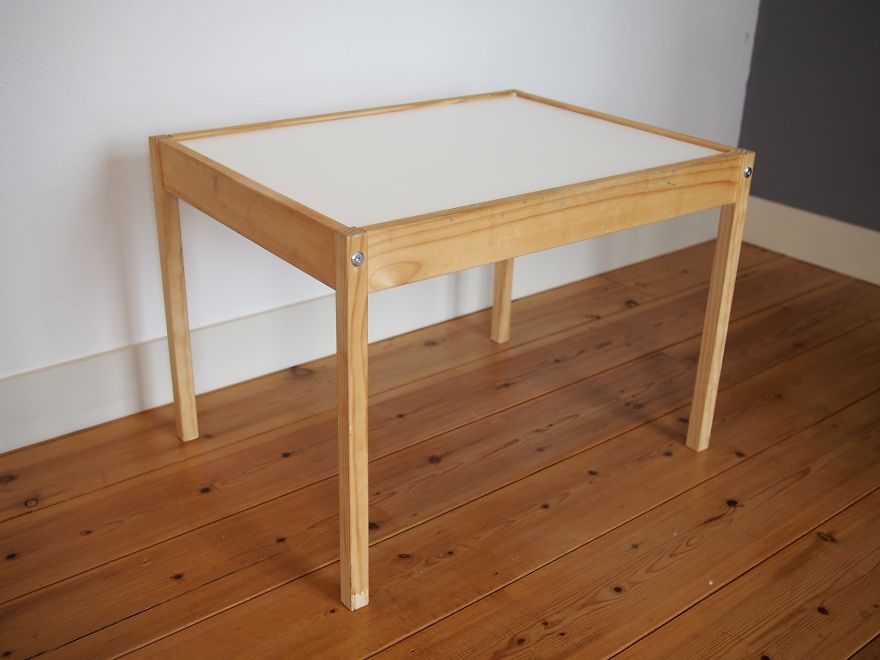
The sandbox is secured on top of an Ikea LÄTT children’s table in such a way that it can be removed
This children’s table is just the right height for a sandbox and its small width will keep the projector not too high above the table top.
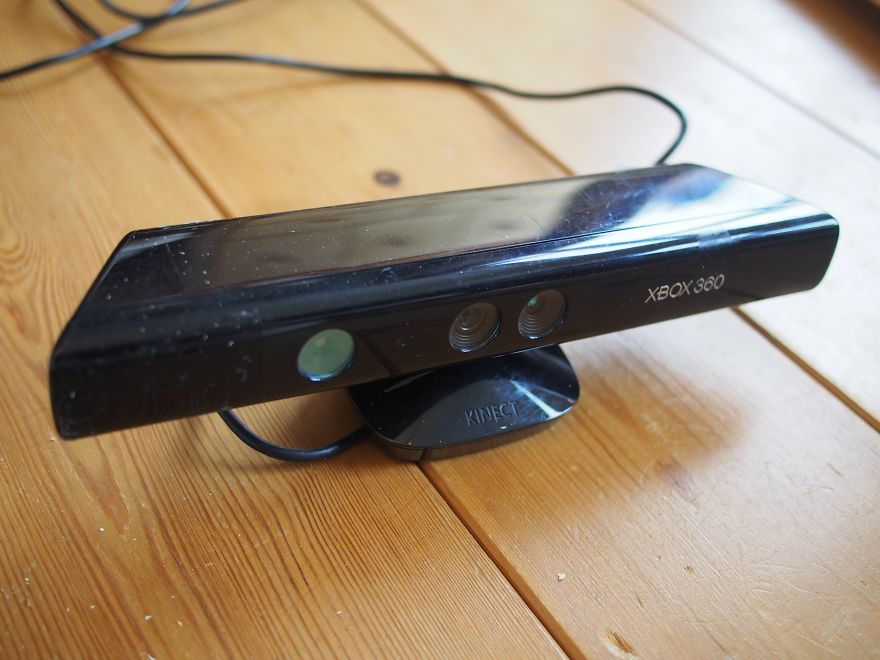
We need a Kinect V1 (the old round Kinect for Xbox 360)
It is safer if you can get the original 1414 Kinect as the later versions (1473, 1517 i.e. Kinect for Windows) may not work on Mac OSX if they have been plugged to an Xbox.
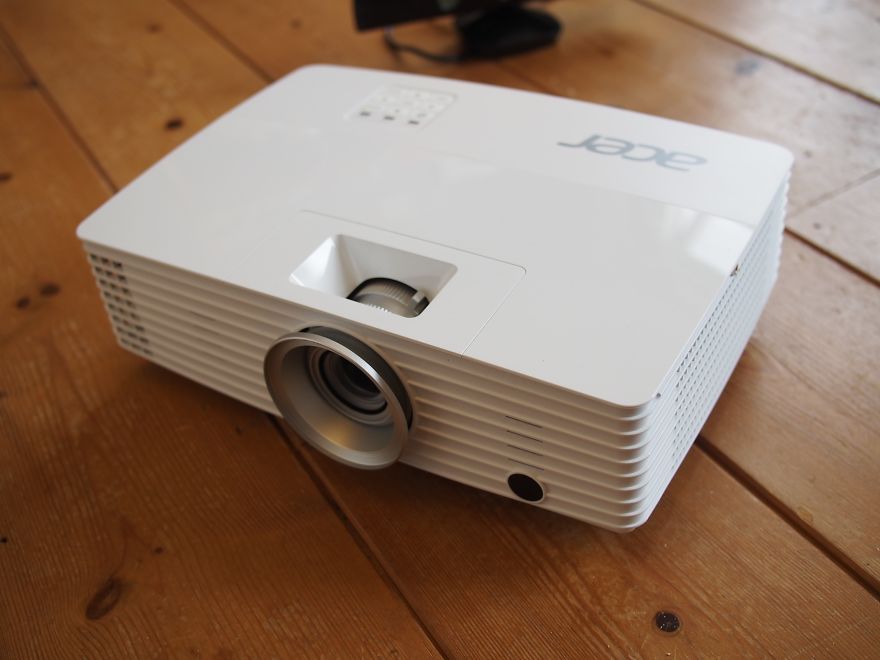
You can use about any home projector that you like
Any projector will do as long as it is sufficiently bright (>1000 lumens is better I think) and its throw ratio is less than 3 (otherwise the projector ends up really high above the table).
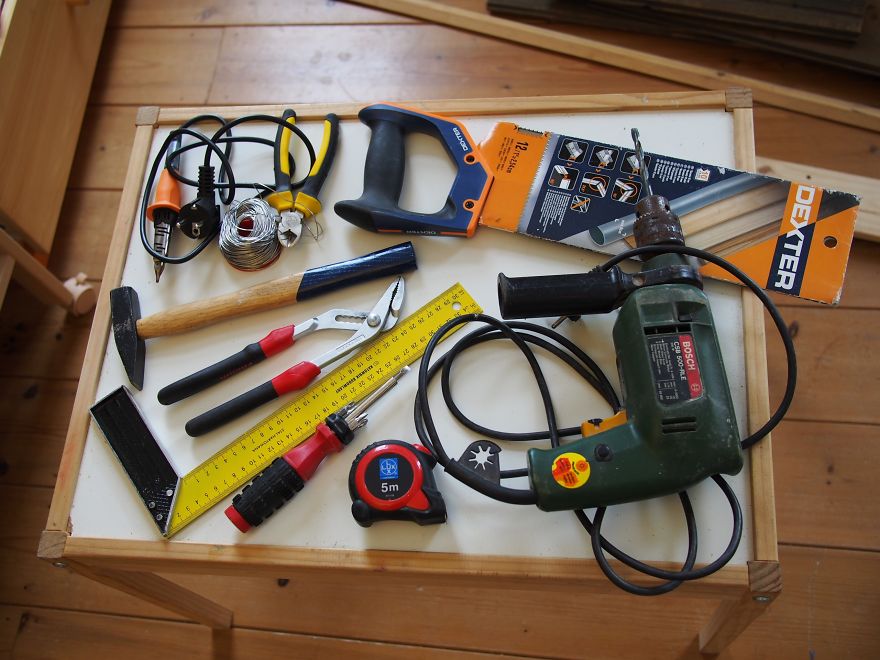
A basic set of tools will be needed too
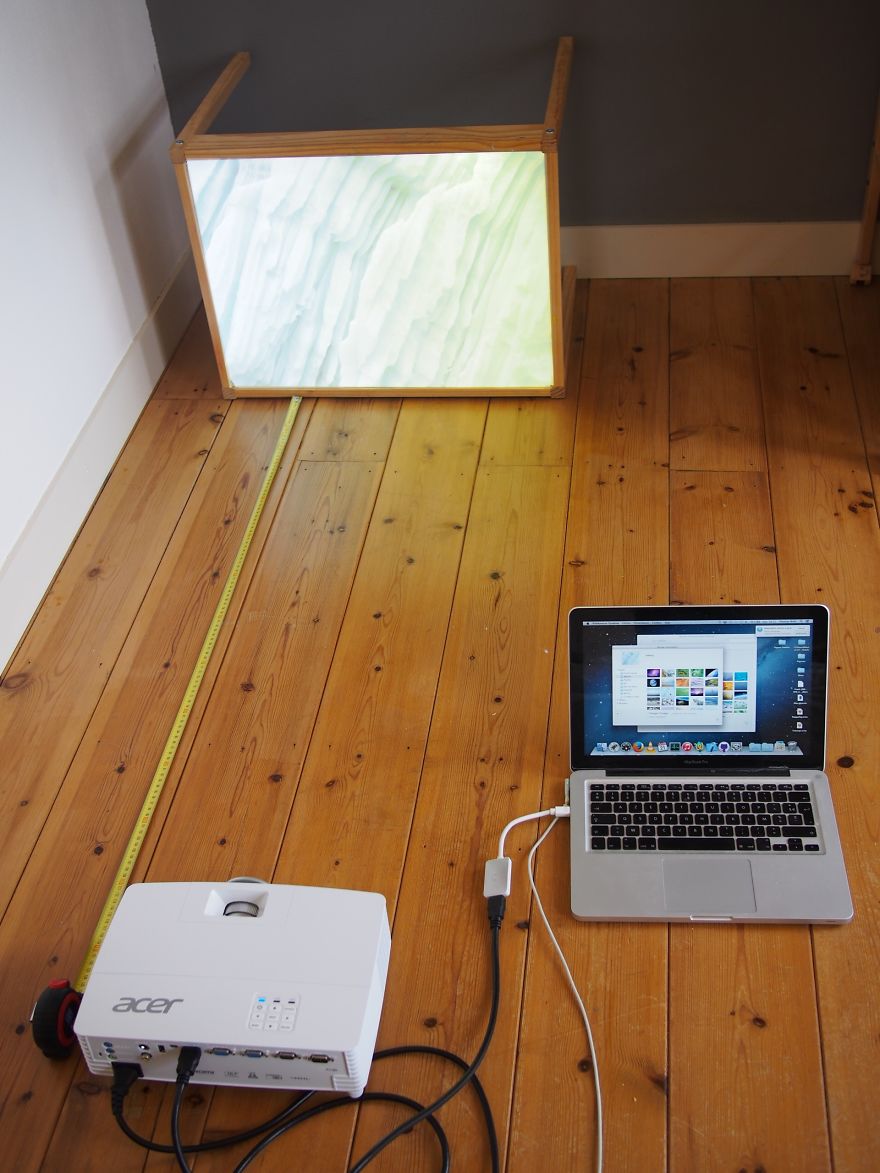
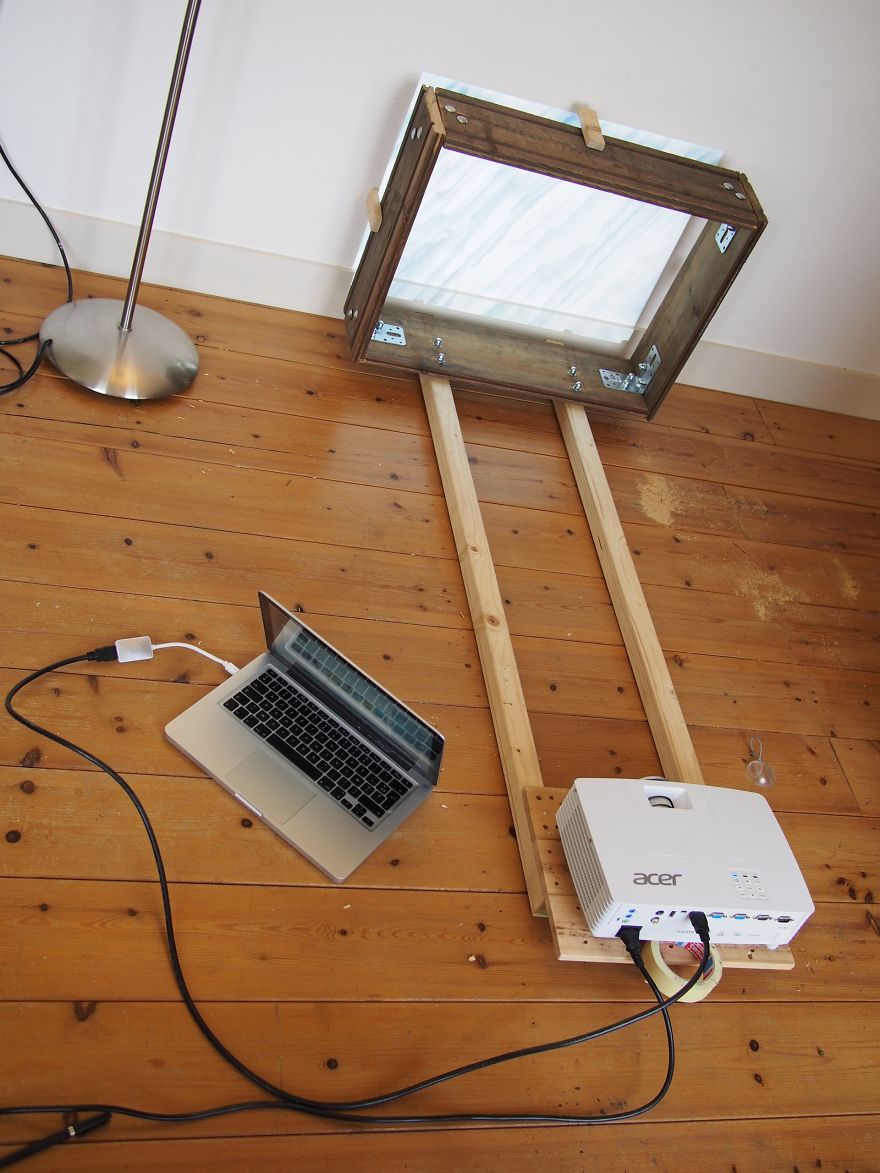
Roughly checking the distance between the projector and the table top
The Ikea table is 2 feet wide and the projector’s throw ratio is 2 so we need to set the projector about 4 feet high (122 cm)
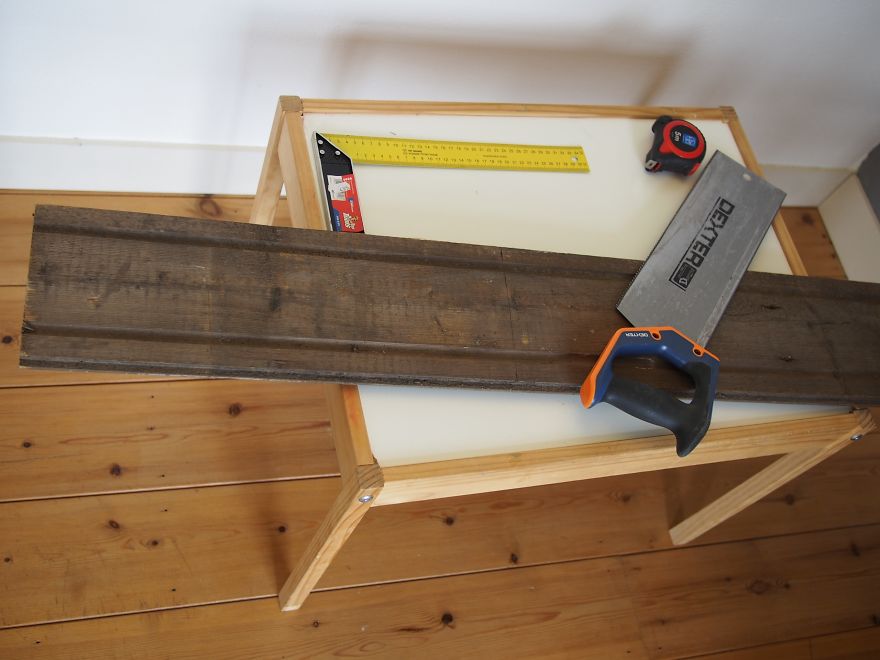
Time to start the wood work
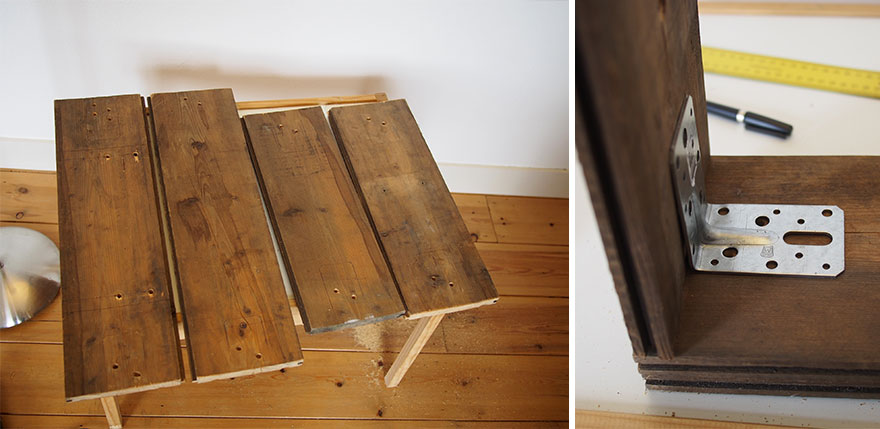
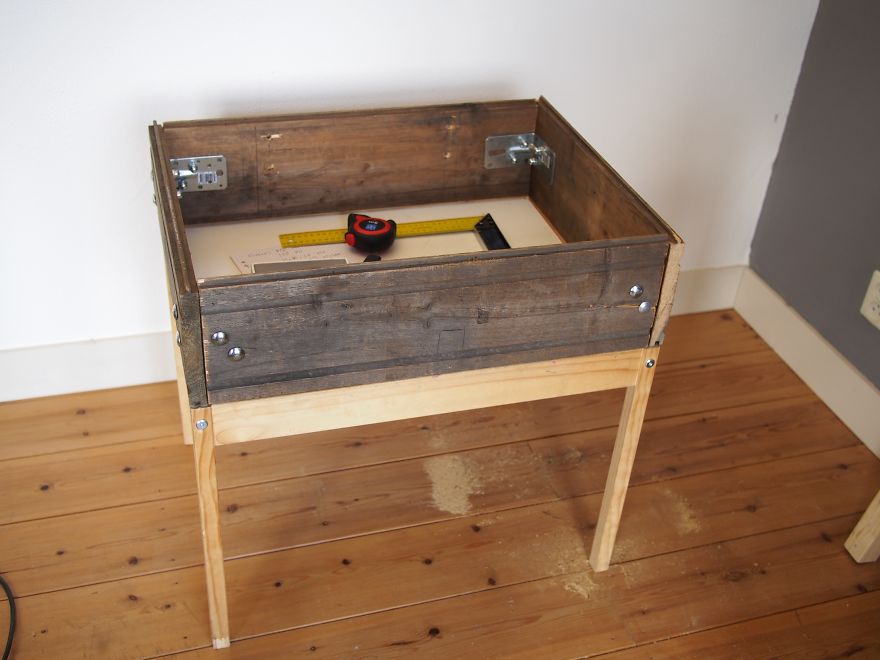
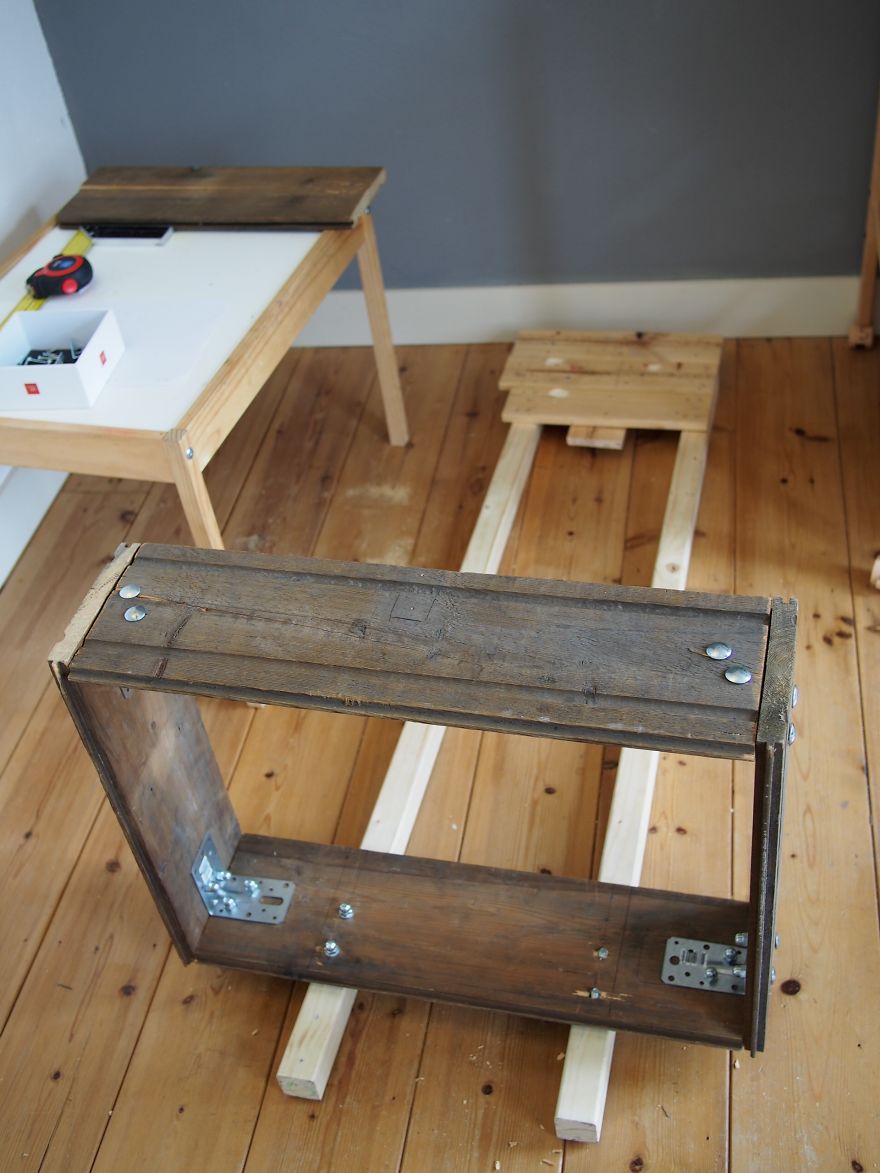
We need four walls for the box, two 2′ long boards, and two 1.5′ boards. My main wood board was 7″ wide and 1″ thick which was just fine. (see the BOM above for details on the wood)
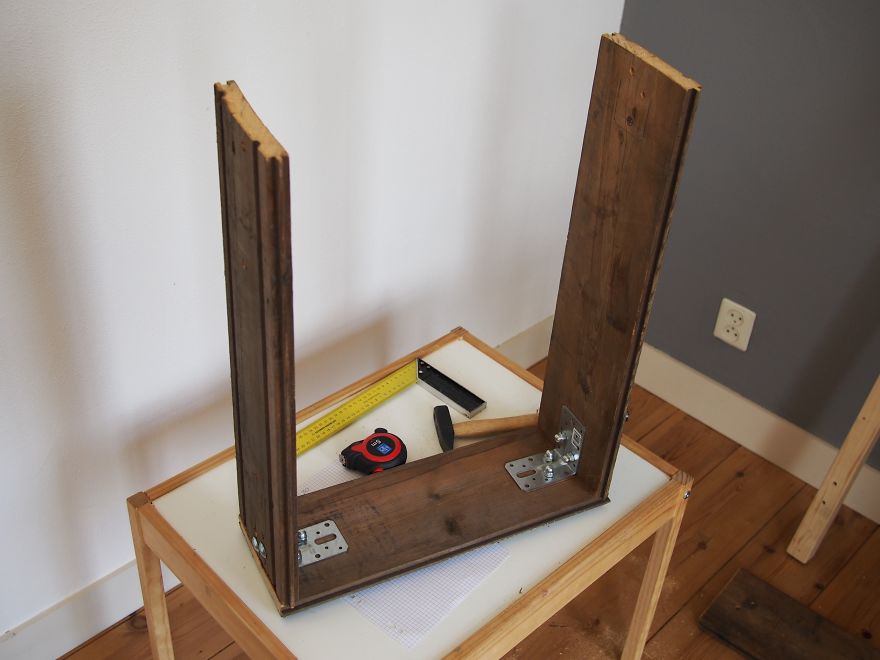
Starting the assembly
I used some carriage bolts and cap nuts to avoid any sharp edges
In my case 16 M8 bolt 30 mm long but it depend on the thickness of your wood of course
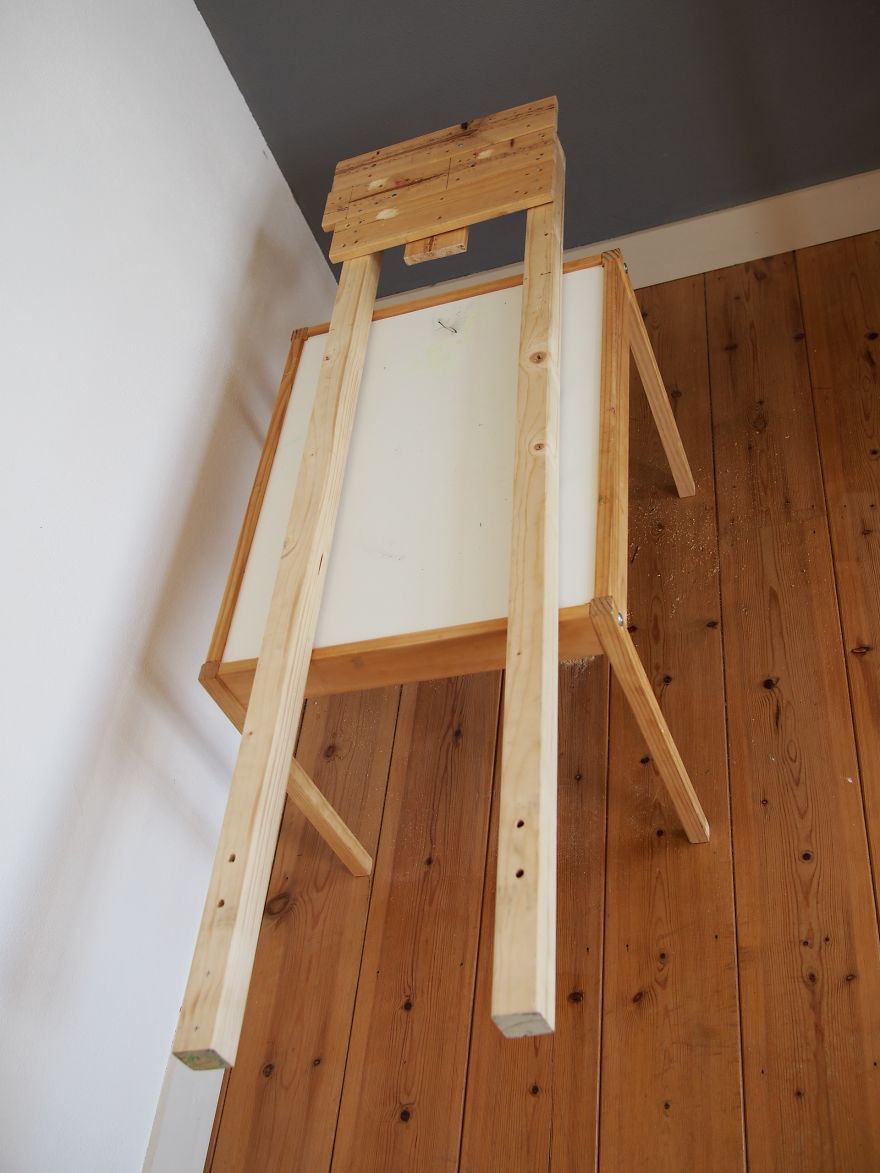
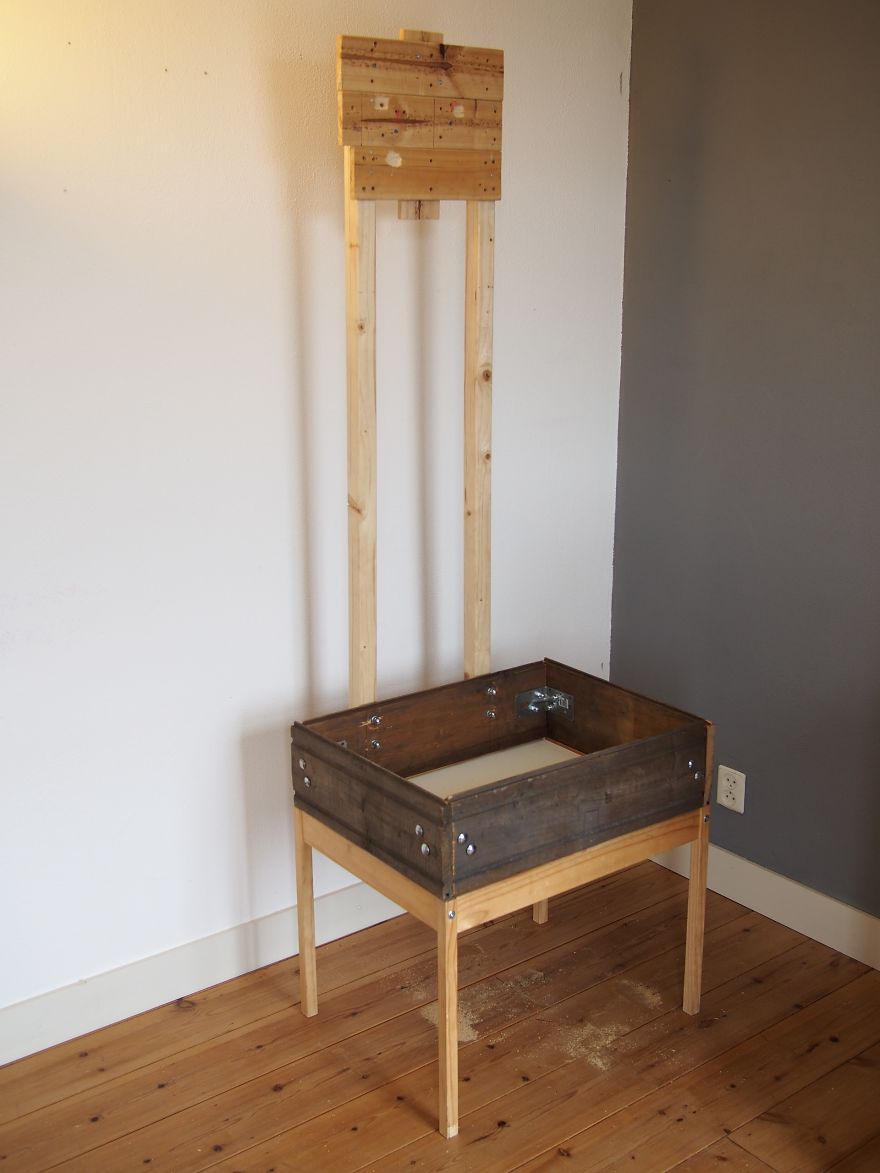
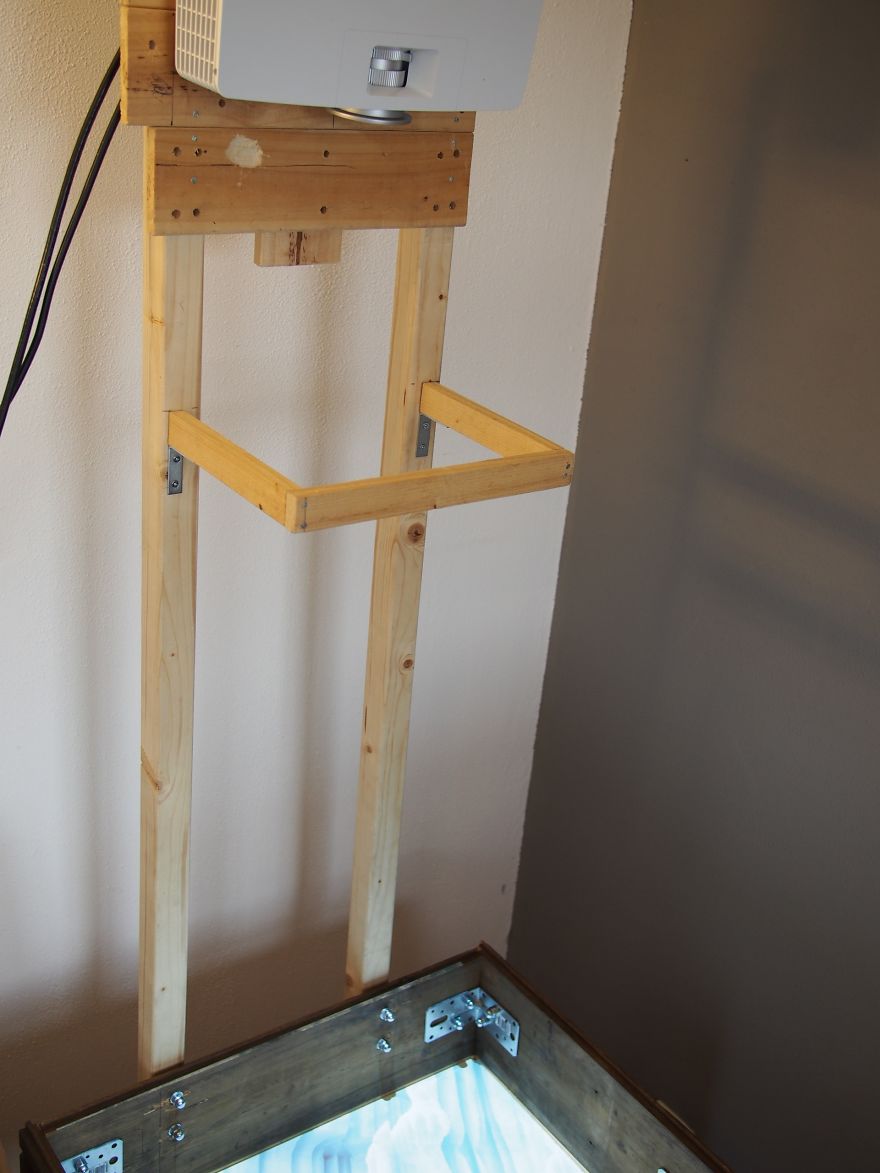
A pillar for the projector and Kinect
These boards will support the weight of the projector above our toddlers so we want the assembly to be quite solid. I took some strong steel L-angle (3.5″x3.5″) and M8 bolts. I also had hard wood, don’t use poplar for that.
A strong platform on the pillar to secure the projector
Time to fix the projector pole
We add end stops on the other sides of the box to secure the sandbox in the horizontal plane. The weight of the wood boards and the 25lbs of sand is sufficient to keep the assembly from tilting over in my case (I was quite surprised by the overall stability of the sandbox) but you should probably secure the pillars to a wall if you don’t plan to be always next to your kids
It fits nicely on the children’s table
Fine adjustments to set up the projector on the pole
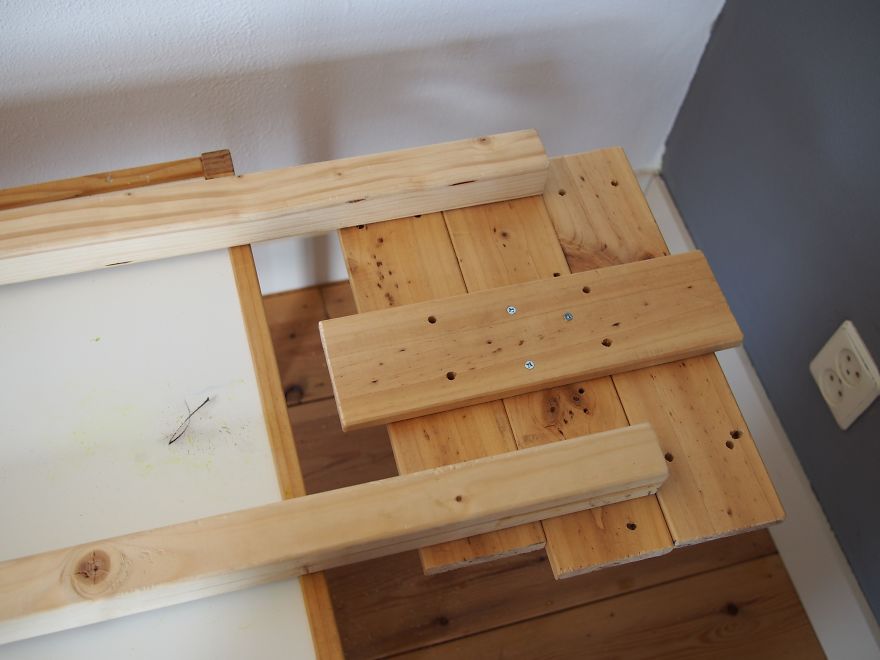
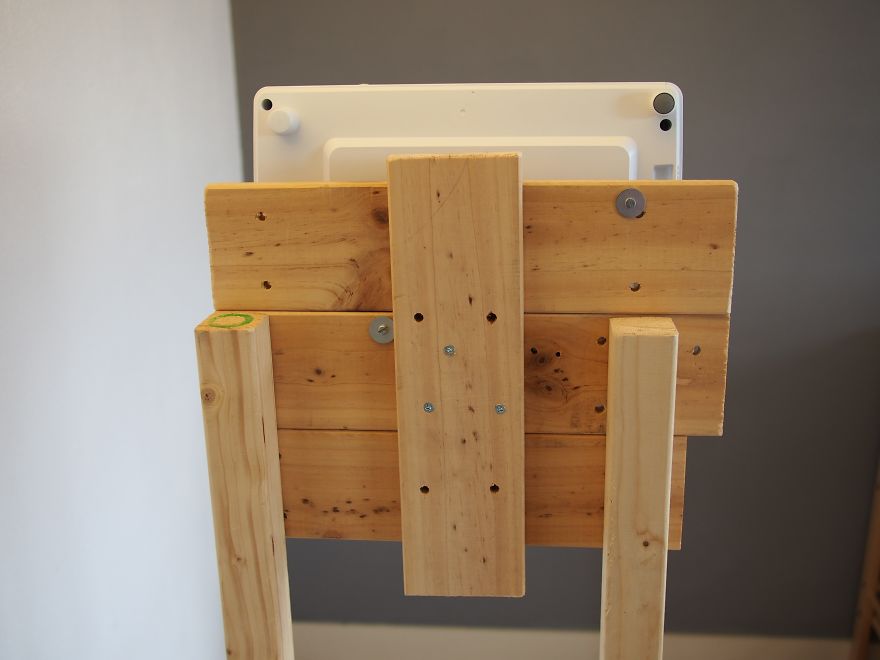
Now we can set up the projector on the pole. We need to find the precise location of the holes on the platform to secure the projector.
Drilling three holes to secure the projector
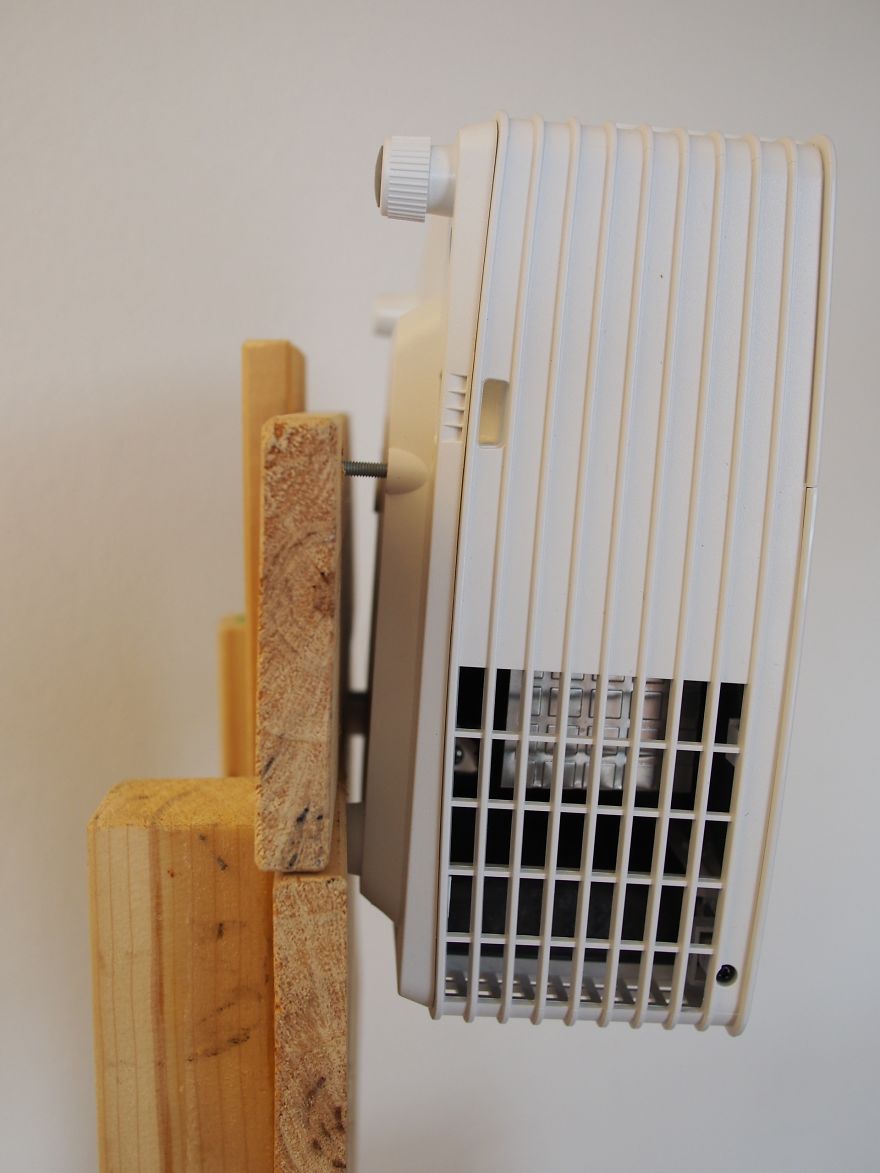
I ended up using only two of the three holes to fix the projector in order to adjust the angle of the projector more easily (the ACER P1183 is quite light so it is okay). I used 2 M4 screw (30 mm and 40 mm) + 2 washers.
The projector has to be slightly tilted as it projects its image a bit upward
Final alignment of the projector to get the projected image to fit nicely in the sandbox
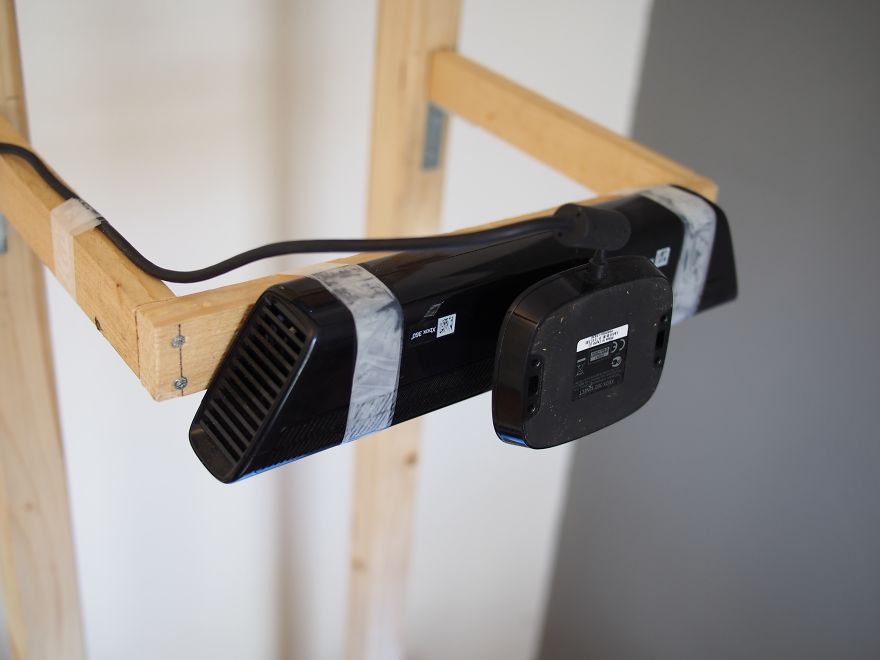
Building a holder for the Kinect
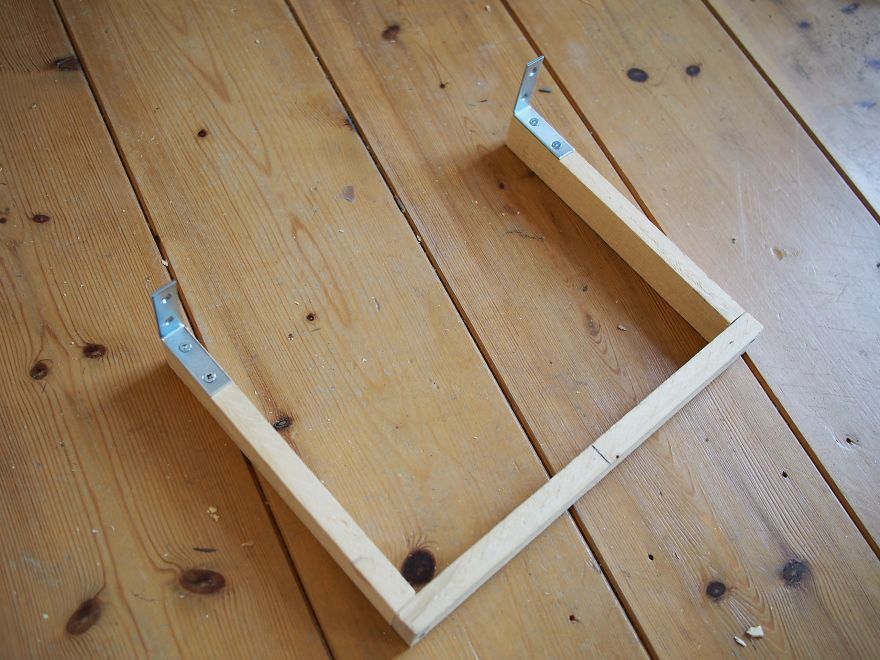
I made a 12″x9″ U-shape in light wood with two steel angles for securing to the projector pillars. The kinect is quite light so you can use a light wood (plus you want to keep your center of gravity as low as possible).
Securing the Kinect holder to the pillars
We confirm that the Kinect holder doesn’t block the projector image. It is secured with 4 small wood screws.
The Kinect cannot measure a distance less than about 1.5 feet from its sensor and we want at least 1 feet of vertical space to play in so the kinect holder has to be set higher than about 2.5 feet from the tabletop.
Taping the Kinect to the holder
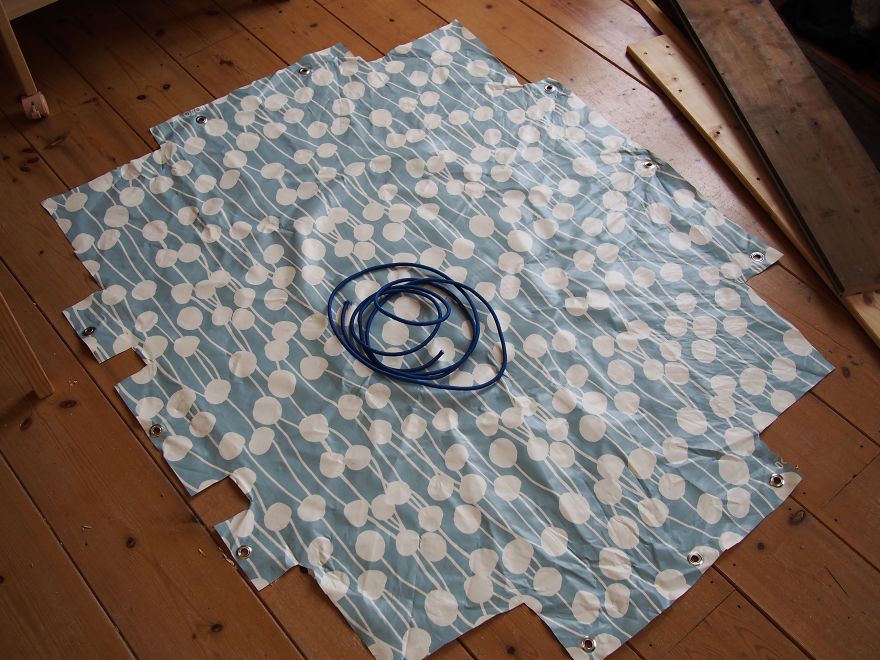
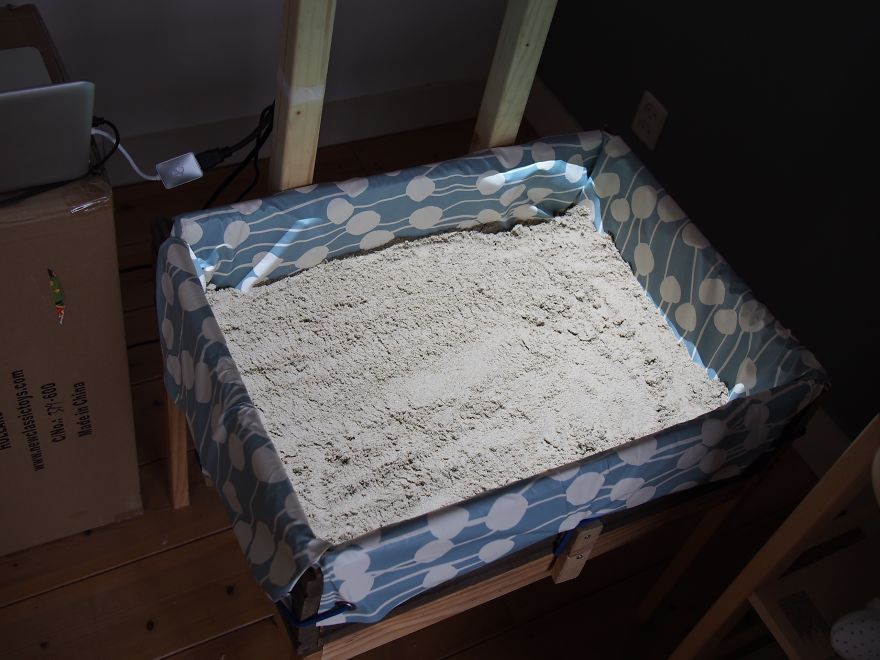
Making a sand proof lining from a tablecloth
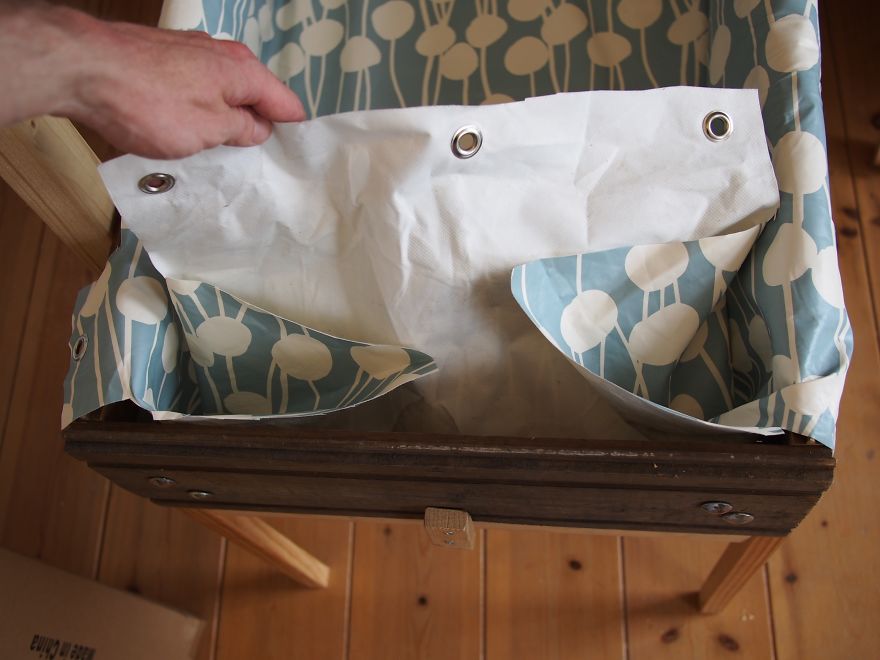
I cut a tablecloth according to the correct dimensions and added some eyelets for a bungee cord. In my case the original tablecloth was 60″x60″. It makes a nice water and sand proof lining inside the sandbox.
It makes a nice water and sand proof lining inside the sandbox
If I was to do it again, I would take a darker tablecloth to get a better contrast.
Ready to start
Final stage
19Kviews
Share on FacebookWhat's the software ? this article doesn't have any sense if you do not post the app need it to run it, thanks
What's the software ? this article doesn't have any sense if you do not post the app need it to run it, thanks

 Dark Mode

 No fees, cancel anytime


















182
5