DIY Watercolor Accent Wall using Floral Stencils
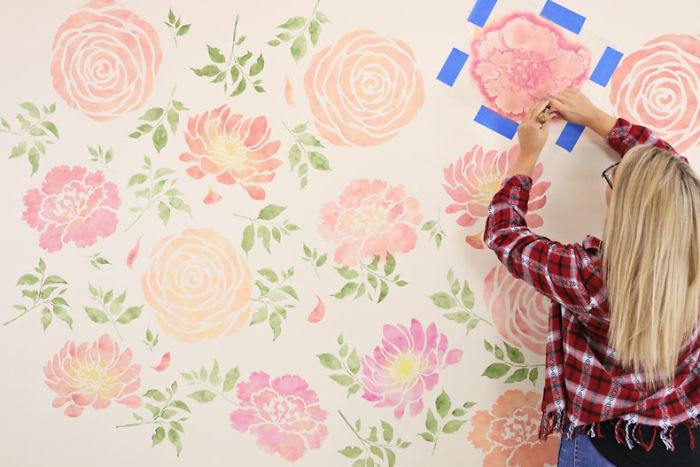
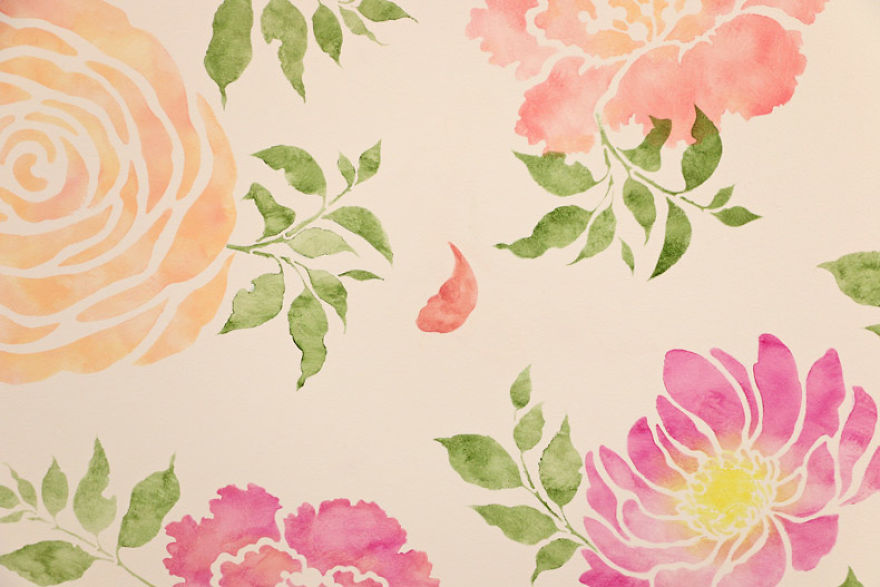
Welcome back, our crafty Cutting Edge Stencils fans! We are so excited to show you this trending paint technique using our gorgeous Flower Stencil patterns! Watercolor wallpaper is such an adorable accent to add to a room but application is time consuming and puts a dent in the bank account! Today we will show this exact wallpaper hack using our reusable wall stencils and some paint! Let’s begin our stencil project!!
More info: cuttingedgestencils.com
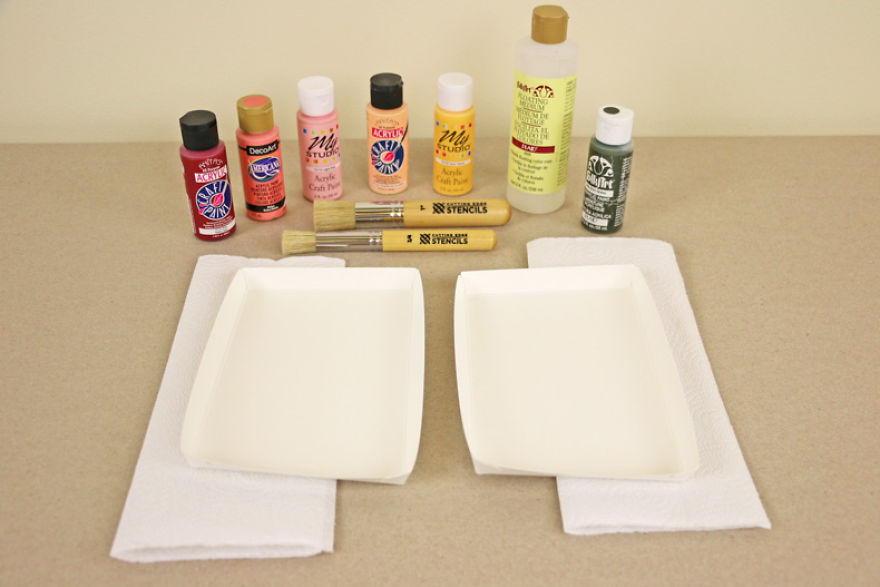
What You’ll need:
Anemone Grande Flower Stencil
Rose Wall Art Stencil
Peony Grande Flower Stencil
Professional Stencil Brush
Whispering Elms Wall Pattern Kit
All Purpose Acrylic Paints (2 oz)
Floating Medium by Folkart
Paper Towels
Blue Painter’s Tape
Repositionable Spray Adhesive
Getting Started
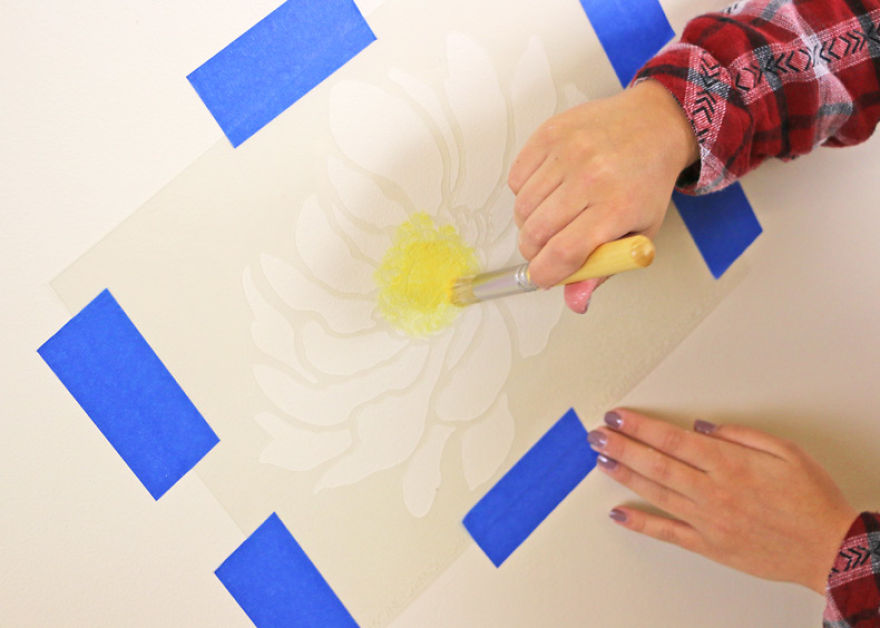
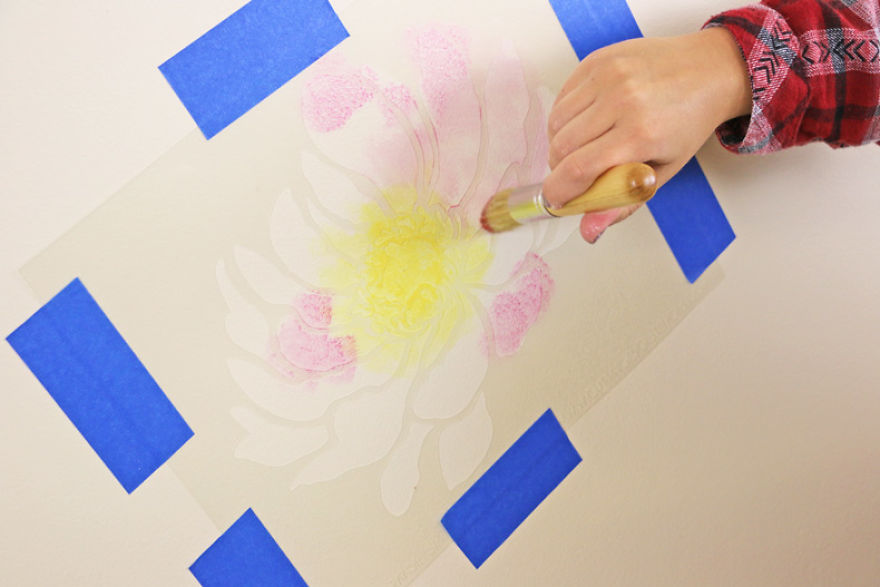
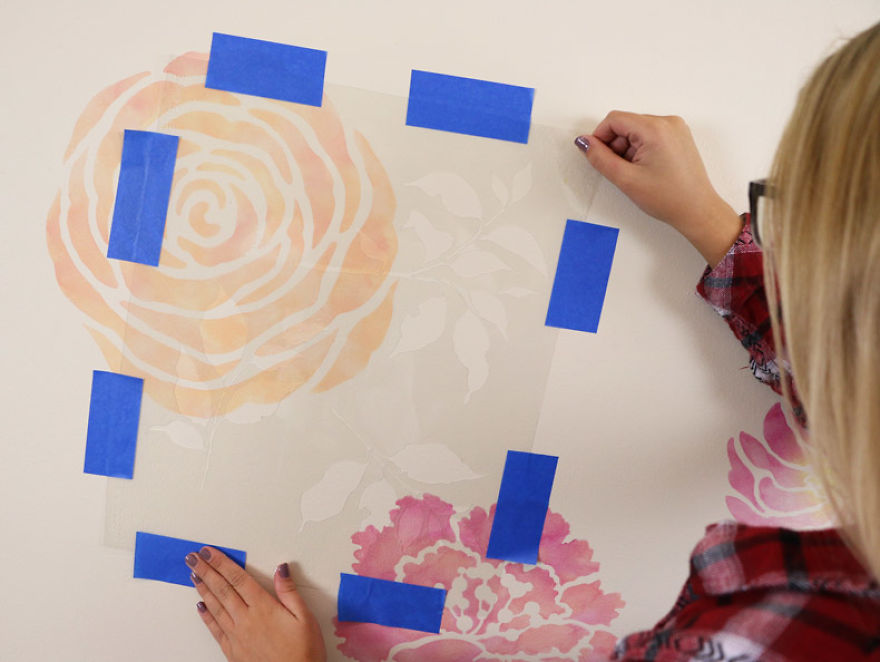
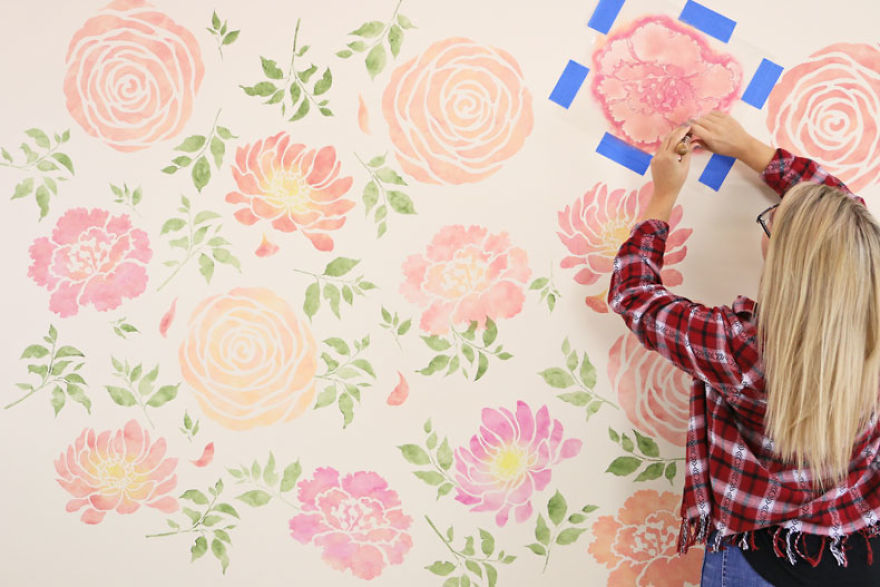
Begin by taking your stencil designs, which in this case are our gorgeous floral stencils, and spraying them with a generous amount of repositionable spray adhesive! You want each stencil to be as flat to the surface as possible to avoid bleed. You can reapply more adhesive on wall stencils after every couple of repeats. Place them randomly along the wall in any position you prefer! The best thing about our single flower stencils is that you have the freedom to create any look you want! We recommend purchasing multiple stencil templates for walls so you can paint multiple at once and make the stencil process go much quicker!
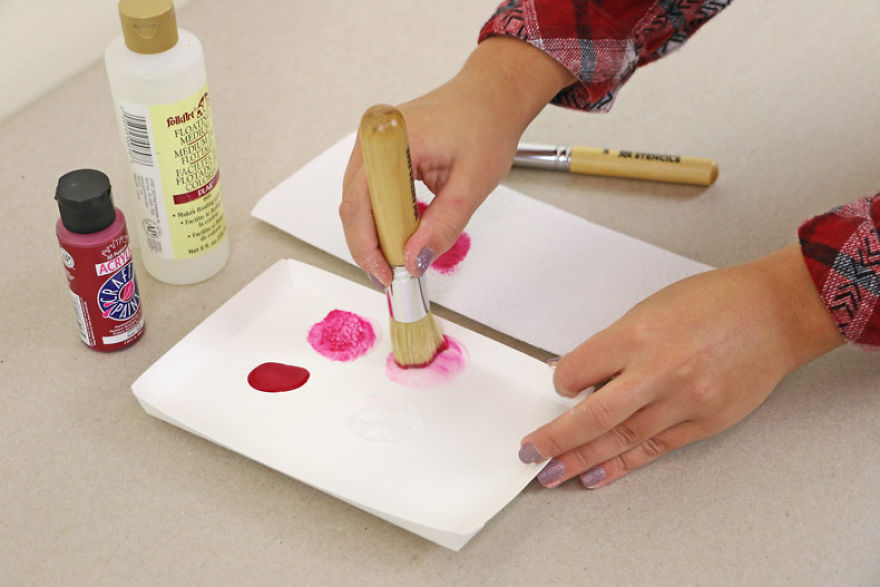
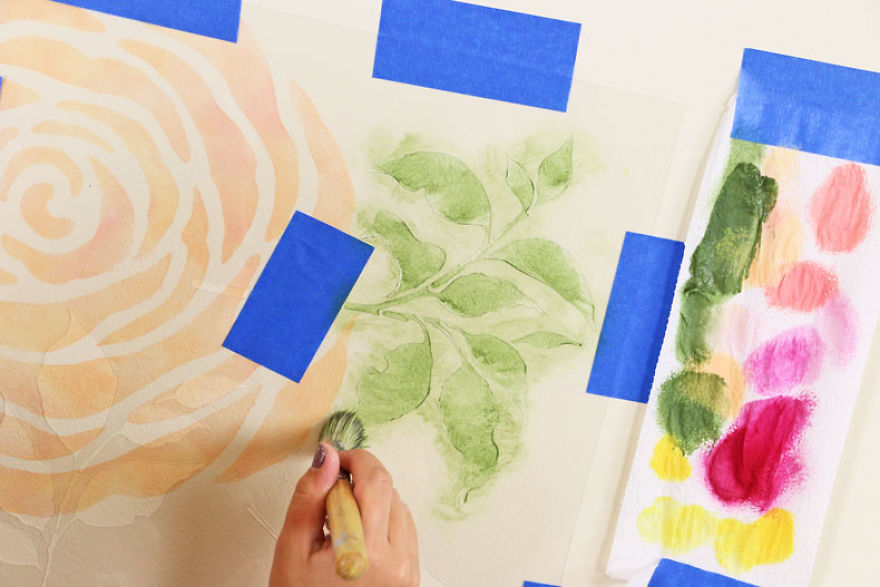
First, you will squeeze a quarter sized puddle of the Floating Medium in your tray next to the paint color you have chose. (Floating medium is a gel formula that helps paint flow more smoothly.) Lightly dip the tips of the professional stencil brush into the acrylic paint, then next to the paint, gently swirl your brush around to work the paint into the bristles.
Once the paint is worked in, go back and dip the tips of the loaded brush straight down into the floating medium and combine the two together. You are going to need more of the floating medium than paint on your brush. Just be sure it does not get too goopey! If it is, bleed is more likely to occur. If you do experience bleeding, it is not the end of the world because that gives it the impression of a water color effect. You can begin stenciling!
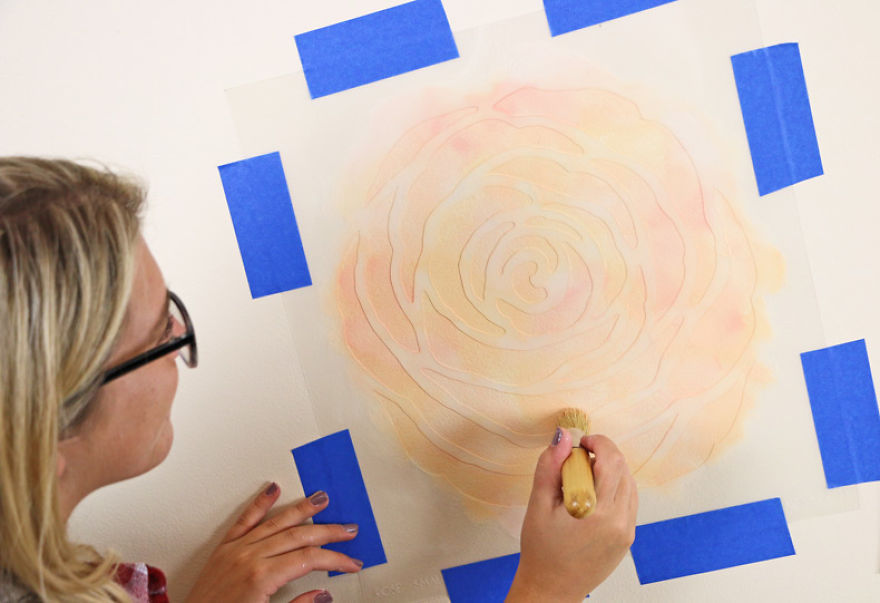
When stenciling, take the loaded stencil brush and pounce the brush around the desired stencil openings. Then lightly swirl your brush to blend where the colors meet. You do not want to blend it too much because then you will not have the clear image or look of where the colors vary. In most watercolor patterns, you can clearly seal the separate colors!
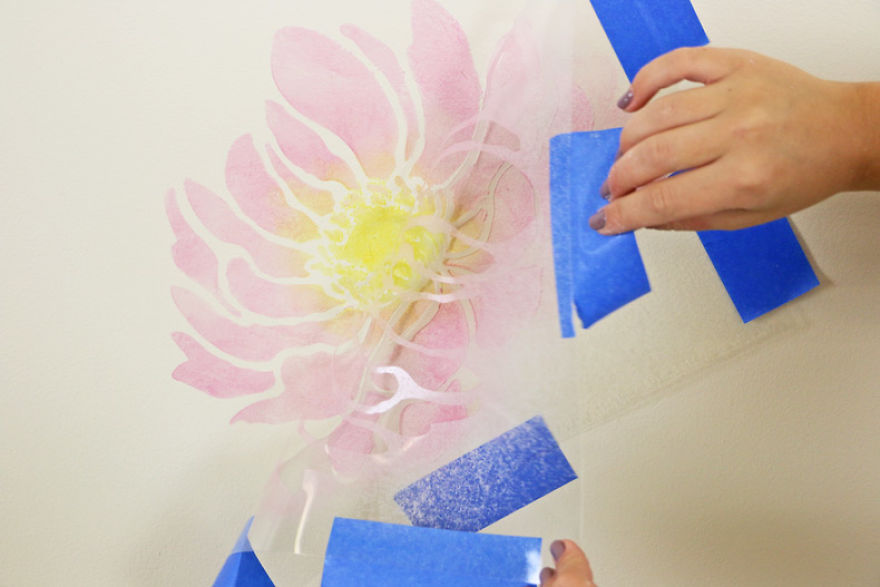
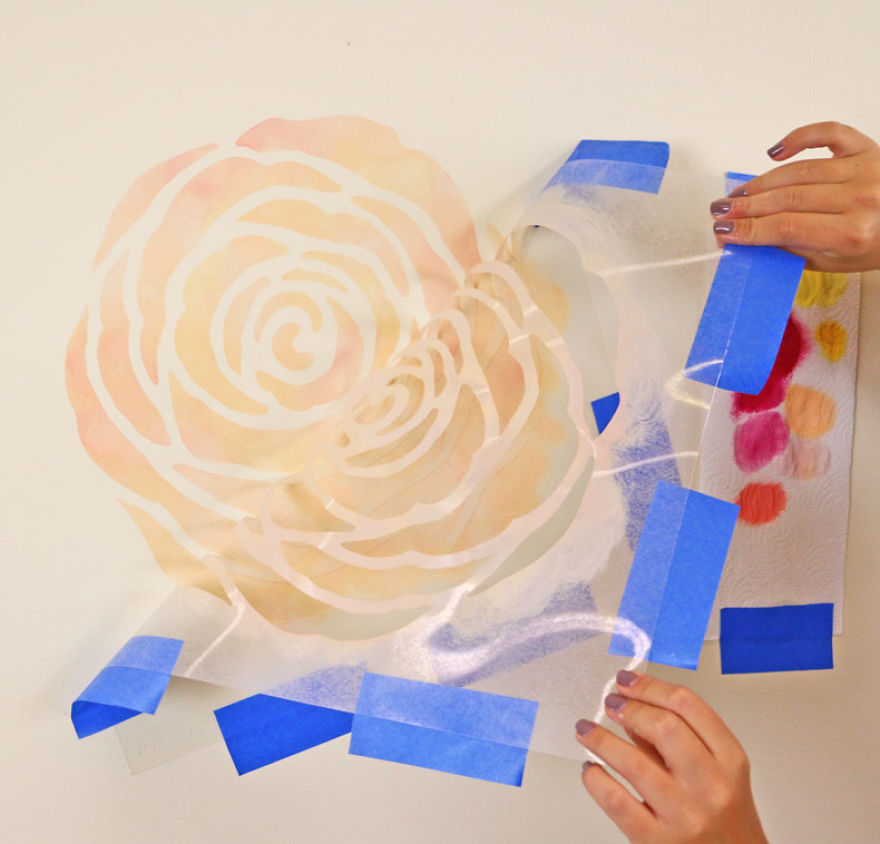
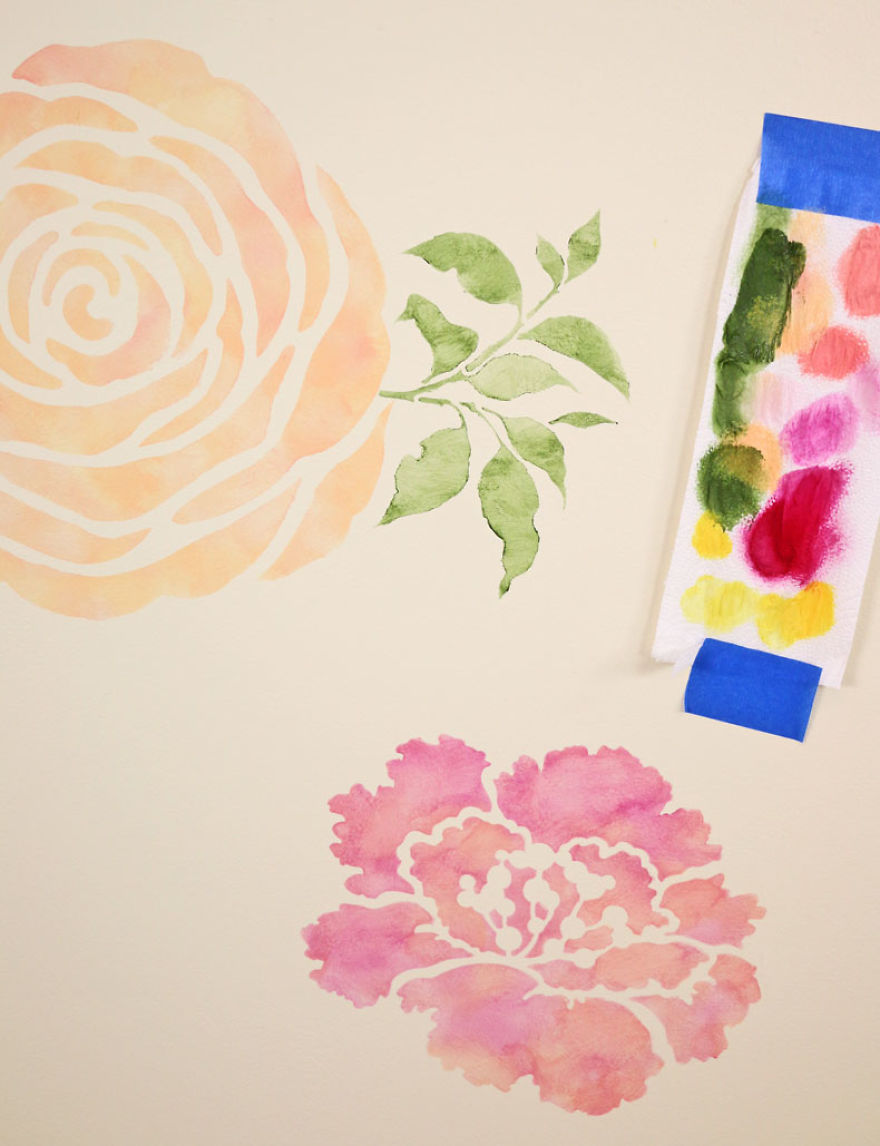
Gently peal back the flower stencil from the wall to expose your amazing watercolor design! How easy was that?!
Now, using the rest of your various floral stencils, you will continue the same exact painting technique from above! Feel free to play around with the colors you have. Mix and match your paints to create a different and unique design for each stencil!
Now it is time to fill in the leaves! Position the stencil so it looks like the leaves are coming out of the flower! For this stencil design we used our Elm Leaf Stencil Kit. This stencil kit comes with 3 different leaf patterns allowing you to work with any shape you desire!
With blue painters tape, cover the sections of the stencil you do not want paint to end up! Now, take your green acrylic paint (we recommend Olive Green by Folkart) and follow the same technique with the leaves.
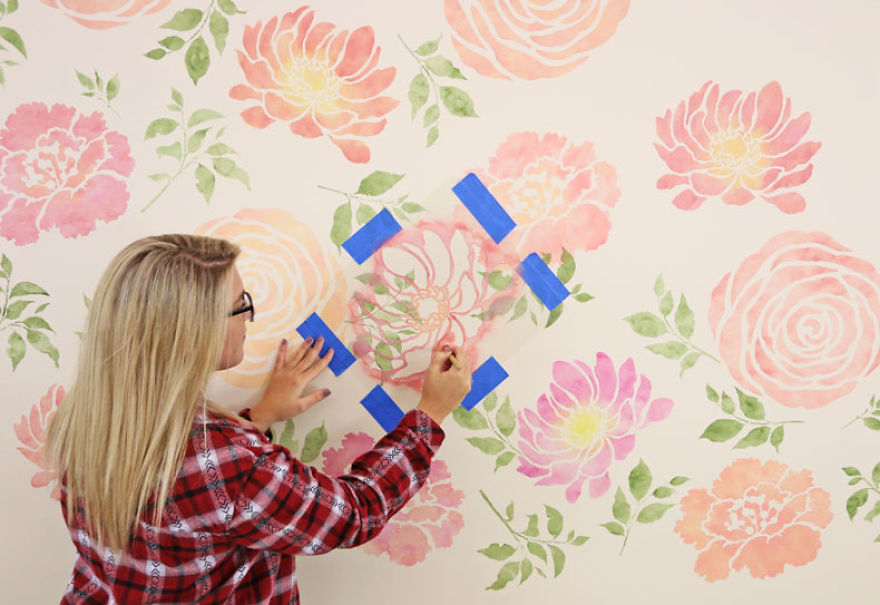
To break up the space between the leaf stencils and the flower stencils, we are going to add individual flower petals. You can do this by focusing on one petal from your flower stencil and filling it in.
If you stencil the flower with two different colors, be sure to do the same thing with that flower petal!
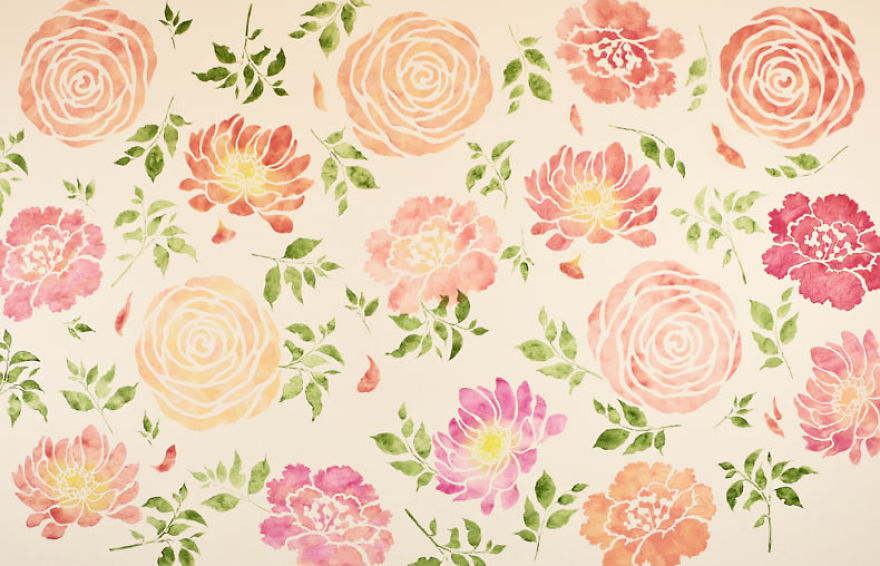
Continue these easy steps to fill in the rest of your accent wall!
Wow! Our Flower Stencil patterns can completely change the look of any room but this watercolor technique brings it to a whole new level! What do you think about this accent wall?!

 Dark Mode

 No fees, cancel anytime




















1
0