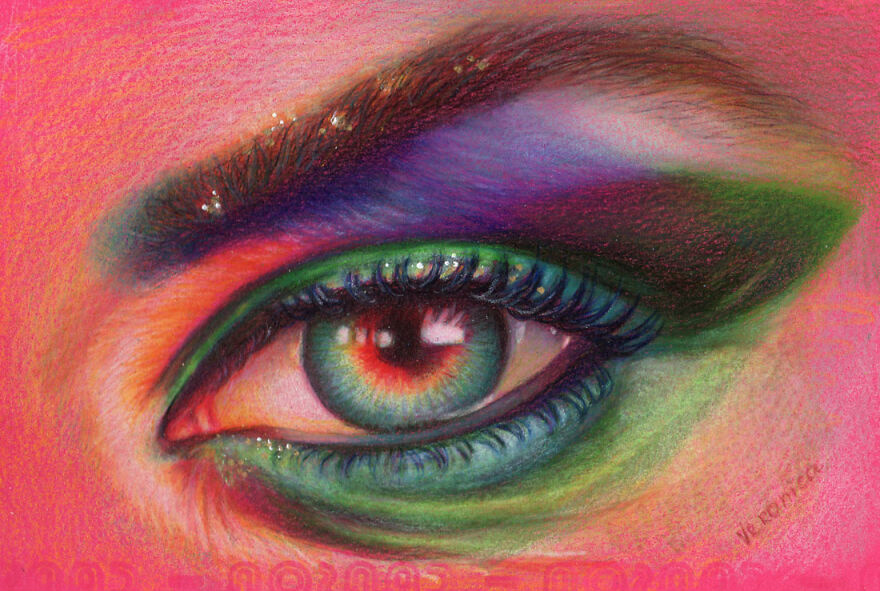
It’s hard to draw the entire portrait at once. To practice, you can start drawing facial features separately to gain an understanding of how light shapes the form. Draw the eye, nose, lips, ear separately many times. Below you’ll find an example of me drawing the eye in colored pencil.
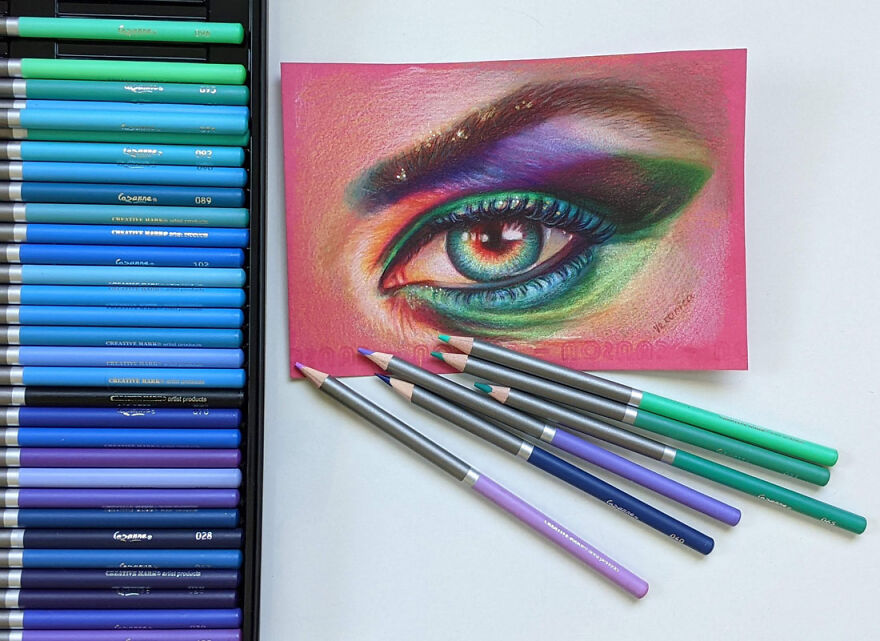
I often use colored paper because it speeds up my drawing process and lets me create super vibrant colored pencil drawings. A lot of greys look like blues on bright drawing paper. Here I used Canson Colorline Fuschia drawing paper, Prismacolor white+ Cezanne colored pencils. I don’t think you should buy a specific brand of colored pencils, rather use the color chart to see and match your colored pencils to mine.
The white-colored pencil must be very soft to give strong highlights ( I often use Prismacolor & Luminance whites). Beware that cheap colored pencils have very weak whites. In the color chart that you see, I give out basic colors only. A few more hues may have been used in this demo.
Hope this demonstration inspires you to try drawing on colored paper discovering new possibilities.
More info: veronicasart.com
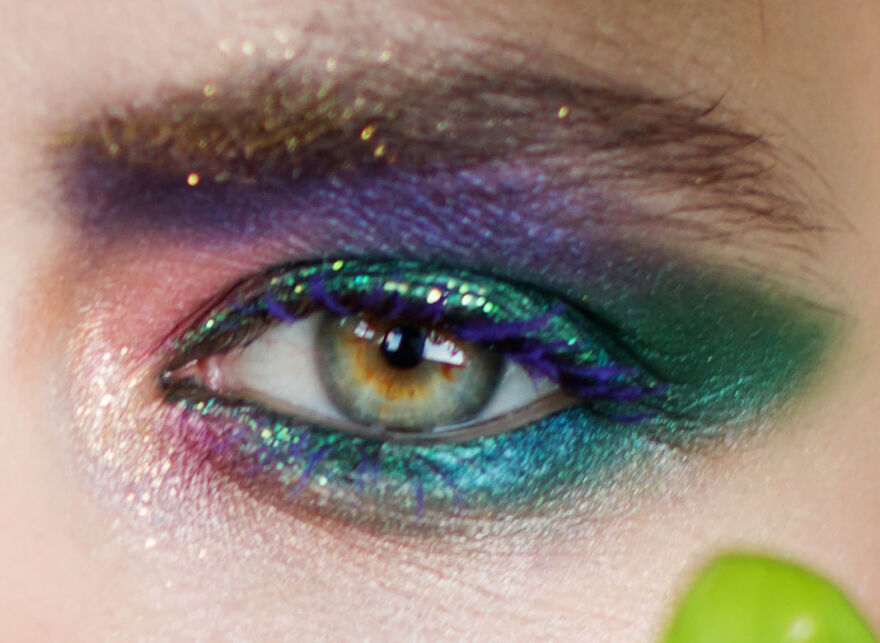
Photo reference, free portrait photo cropped to one area
I took a free reference from Pixabay and cropped the portrait to the eye area.
Drawing the eye in colored pencils on colored paper
Basic color chart
Before you begin drawing, test your color shading on colored paper to see how either vibrant or dull they are. Some will be bold while others are barely noticeable. That’s how I decide what colors to use.
Also always draw on the smoothest side of your colored paper! If your drawing paper has lots of texture, it becomes a nightmare to fill it in. This specific colored paper has little texture but one side is smoother than the other.
Step 1
Step 1: Transfer the image using your favorite method. I never sketch my outlines on colored or drawing paper because it needs to be very clean to retain color. I use a semi-transparent sketch paper to do my sketching and then I transfer the perfected outline onto my drawing paper. I decided to rotate my reference photo and to draw it in a different direction. I map out the shape with black and place the highlights.
Step 2
Step 2: I draw the pupil & iris. The pupil must be in the center of the eye and not super black because the light always passes through the eye (even when it’s very dark). So I add some brown to it. I use specific strokes to shade the area inside the iris. These strokes go out radially. The top part of the eye always has a shadow cast from the upper eyelid. If you don’t place this shadow, the eye is going to stare at you.
Step 3: the finished eye
Step 3: Basically, I look at my reference and add values. I take a mix of dark green and brown to place the darkest values in the eye creases first. The eyebrow consists of flat shading in dark brown first. I add greens and grays over this flat shading with short, directional strokes, following the eyebrow’s rotation.
182views
Share on Facebook
 Dark Mode

 No fees, cancel anytime














13
0