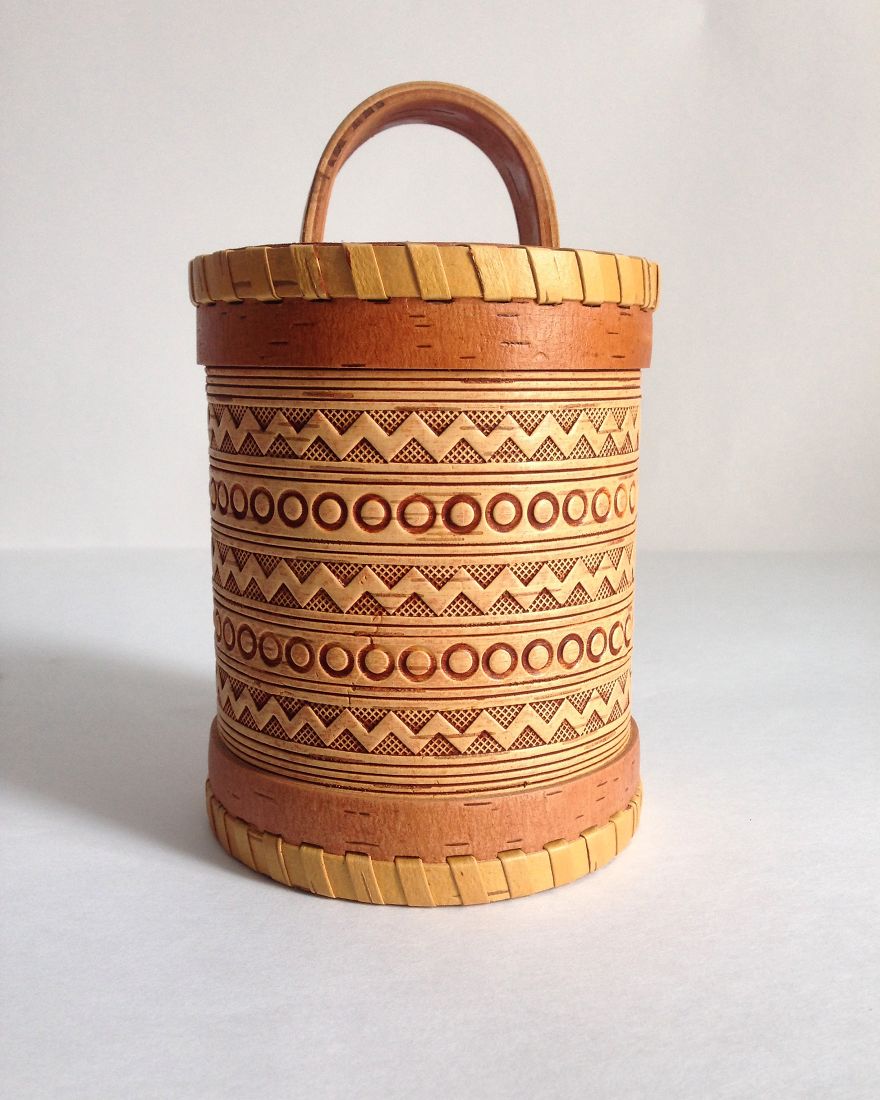
Hello everyone, today I want to share with you my work, I will try to tell you how I did this birch bark product. I want to note that each birch bark product made by me is truly unique.
More info: Etsy
Stage 1
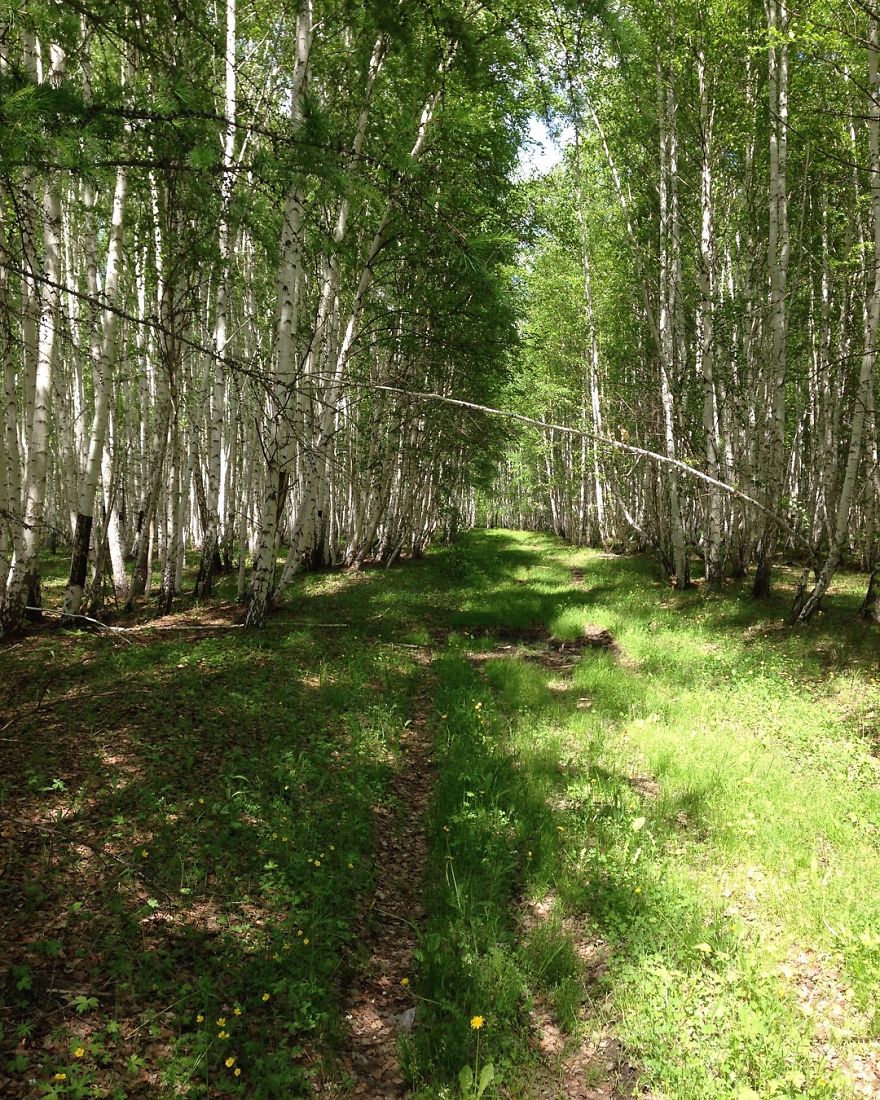
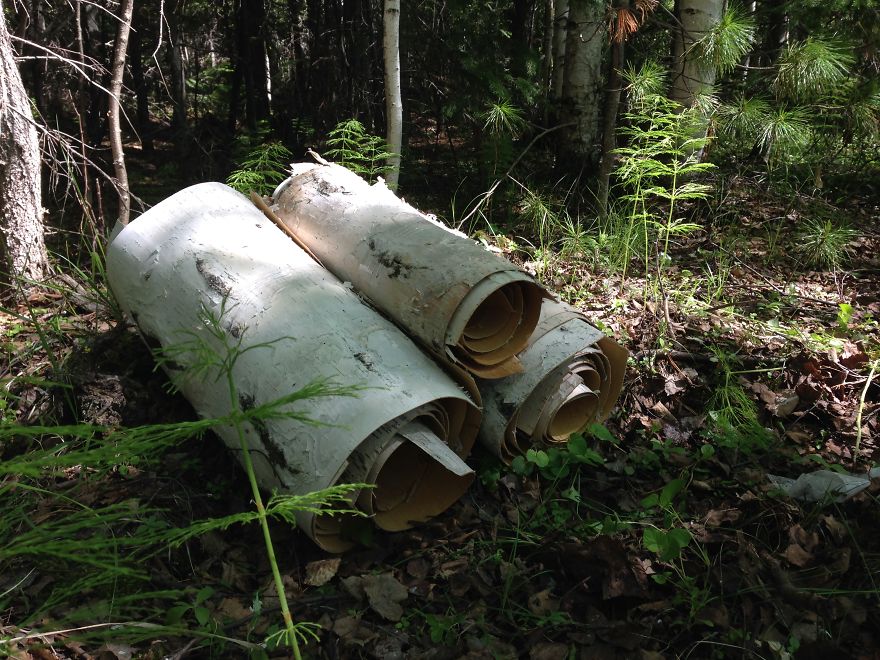
In order to make this birch bark product I needed birch bark which was prepared in advance. Harvesting takes a certain period of time, when the birch gives the juice. There is a sign : when the wild rose bloomed and withered dandelion. Time to go.
Stage 2
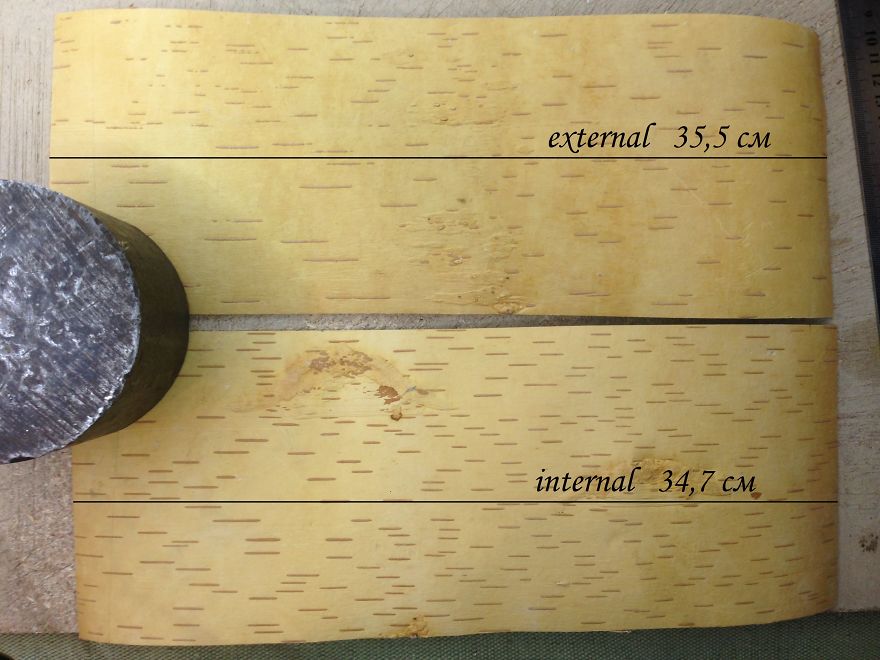
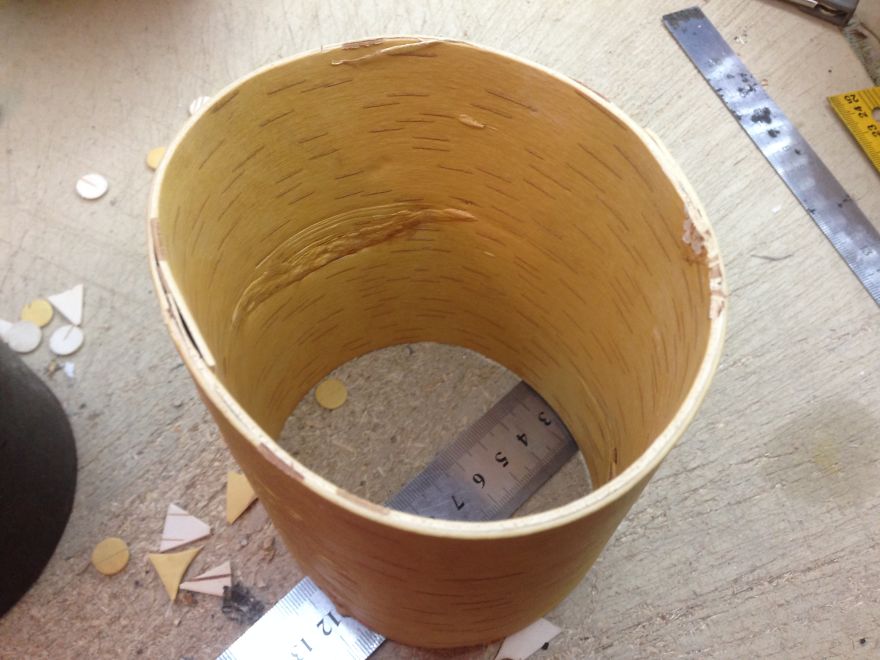
So we have prepared the birch bark, choose the one that we need. I chose the suitable 2 sheets, in the craft they are called “shirt”, the outer shirt its size is 35.5 cm and the inner shirt is 34.7 cm, the one with less build – up and will be the outer part of the product.
Stage 3
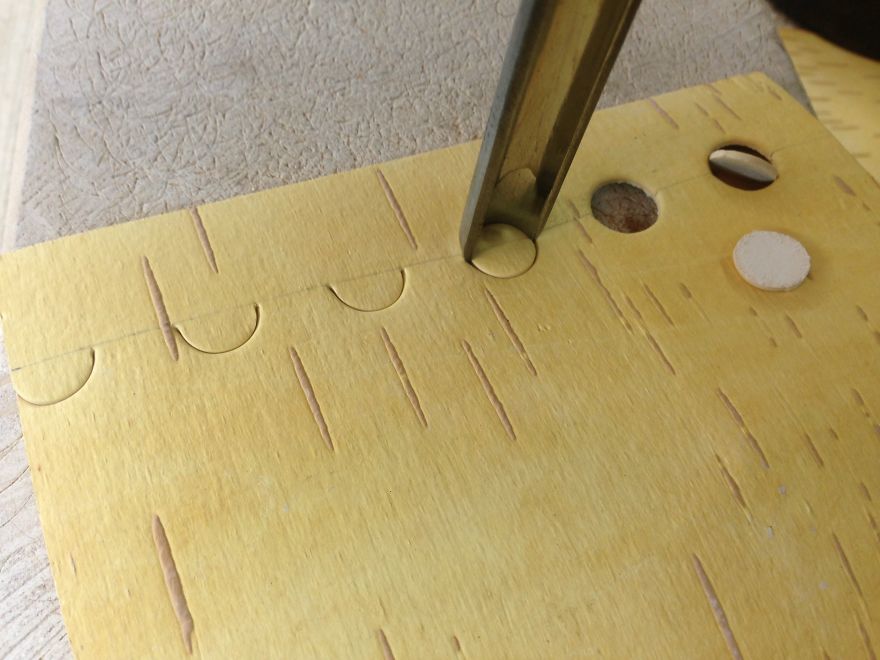
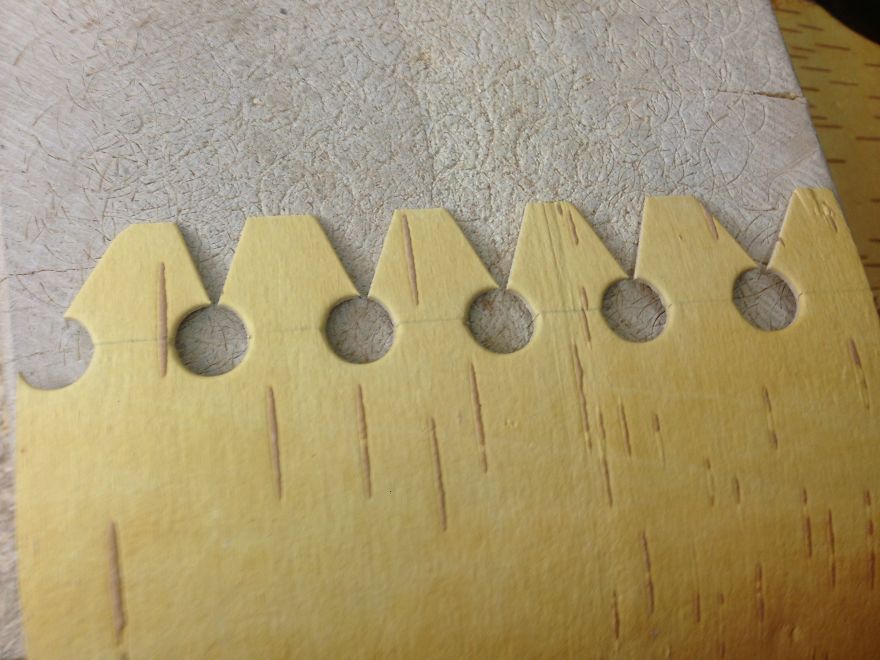
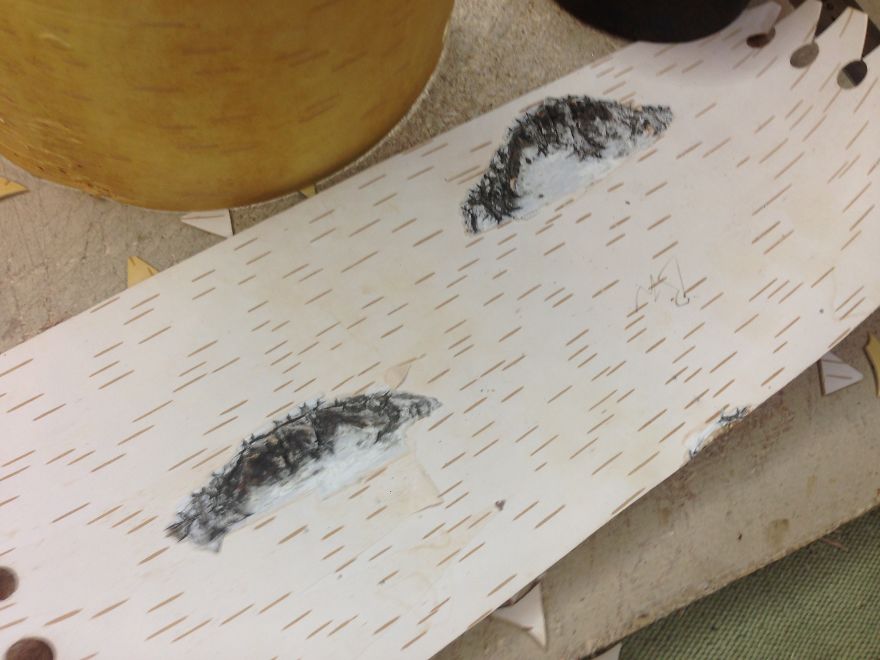
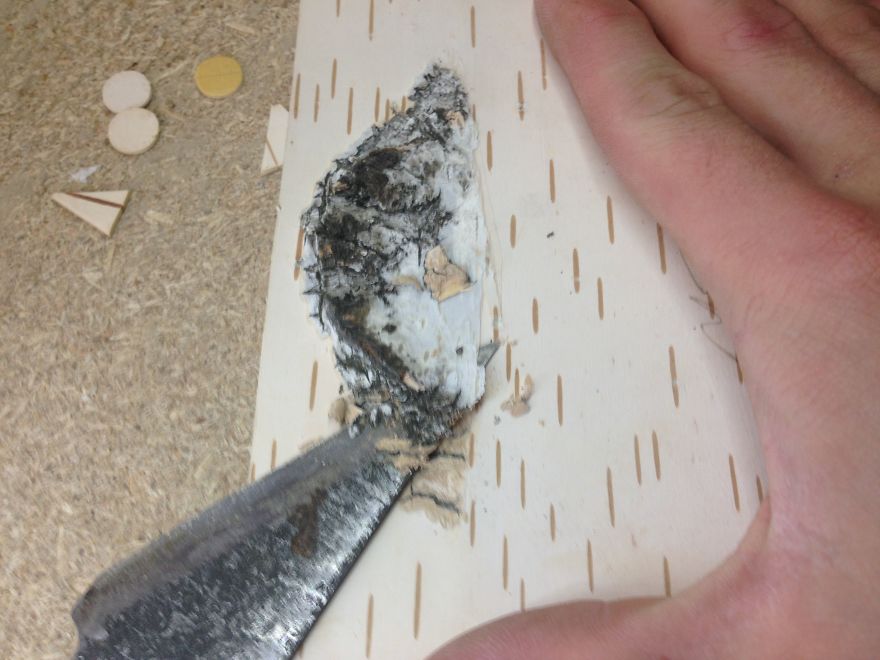
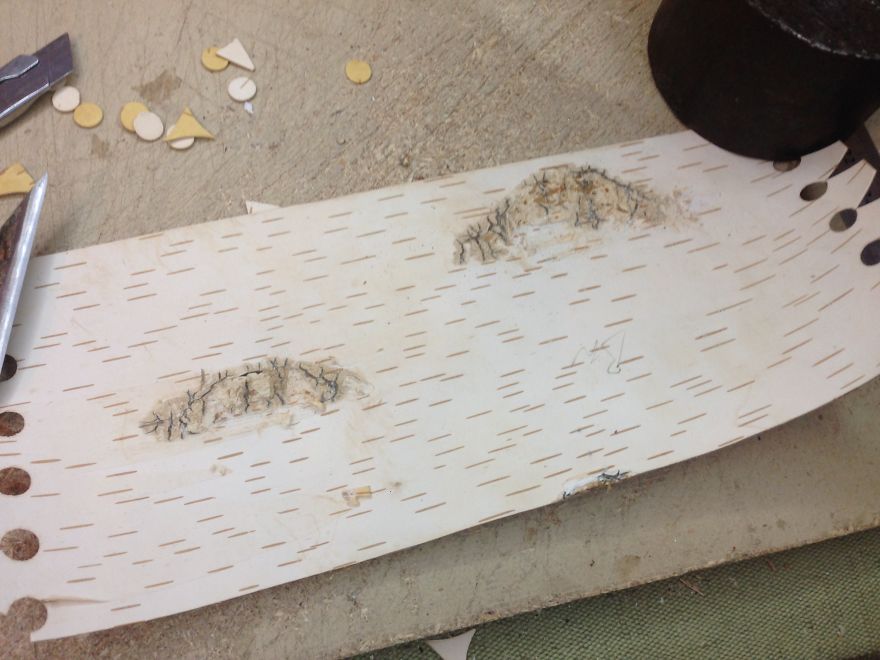
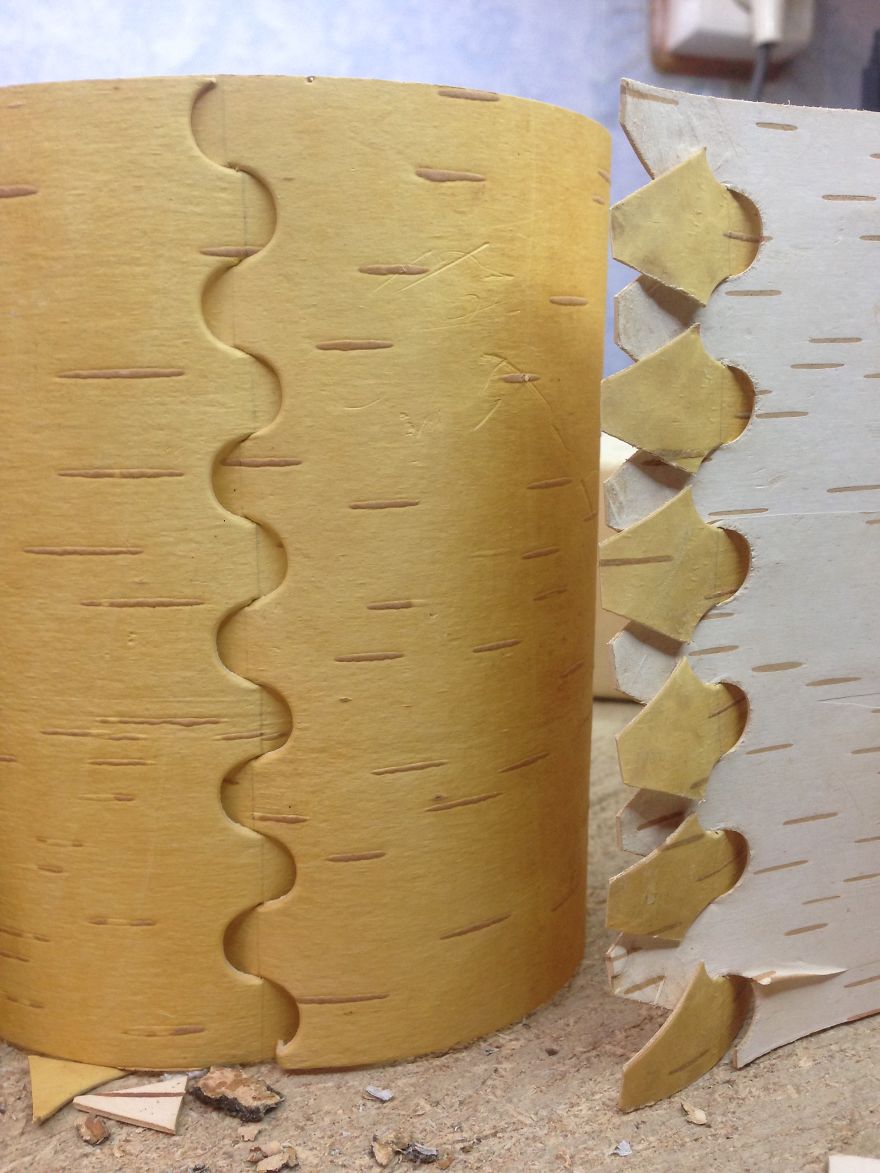
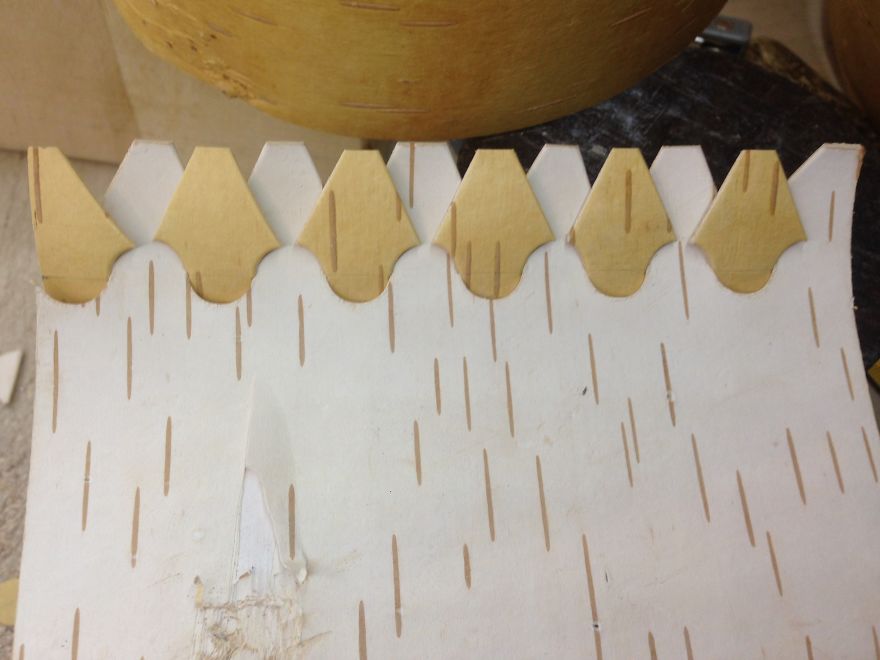
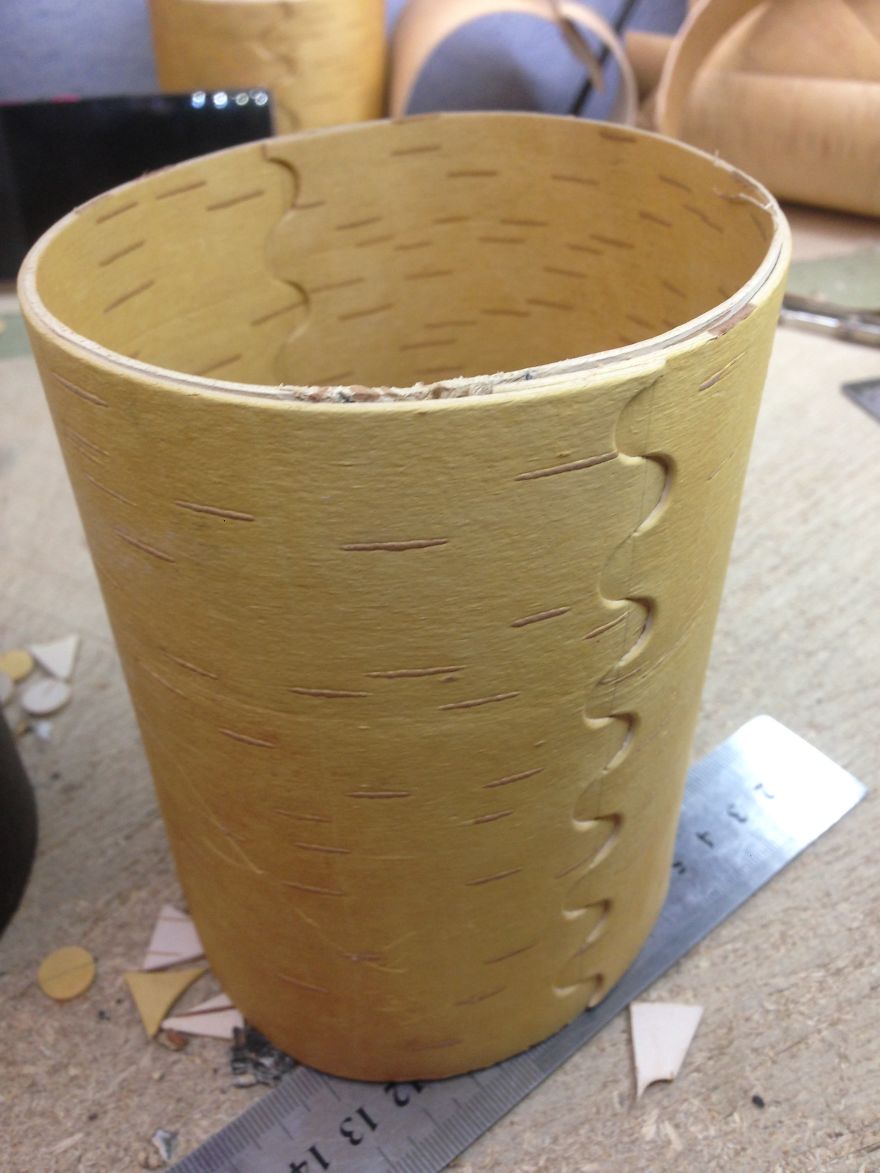
I need two shirts to collect the cylinder. For this I make a “castle” I need a chisel for wood, then clean the growths on the bark.
I clean the growths on the birch bark
Stage 4
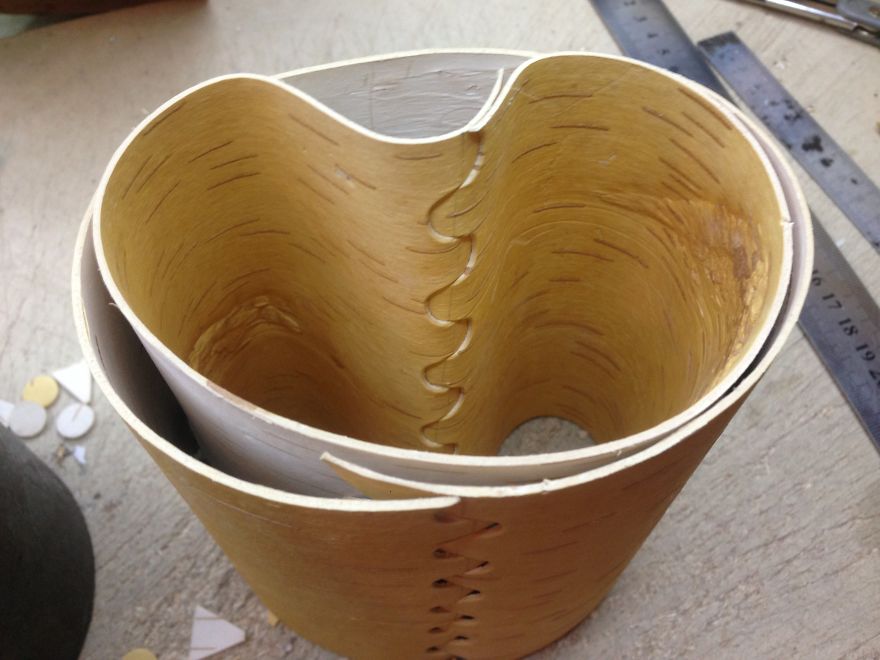
The inner shirt is going face-to-face inside
Assembly
Ready!
Stage 5
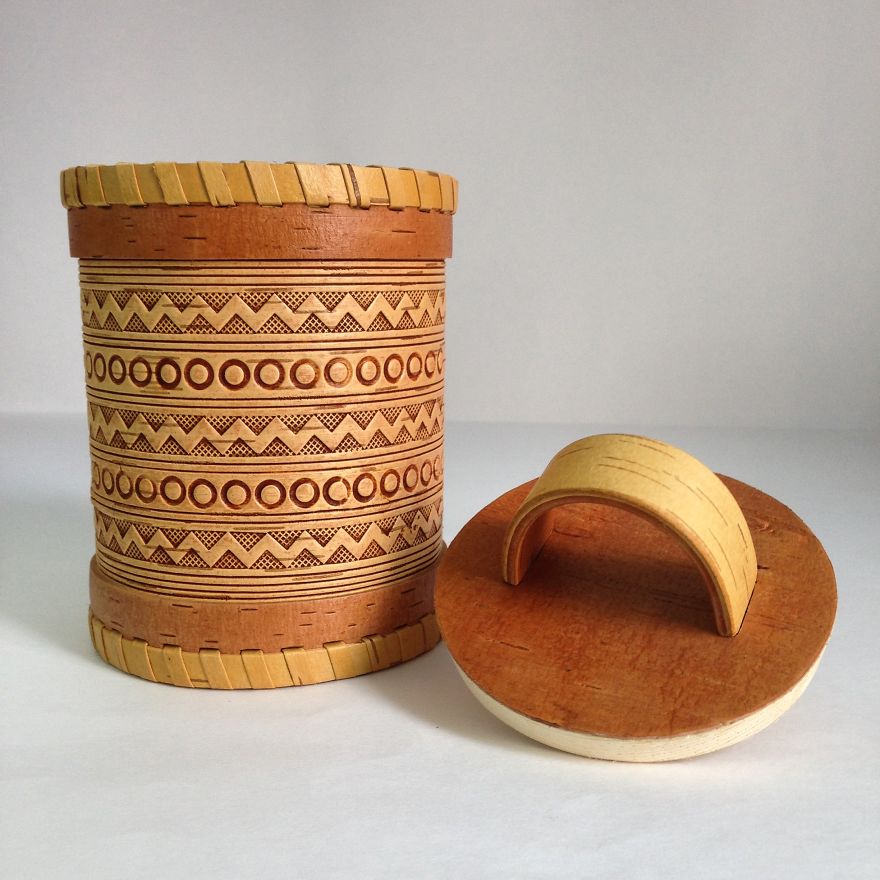
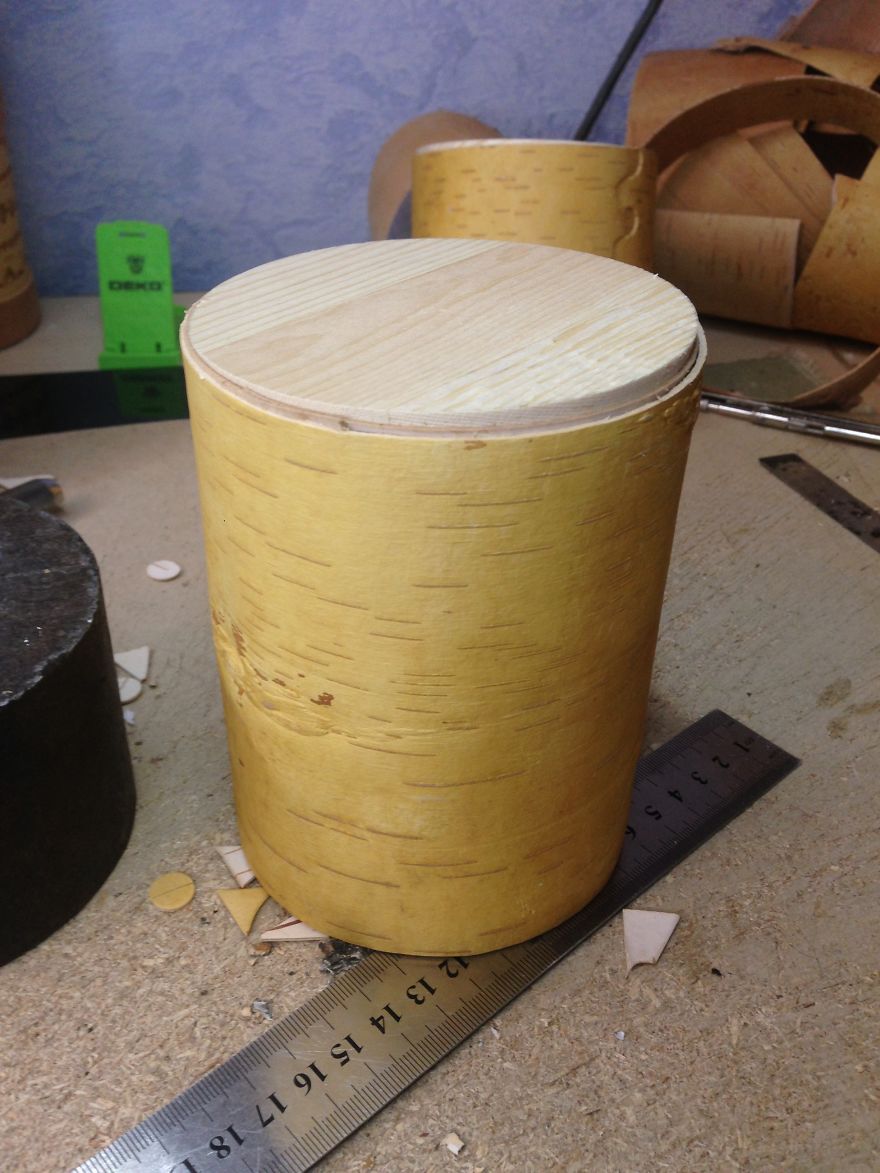
Cut out of the tree cover and the bottom
Stage 6
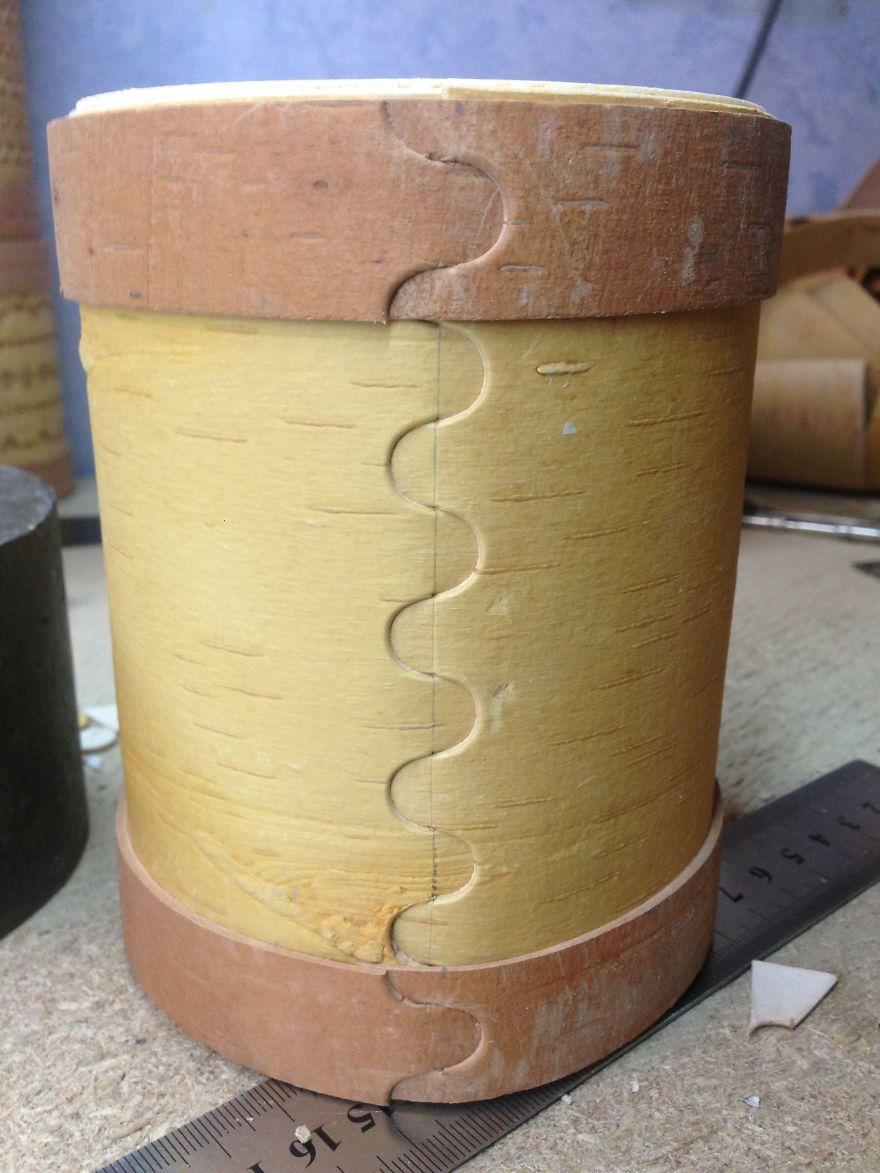
Top and bottom I need to make a “belt”
Stage 7
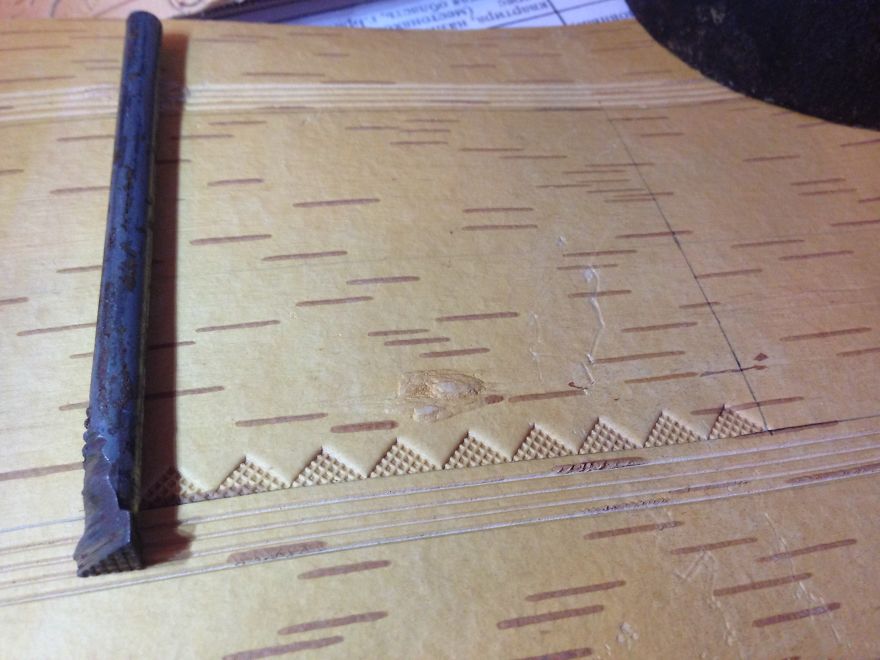
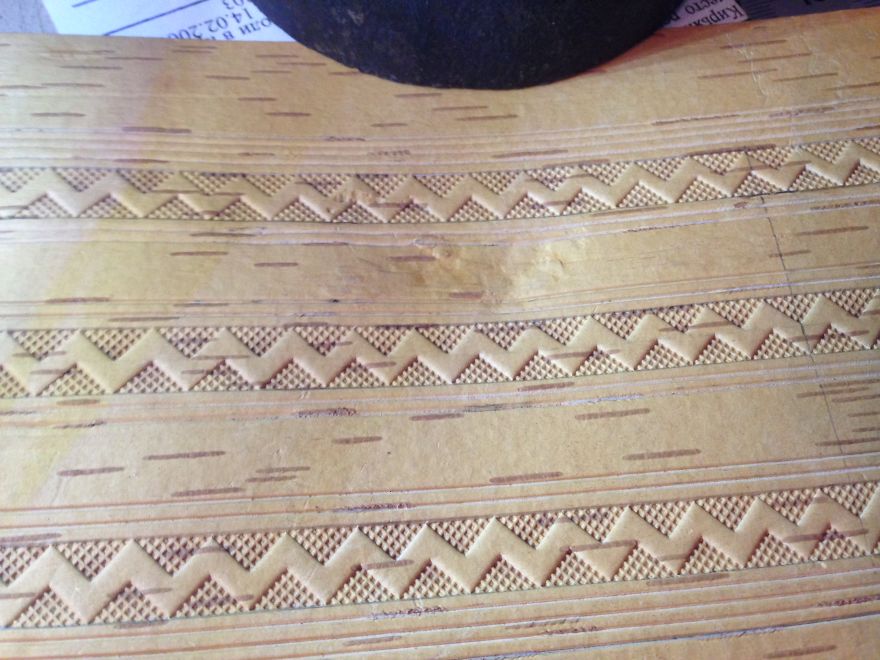
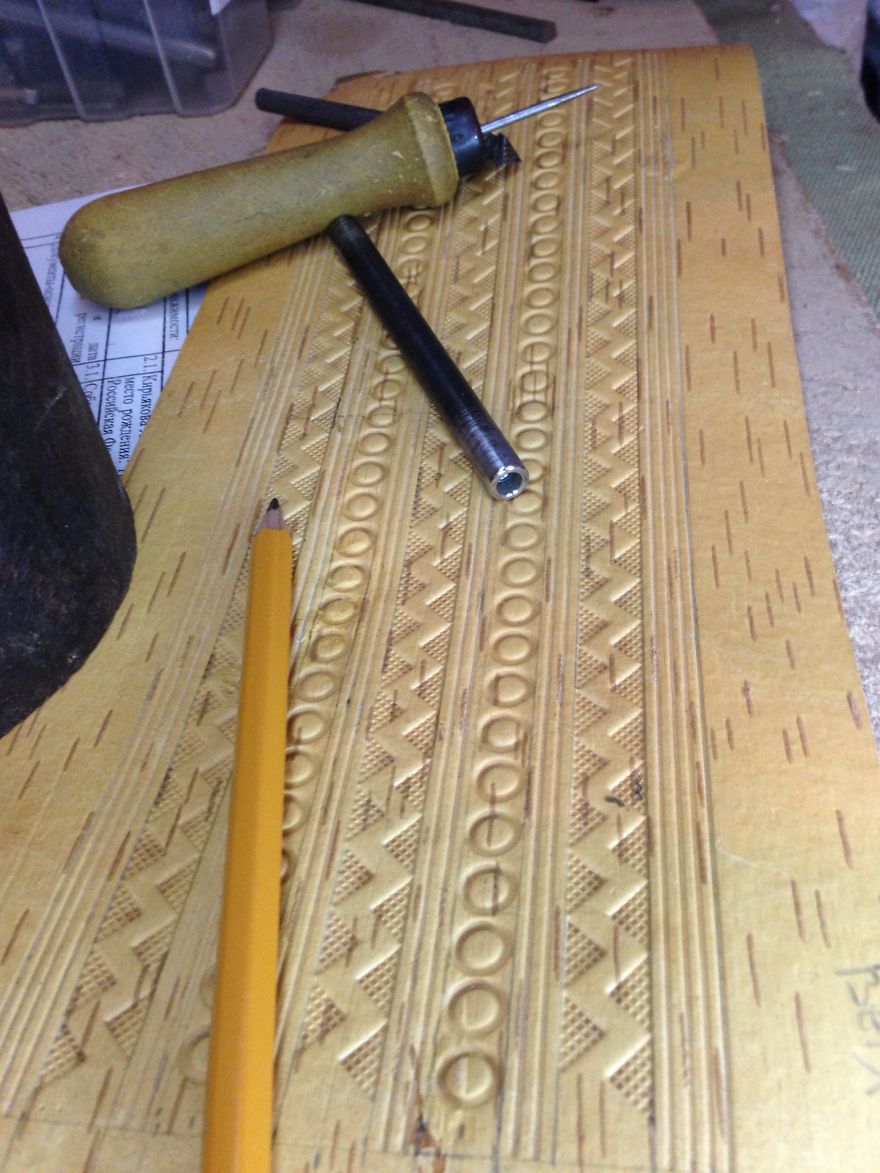
I disassemble, and on the front side (outer shirt) come up with an ornament, for this I need tools for embossing, which previously did himself. We draw, measure, come up with a picture in my head.
Stage 8
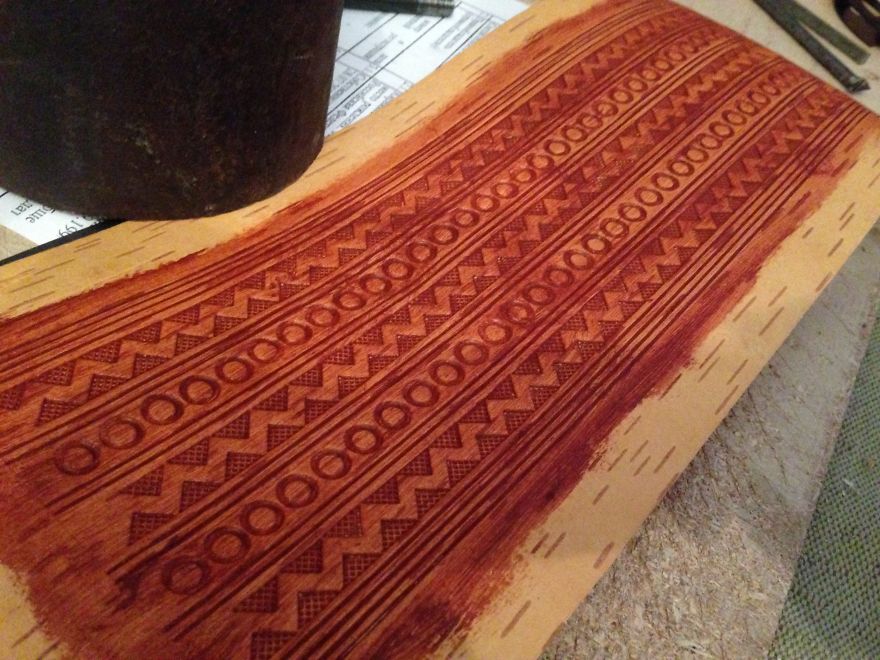
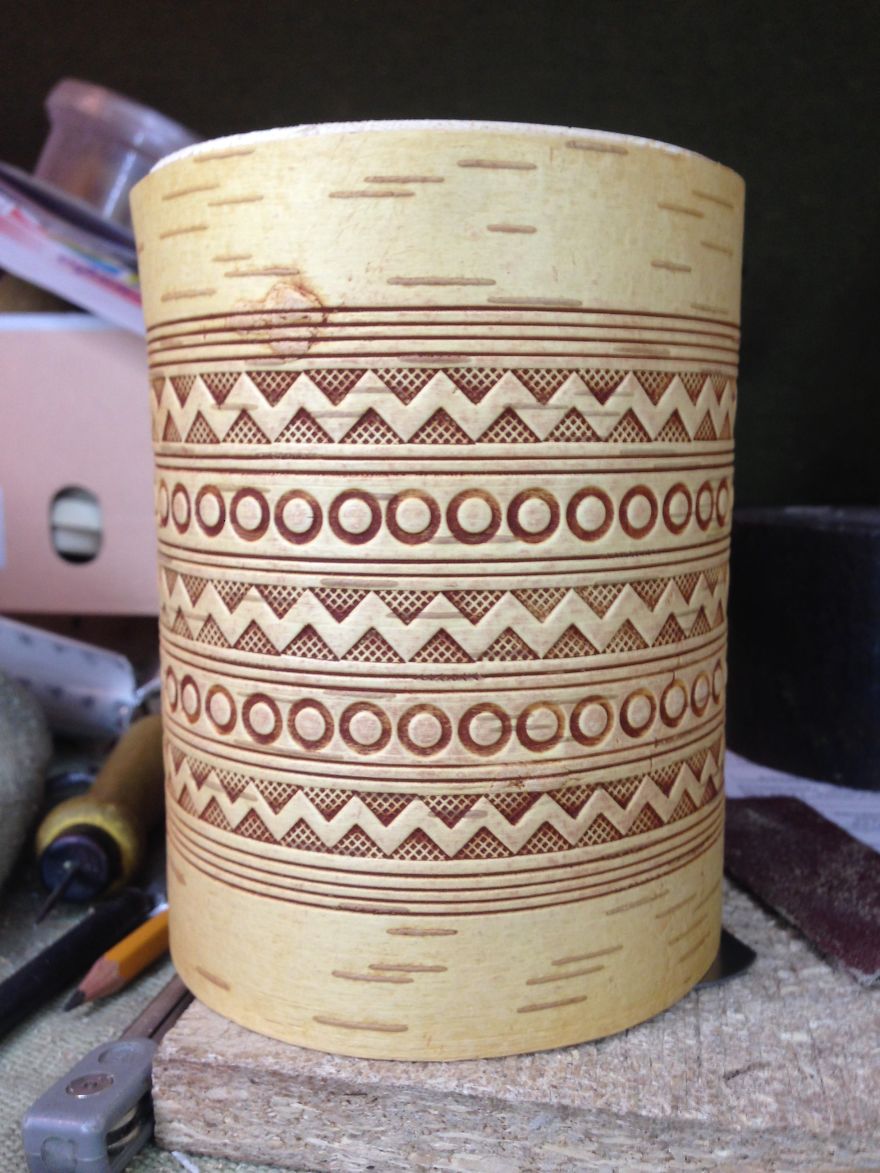
It worked! Next, we need to highlight the picture, use artistic paint. Wipe it, put it back together. And here’s result.
result
Stage 9
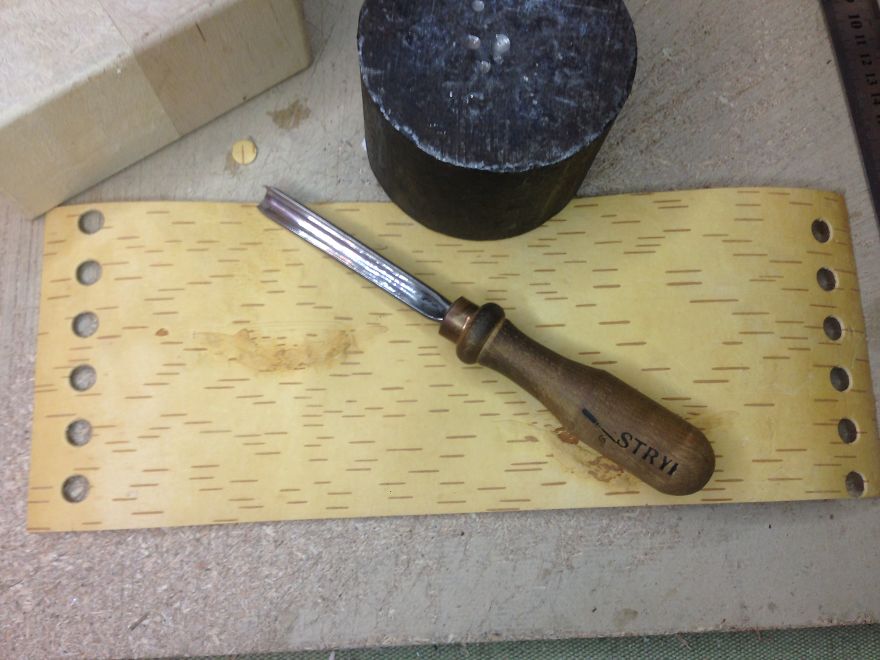
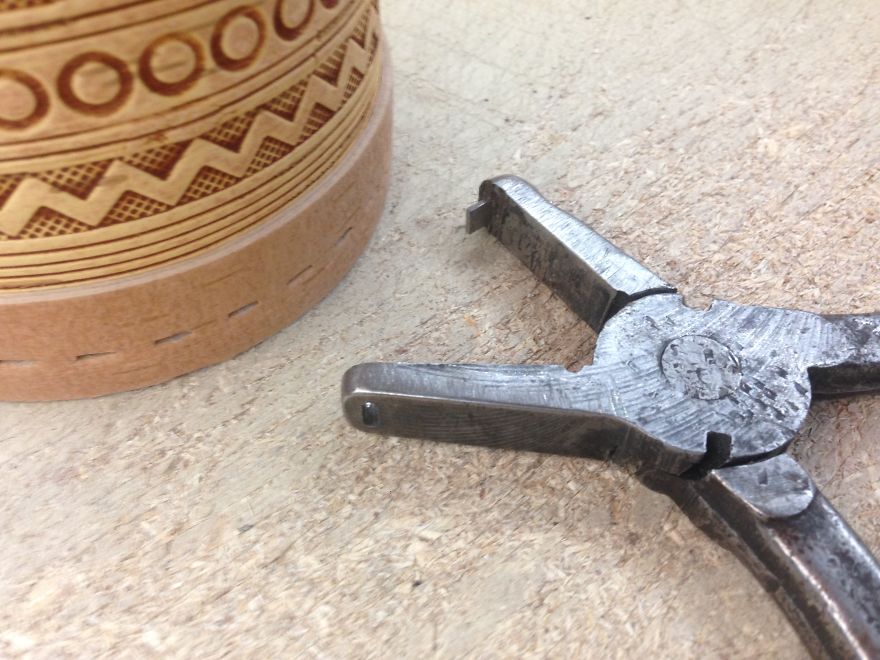
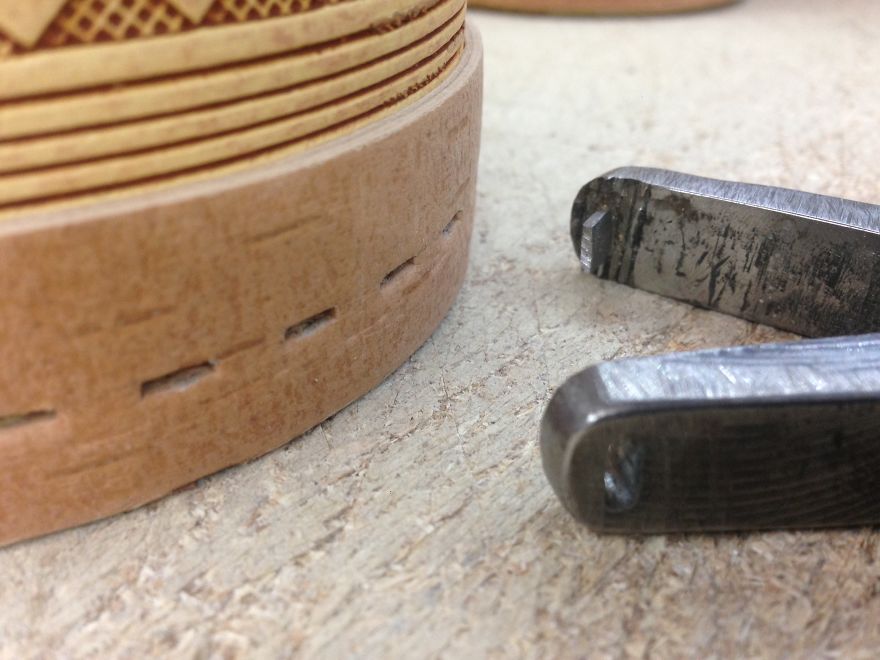
Make holes for plating, use a homemade from an old pair of pliers a flat punch.
Stage 10
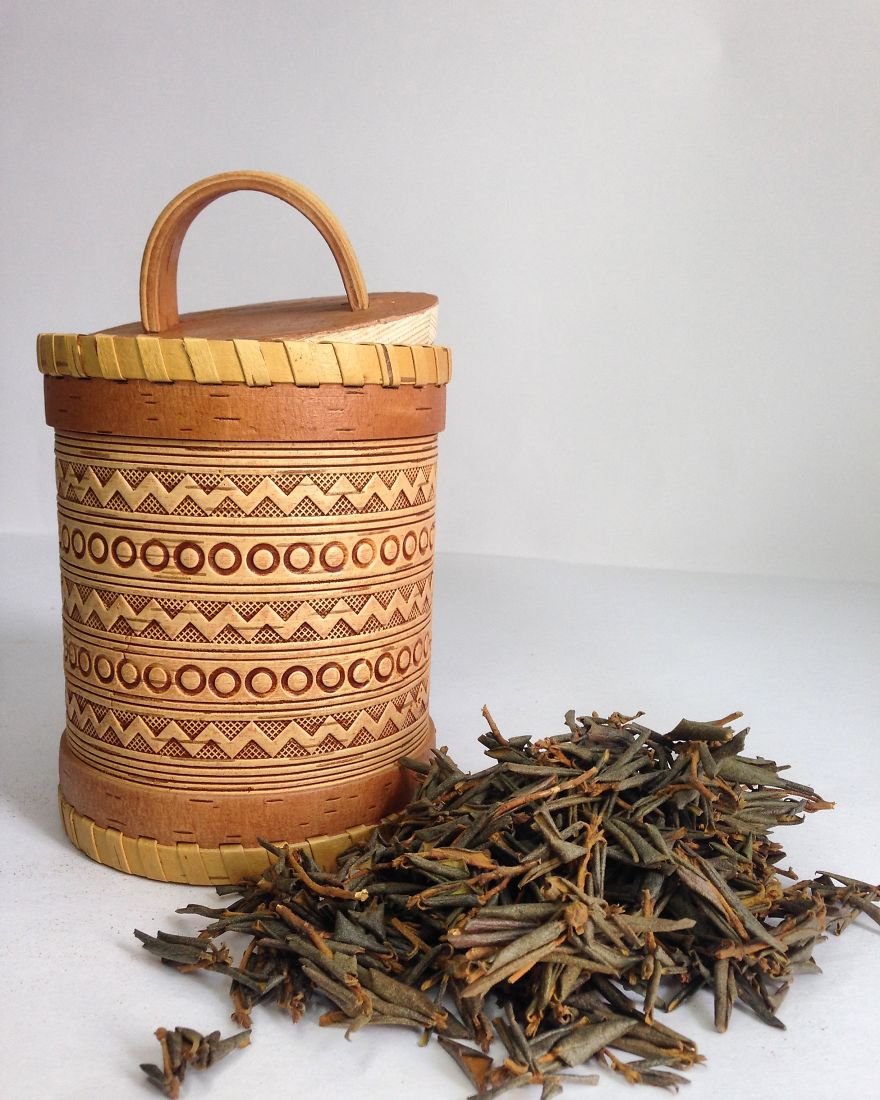
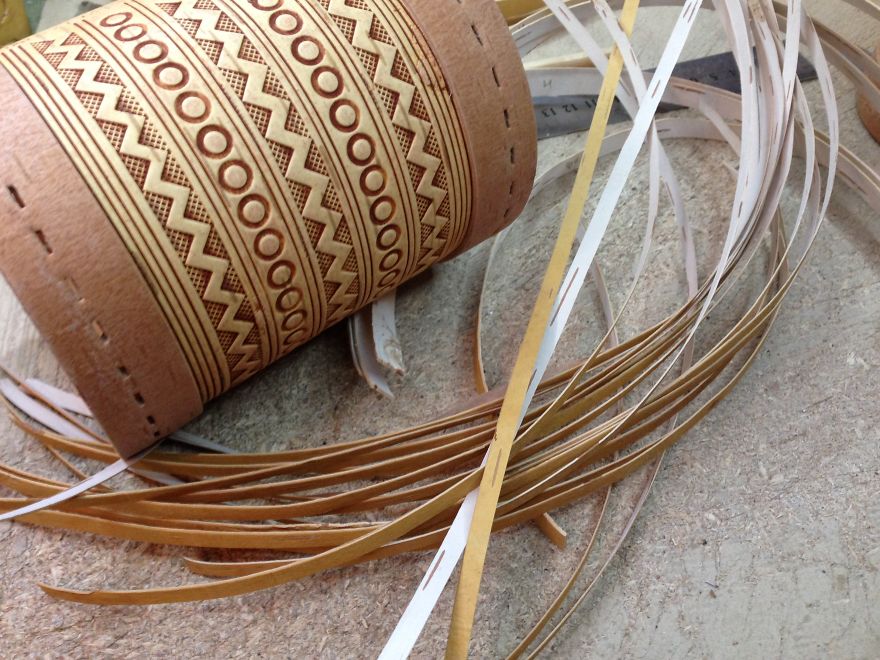
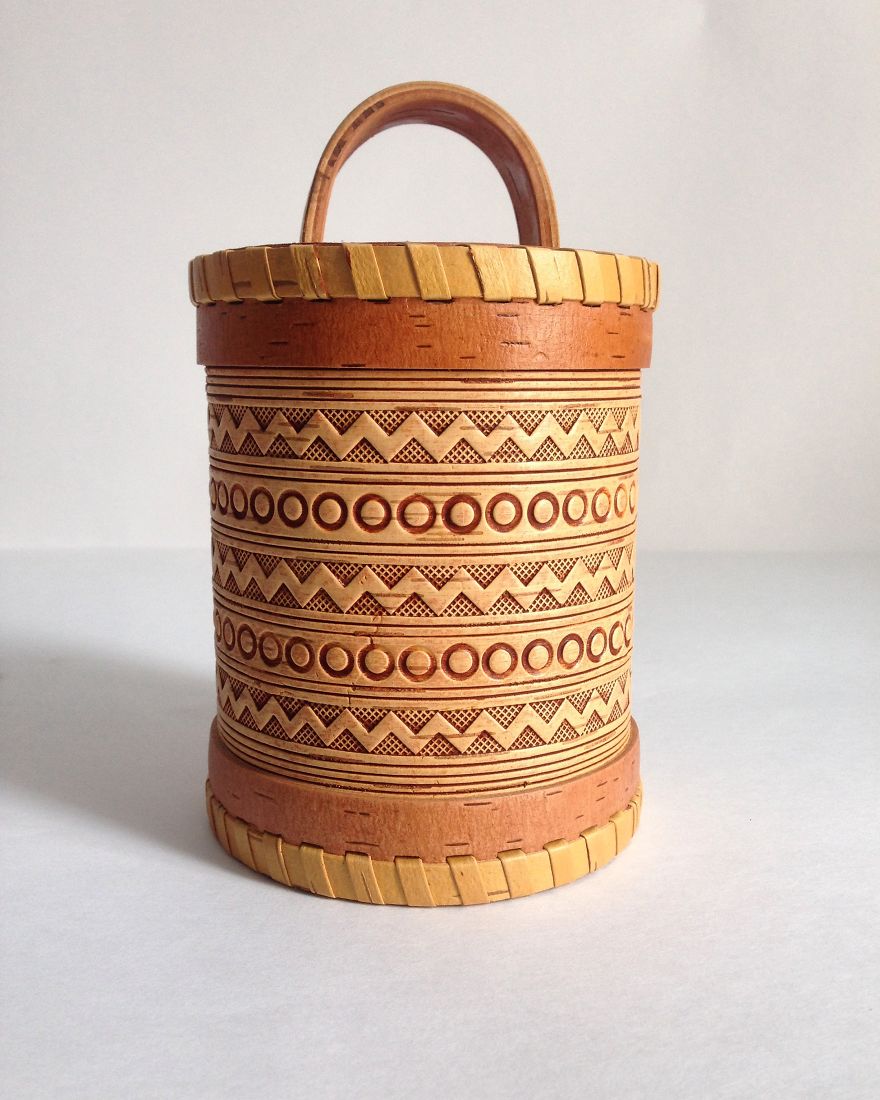
I cut the tape width of 0.5 cm, sheathed, Refine the lid, make a pen and that’s what we got!
Finish
1Kviews
Share on Facebook
 Dark Mode
  No fees, cancel anytime




5
2