E-waste is a big problem nowadays, and money also. The second, is the reason why i have a 22-years old Opel/Vauxhall Astra F (otherwise in a very good condition), with an absolutely low budget sound system. A very cheap car radio was built in the car some years ago, mainly used for phone hands-free (with a microphone cable) and listening to podcasts.
On a day the battery drained mysteriously (thanks to a colleague who helped me out for starting the car), and I noticed that the car radio was gone. Suspiciously it was responsible for the battery drain.
Checked it, and found that the front panel, which is doing the display, buttons, and sound processing, was dead. The power unit and amplifier were built into the radio housing on a separate PCB, seemed to be working.
So I checked the amplifier IC’s datasheet (a TDA7388 was used) and figured out where the inputs are (also disabled mute and standby modes). The radio housing also had the proper ISO connector, so I didn’t need to build power circuitry and connectors.
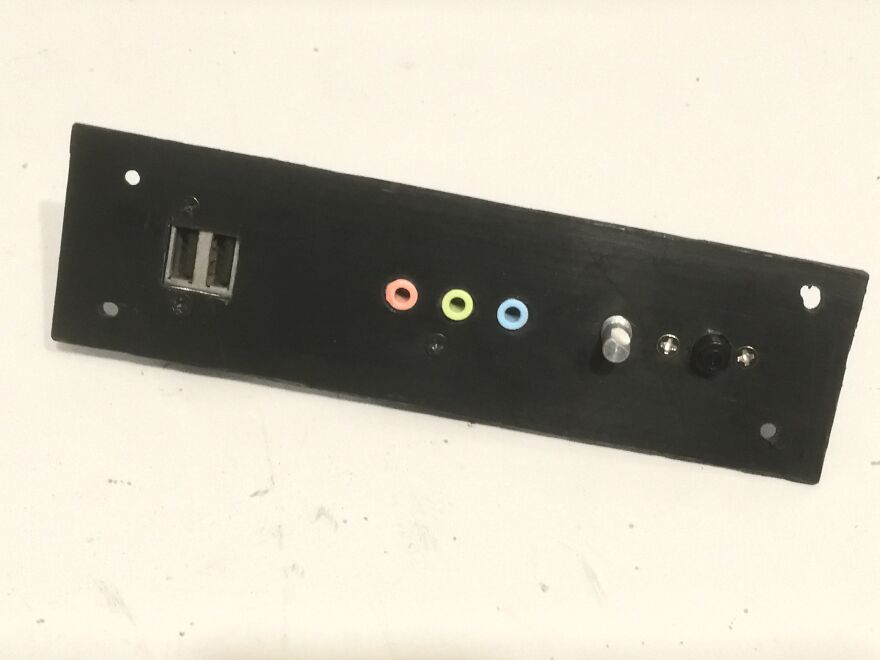
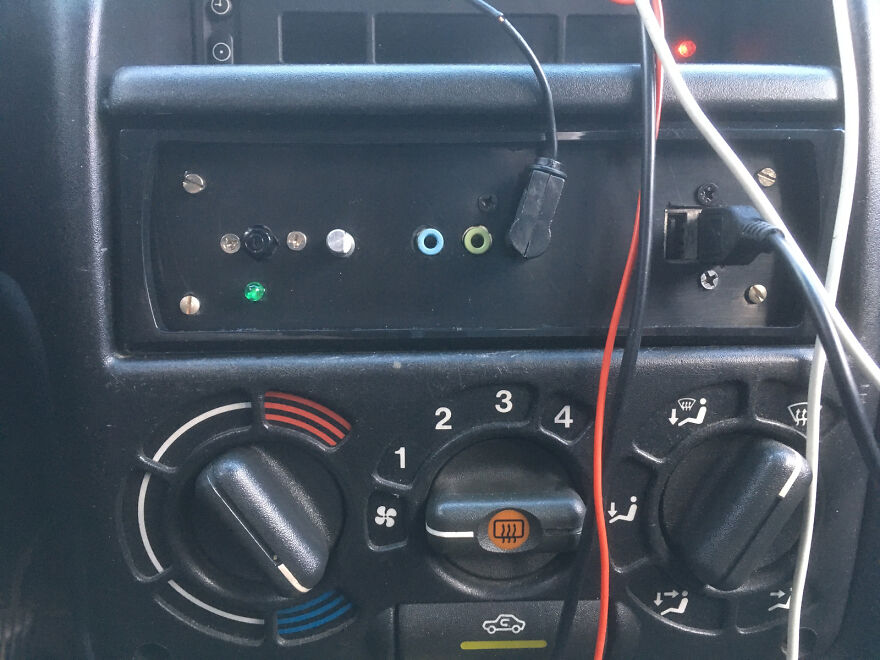
Then I cut a matching piece of plastic and created a simple front panel; volume control, input jack, USBs for phone charging, and a power switch with a LED. Wired it up, and I had the most used functionality that i use during long drives: can listen to anything from a phone/MP3 player :D
Even the cheap radio’s decoration frame also fits the “dumb” front panel.
Further improvements are planned, e.g. a built-in microphone Bluetooth module, and so on.
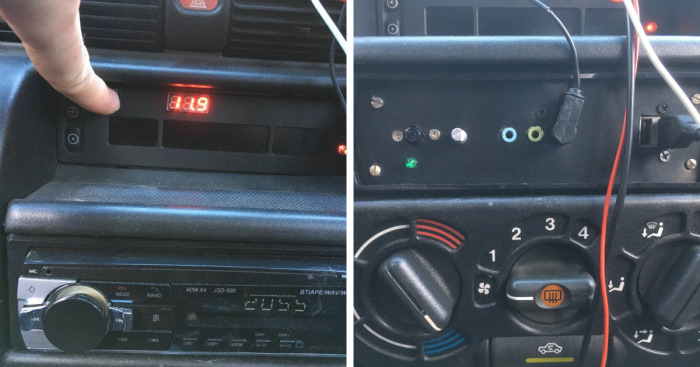
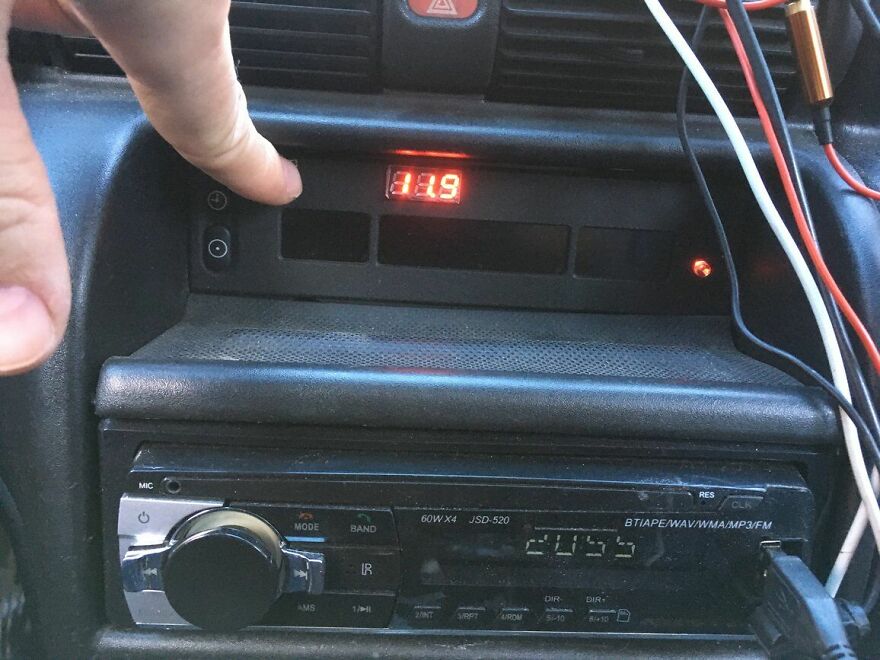
This was the starting point
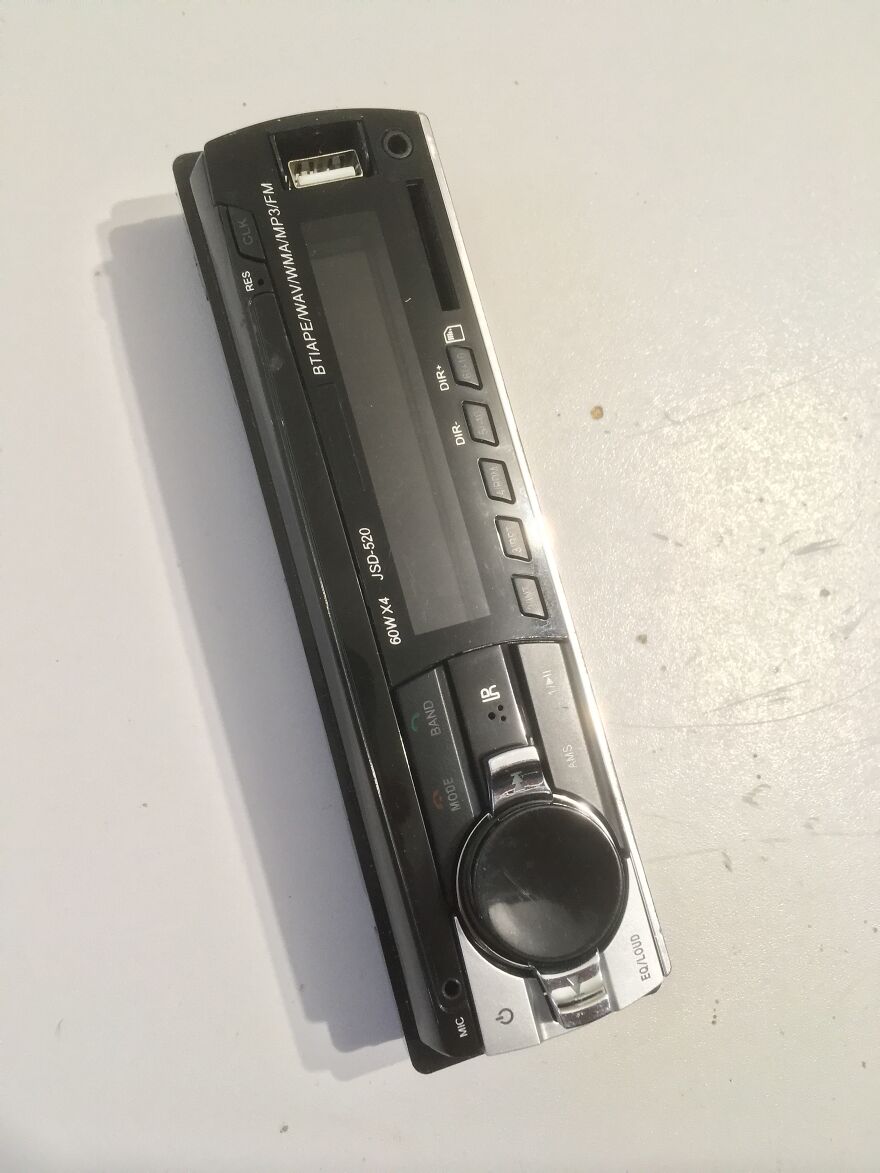
The original front
The new panel
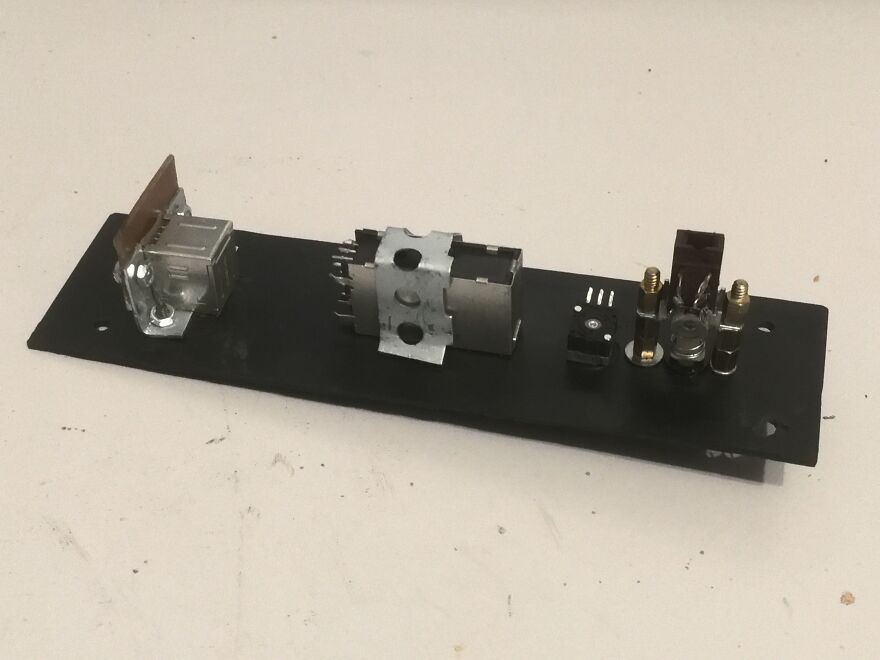
Backside of the new panel, without wiring
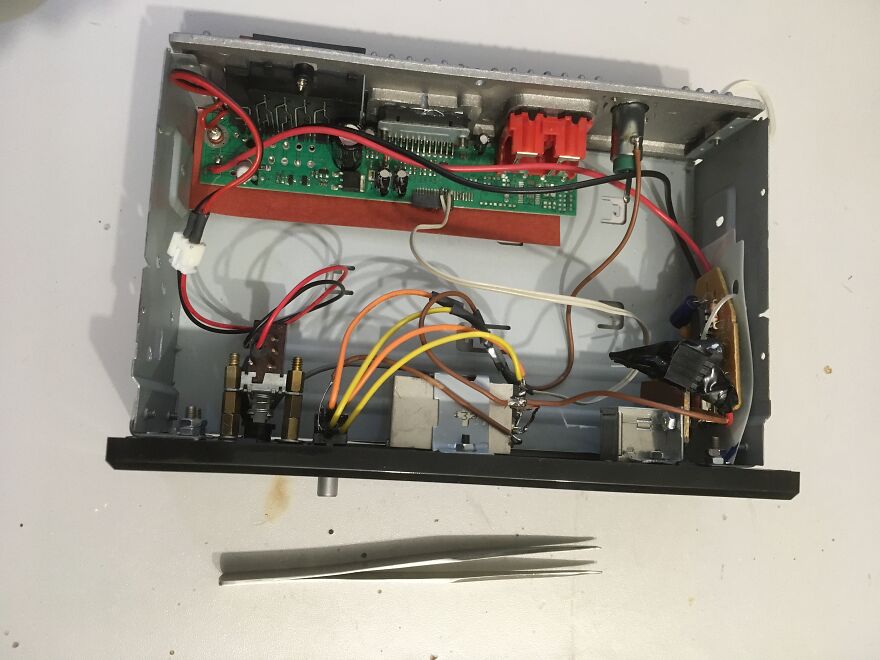
Wiring completed – ugly, but works!
The final product, built in
1Kviews
Share on Facebook
 Dark Mode

 No fees, cancel anytime


























17
0