As soon as we hear the famous quote by Angie Weiland-Crosby, “Autumn is a mood that stirs the soul to wander outdoors and feel the earth’s love,” we instantly think of colorful flower gardens. Mums, or Chrysanthemums, are the true stars of the fall season. From porch steps to hanging baskets, their striking colors are hard to miss.
We’re here to send you even more floral goodness with practical tips from Evis Kazazi—floral designer and founder of Eart Flowers & Gifts Studio. Whether you’re a plant pro or just starting with plant parenting, this guide will help you grow thriving mums indoors or outdoors. And hopefully, some good and scented luck!
Mum Basics
Garden Mums Vs Florist Mums
Before jumping on a Chrysanthemum care guide, you must know what types of mums best suit your needs (outdoor or indoor use). Let’s break down the comparison between garden and florist mums.
Garden Mums
Garden mums are winter-hardy perennials. If you want to enjoy gorgeous flowers in your front yard year after year, plant mums. Once you give them the right conditions, they’ll return every spring.
Florist Mums
The beautiful florist mums are short-term flowers homeowners love for their vibrant colors. They are perfect for temporarily decorating your space, but florist mums don’t bloom yearly.
“Both types of mums come in various colors, turning your space into a vibrant masterpiece. The difference is in their longevity and your preferences. Garden mums are your ride-or-dies if you’re looking for long-term annual flowers. If you’re on the other side, go for florist mums—the short-term beauties for a couple of weeks,” says Evis.
Mum Types
Mums are composite flowers with disk and ray florets—the disk at the center and the ray florets form the perimeter. New York Botanical Garden classifies them into 13 classes based on different flower forms, serving diverse purposes, including specific hybrids for cut flowers.
When it comes to popularity, different mums steal the show in Eart Flowers Studio. “The Cushion mums, Malaysian mums, and Daisy varieties are the A-listers for my clients. Those who prefer a unique look go for Spider and Quill mums with spiky petals. And the Pom Pom mums are a classic choice for those who adore the fluffy flowers,” adds Evis.
RELATED: Snake Plant Care Guide & Tips For A Thriving Plant
How to Care for Mums
“The good thing about these flowers is that basic mums care is similar among different Chrysanthemums. Once you decide what mums plant you want, preparing the soil, the watering schedule and all the rest is easier than you think, “ explains Evis.
Light, Soil, and Water Needs
Make your porch more vibrant with colorful mums by placing them in the right sunny spot. Mums thrive in 6 to 8 hours of direct sunlight daily. However, be mindful of living in hot, dry areas with scorching sun.
“Fall is an ideal season for mums because the maximum sunlight is up to 8 hours. Hence, you can easily grow them both in pots next to the windows and outdoors in the garden,” adds Evis.
“Compost soil that works for vegetables works for potted mums, too. For mums you’re planting outside, prepare a mixture of well-drained clay or sand-based soil,” adds Evis.
The soil for Chrysanthemum should be moist but never soggy. Water the garden mums when the soil’s top two inches look dry. As they grow and blossom, they might need more watering, especially in warm weather. The ideal watering frequency is a minimum of once every week.
“Potted mums are more sensitive to drying out, so water them when the top of the soil gets a bit crusty. Although mums need water to prepare for the cold days ahead, make sure not to drown them—soggy roots are their killers,” suggests Evis.
Temperature and Humidity
Mums thrive in temperatures between 60-70 degrees Fahrenheit. They do great when days are warm and nights are cool. Evis says these changing weather conditions in fall help mums stay happier.
Mums are probably the most flexible flowers when it comes to humidity. Mums tolerate 70% to 90% humidity in a greenhouse and about 40% to 50% indoors. The humidity levels play a vital role in their growth and, of course, in their blooming time.
Fertilizer
You can potentially skip fertilizing potted mums, but if you do, fertilize them not more than once a month. For garden mums, the rules are different. Evis suggests applying a slow-release fertilizer in spring every 6 to 8 weeks until July. “Do this to prepare mums for their pre-blooming phase and stop before their blooming time. A sprinkle of dilute 5-10-5 fertilizer before the buds pop does the trick”, she adds.
Pruning Mums
For perennial mums, wait until they bloom, and the foliage is dormant to prune down to 2-3 inches. However, trim only the dead stems just above the ground. If your mums are in the early blooms of mid-September, mid-June is a good time to cut them. With October bloomers, you can wait until mid-July. Just remember the golden rule: no pinching within 3 months of the bud’s life. Also, use a pruning kit to ease the process.
“Avoid fall pruning unless you see the flowers fading and the weather is foreseen to be warm for a few more weeks. In that case, I suggest doing a light trim to stimulate new growth,” explains Evis.
Overwintering
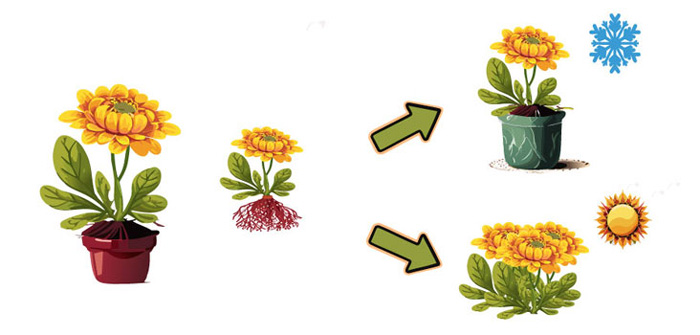
If your mums are a hardy variety, they’ll handle winter like champs. But if you’re in a zone with harsh winters, you should toss a thin layer of mulch for garden mums to help them through cold months. On the other hand, potted florist mums must be placed indoors as the weather starts getting chilly.
RELATED: Begonia Growth and Care: A Complete Guide For Full Blooms
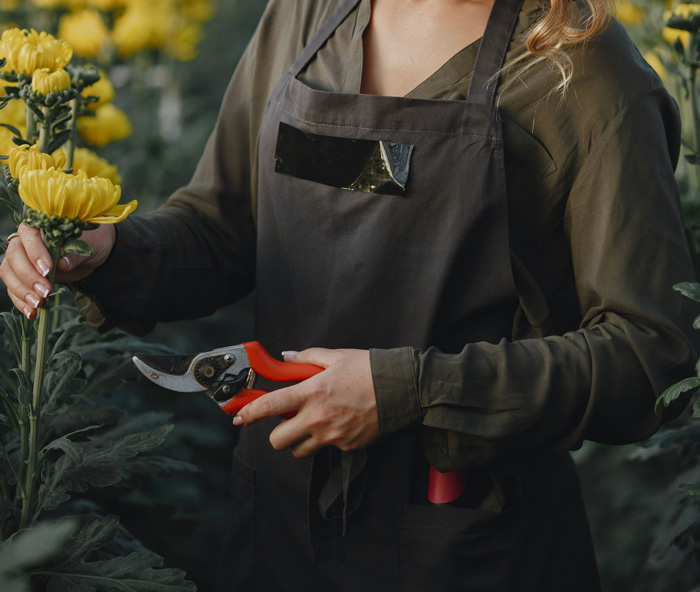 Image credits: Gustavo Fring
How to Grow Mums
Before learning how to take care of your mum’s plant, you have to make a choice. If you want perennial mums, plant them in early spring. If you want annual mums, plant them in early fall.
Growing From Seeds
First, pick mum’s seeds from spent flower heads or get them from a professional supplier. Sprinkle seeds over the tray by pinching them between your fingers. Find a sunny spot to place the seed trays with well-drained potting mix. As mentioned before, mum flowers adore sunlight. Remember to give them regular water and feed them with a balanced granular fertilizer to help them bloom into vibrant, colorful mums.
- Timing: Start 6 to 10 weeks before the last frost
- Soil: Use well-drained potting mix in trays
- Temperature: Keep it 70 to 75 degrees F
- Humidity: Keep the soil humid, not overly wet
- Seeds: Pop seeds into the soil about 1/4 inch deep
- Germination: Seedlings should emerge in 10 to 21 days
- Light: Once sprouted, move them to a spot with lots of indirect light
- Transplant: Place seedlings into containers when they’re 3 to 4 inches tall
“Growing from seeds isn’t the easiest method. Typically, we start preparing for growing mums between February and March, ” says Evis.
Growing in Pots
If you’ve purchased a potted mum from the store, chances are it’s a florist mum. Before you plant it in, check that care tag—florist mums can handle zones 7-9, while gardening mums thrive in zones 5-9.
Potted garden mums should always be placed outdoors. Even in winter months, you should position them in a sheltered area instead of having them indoors as houseplants.
Tips for Growing in Pots
- Mum’s Type: Florist mums may not brave harsh winters, so know your zones.
- Soil: Prepare a well-draining pot with peat-based potting mix for garden mums.
- Pot: Transplant a garden mum into a large container with well-drained soil.
- Protection: Bring garden mums inside during winter and plant in springtime.
- Sunshine: Mums are sun lovers, so give them that bright sunlight indoors.
- Water: These beauties can be watered every evening for moist ground.
RELATED: How to Grow, Use, And Care For A Lavender Plant
Potting and Repotting
Containers are an easy method to grow both garden and florist mums. Potted florist mums are annuals, while potted garden mums can be overwintered. “Garden mums return every spring, so they’re ideal for planting outdoors. However, if you notice your flowers are root-bound, it’s time for repotting”, says Evis.
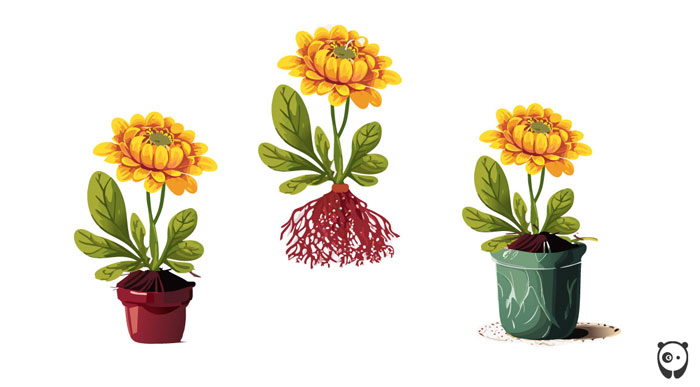
Step-by-Step Guide for Repotting
- Check the soil with your fingers for moisture around the roots.
- When repotting, fill the new container with well-drained potting soil.
- Take the mums out of the container and loosen the roots by hand.
- Place the mum in its new container and fill it with a new rich mixture.
- Add mulch around the base of the plant to help keep the soil moist.
Propagating
Besides the classic seed method, we can multiply mums in the garden through division (in early spring) or stem cuttings (in late spring). So, when the birds start chirping and the sun warms up, that’s your call to propagate mums.
Propagating by Division
Use a sharp tactile knife to divide mums from the existing pot into sections. Once every section has roots, proceed with planting these divisions into new containers or holes in the garden. Place them where you want them to thrive. If you’re planting in groups, keep them at least one foot apart.
Propagating via Stem Cuttings
If your mums aren’t ready to be divided, try cuttings. Snip a 3 to 6-inch stem at a 45-degree angle, remove leaves an inch from the bottom, and remove any flowers or buds. Dip the cut section in root hormone and plant it in a mix of perlite with compost. Wait a few weeks. Once you spot the first leaves, transplant them into bigger pots or in your garden.
RELATED: How To Grow And Care For Texas Bluebonnet Flower
Common Problems With Mums
In terms of pests, mums are usually resistant, but they aren’t disease-immune. Good airflow and less moisture in their foliage help prevent diseases. “Spray fungicide as soon as you notice symptoms of sick mums. Be mindful of fungus signs. It spreads on wet leaves, not dry ones”, adds Evis.
If you find any of the above signs on your mums, Evis suggests removing affected parts or entire plants. This will ensure the disease doesn’t spread.
Signs you disturbed mum’s care routine
- Woody stems due to poor watering.
- Lanky and floppy stems, which are caused by too much shade.
- Discoloration of leaves due to lack of nutrients or overwatering.
- Deformed leaves, fine webbing, or trails on leaves are the first signs of pests.
Common Pests and Diseases
- Botrytis: Gray mold disease causing flower shriveling.
- Aster Yellows: Viral disease leading to yellowing foliage.
- Aphids: Pests that destroy young buds and foliage.
- Mites: Typically feed on mum’s leaves.
- Parasites: Foliar nematodes are common parasites that live inside the leaves.
- Leaf miners: Larvae that eat the soft tissue of the foliage.
- Fungal infection: A powdery mildew and leaf rust. Remove it with neem oil and water.
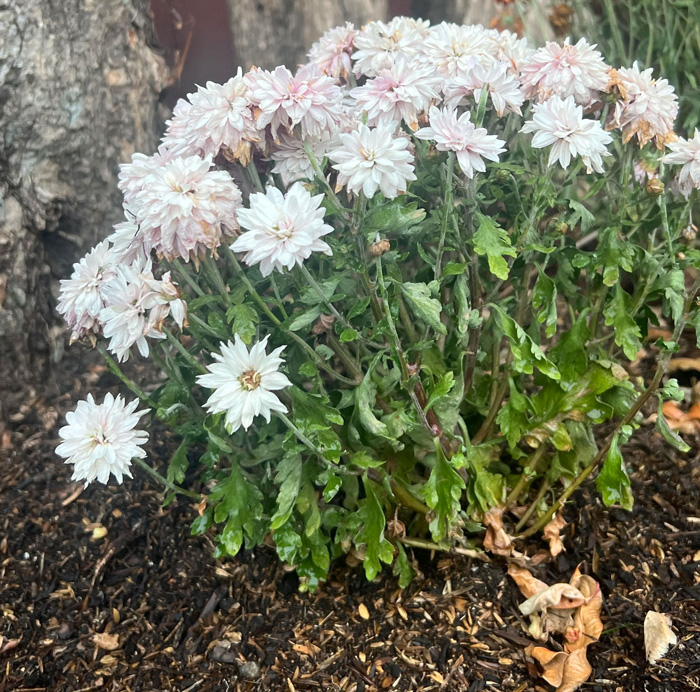 Image credits: Prestigious-Bit9256
Bring New Life In Your Garden With Mums
Chrysanthemums are like scented gems of our gardens. Malaysian mums, in particular, symbolize rebirth and new life, bringing pops of colors and good vibes to porches, steps, and gardens.
RELATED: Learn To Grow And Maintain Your Own Dianthus Plant At Your Home
 Image credits: TieuBaoTruong
Answers to Popular Questions About Mums
In case we’ve missed it, here are some of the popular questions about these garden showstoppers!
What Do I Do With Mums After They Bloom?
After your mums bloom, give them a little post-flower care. Cut the faded flowers to encourage more blooms, and if you’re feeling fancy, shape the plant to keep it looking tidy. Water them regularly, but be cautious not to overdo it. If you’re in a cold area, adding a layer of mulch around the base helps protect them during winter. A good post-blooming care routine will help your mums come back next year.
How Long Do Mums Last?
The longevity of mums depends on whether they are garden mums or florist mums. Garden mums typically last for several weeks in the fall season. On the other hand, florist mums are short-term flowers purchased in pots for indoor decoration. They can last for a few weeks.
Should You Buy Mums That Have Bloomed or Not?
The decision to buy mums that have already bloomed or not depends on your preferences and the reason you’re buying them. If you want immediate color and a fully bloomed display, purchasing mums in bloom is the way to go. You can enjoy their vibrant flowers right from the start. If you enjoy watching the process of the entire growth and flowering cycle, choose mums that haven’t bloomed yet.
RELATED: Spider Plant Care: Why You Should Let This Spider Crawl Into Your Home

 Dark Mode

 No fees, cancel anytime


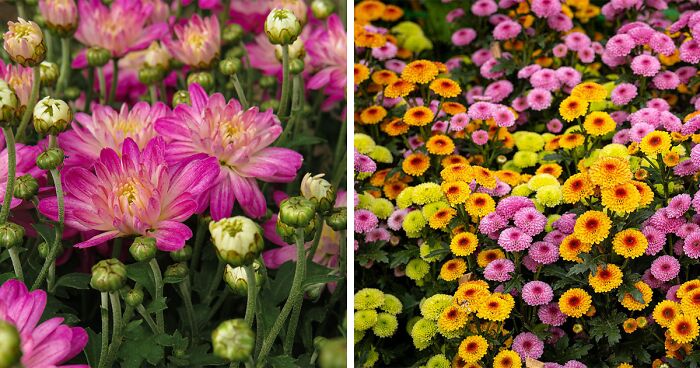
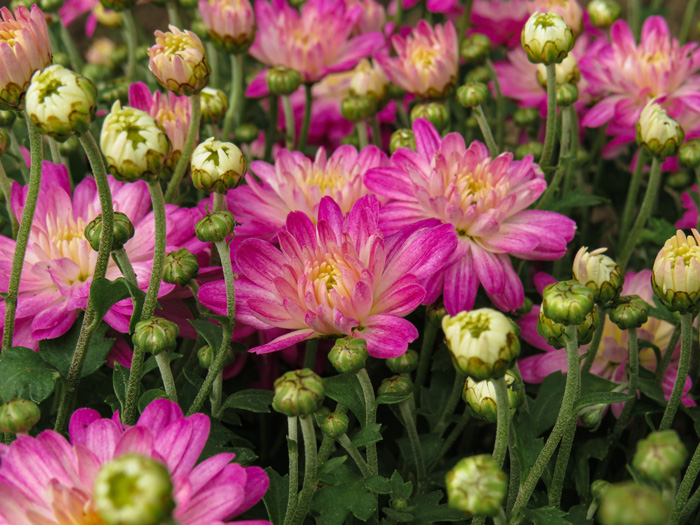 Image credits:
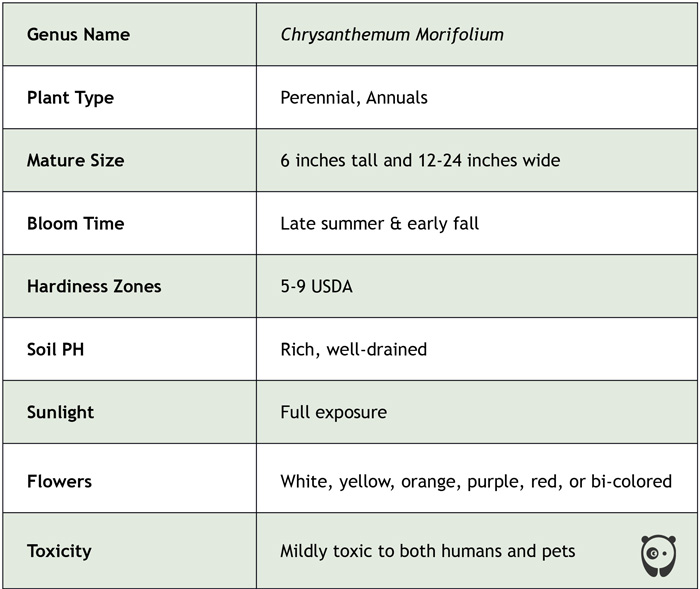
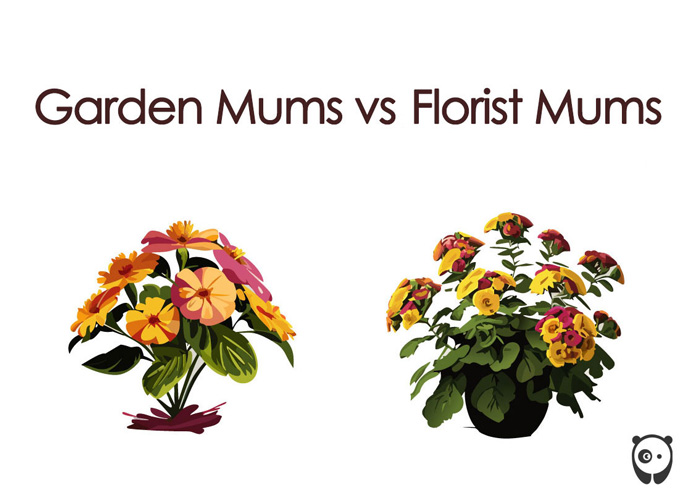
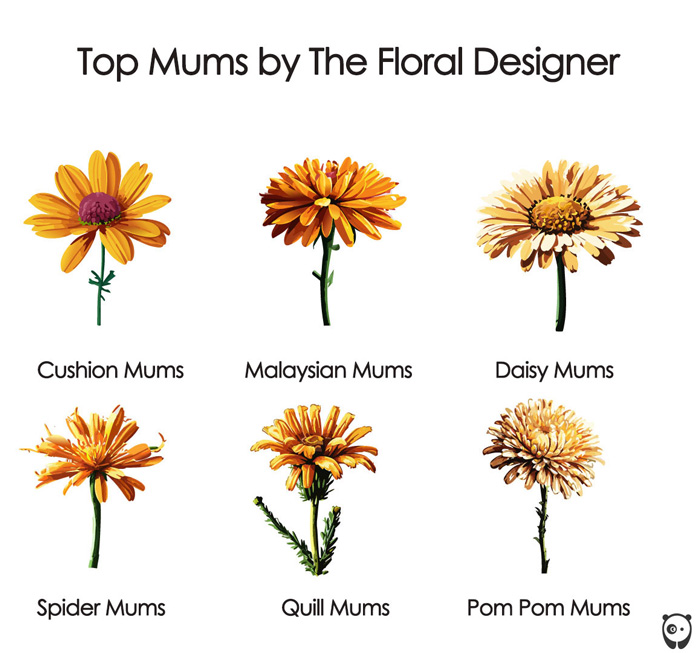
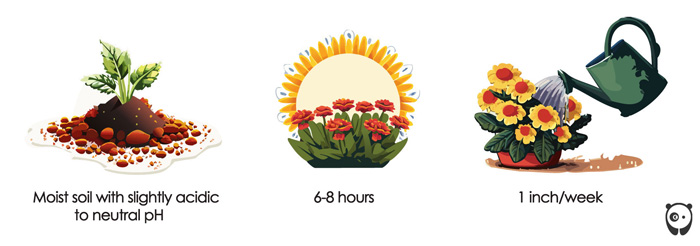
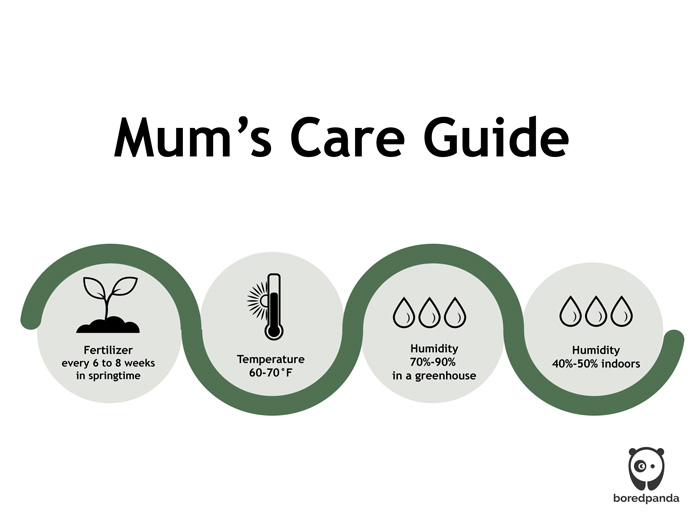
 Image credits:
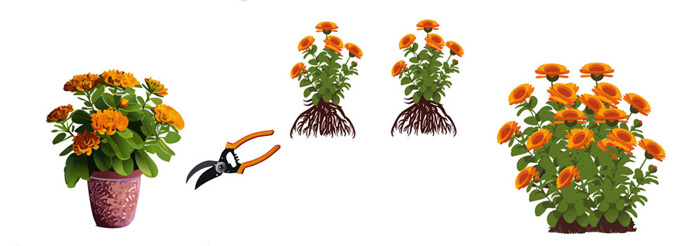

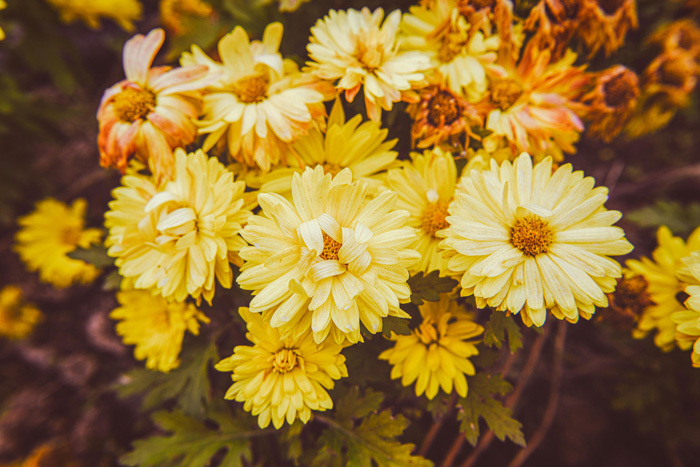 Image credits:


7
1