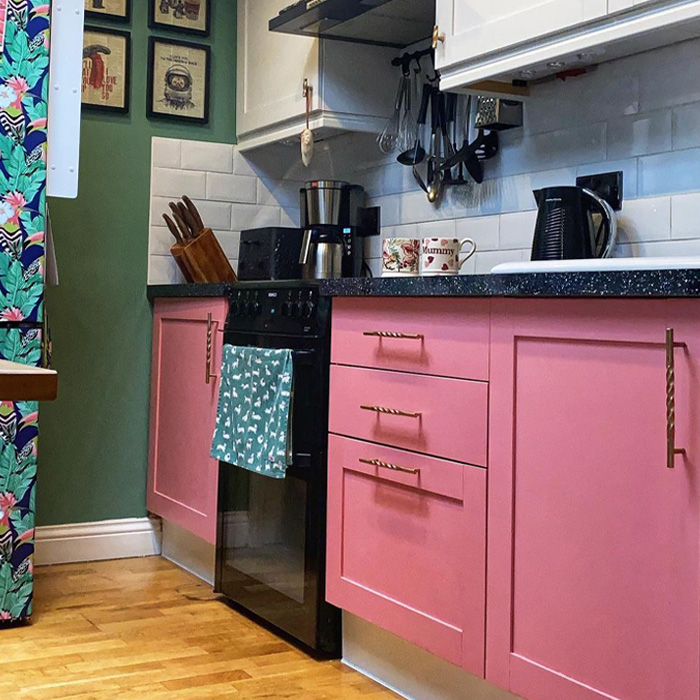
Have you been itching to remodel your kitchen for quite a while now? Yet, when you look at the prices of kitchen cabinets on the market, all renovation plans go out of the window. Renovating your living space every once in a while is a great way to keep things fresh and make your home an inviting place.
Even if you liked your current cabinet color five years ago, it’s only natural that you got tired of it after so long. So, how can you update your kitchen without breaking the bank?
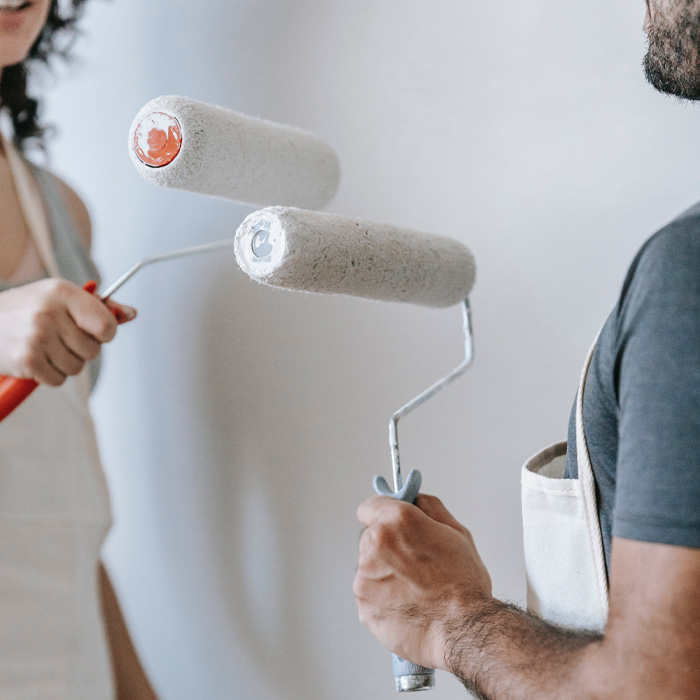
Image source: Blue Bird
Anyone who has ever renovated their kitchen will tell you that it is very difficult to overestimate painting kitchen cabinets when it comes to remodeling. A fresh coat of paint can work wonders for your cabinets, and it only costs a fraction of the price for new cabinets. If you are worried about your DIY skills, let us assure you that it is very easy to learn how to paint kitchen cabinets.
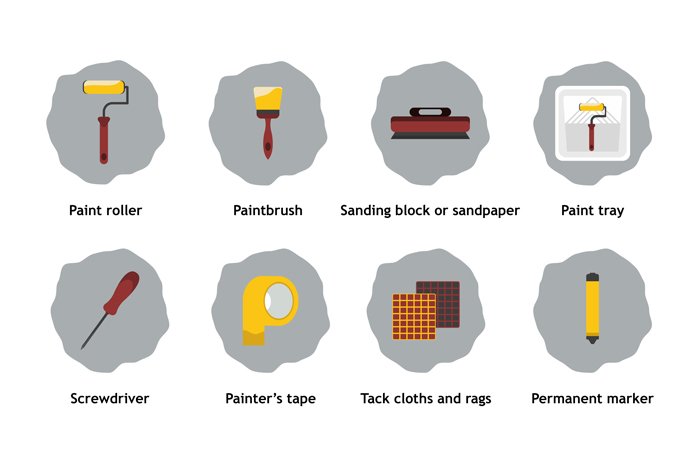
What You’ll Need When Painting Kitchen Cabinets
Equipment
Materials
Cost of Painting Kitchen Cabinets
Kitchen remodeling is one of the most expensive renovation projects you could have at home, and at least a quarter of its budget goes into replacing kitchen cabinets. The total price depends on the number of cabinets you have, but for a standard family kitchen, it starts from $3,000 and can easily reach $25,000, as presented by Forbes. On top of having to drop large amounts of money, there is no guarantee the replacement will be better in quality than your old cabinets.
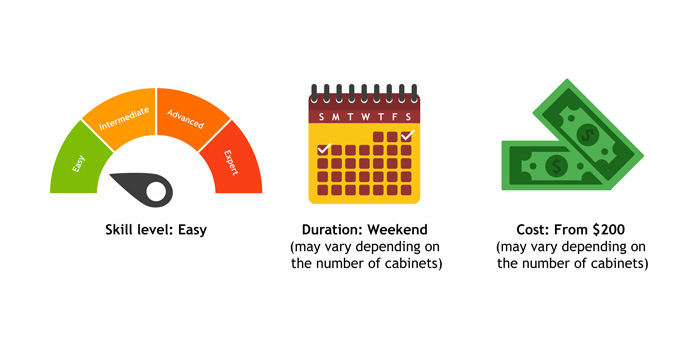
If you decide to paint your cabinets but leave the job to the professional painters, be prepared to pay around $2,500. On the other hand, doing it yourself will drop the cost to about $400. If you already have a basic toolbox at home and only need to buy supplies, you might end up spending as little as $200.
When you compare how much to paint kitchen cabinets will cost you versus how much it is to replace the cabinets, the choice becomes virtually self-evident. An added benefit of painting kitchen cabinets yourself is the satisfaction of a job well done. Now, you can proudly show off before and after photos!
How to Paint Kitchen Cabinets Like a Pro (Step-by-Step)
1. Prep the Area and Gather Supplies
Image source: Karl Solano
Prepping your area before you start the paint job will make the process easier and more streamlined. It is also a good way to avoid unnecessary mess. Empty the cabinets, and remove all the appliances and furniture, like tables and chairs, from the kitchen. Cover the floor, the backsplash, countertops, windows, and fixed appliances with plastic sheets to have less cleaning later.
It’s important to use high-quality tools for the best results. Don’t go for the first brush you see in the local convenience store! It is better to spend an extra couple of dollars on a good quality brush that won’t shed its bristles onto your cabinets or leave hideous brush strokes you’ll have to repaint. Visit a specialized paint store and talk to a professional.
2. Take Off Removable Parts
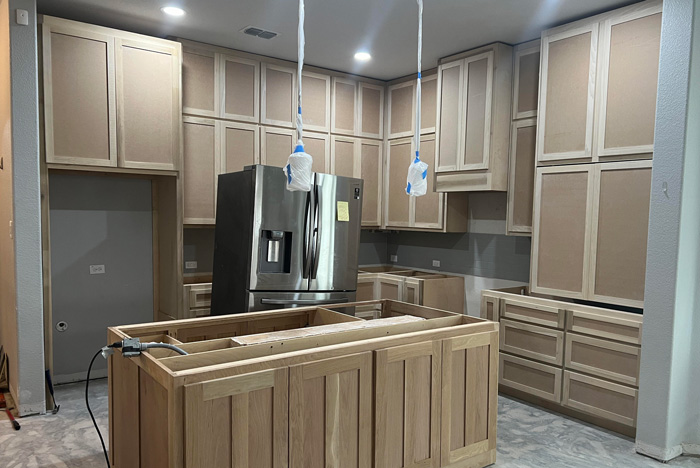
Image source: txmojo
To avoid complications, remove the doors and drawers from the kitchen cabinets. A pro tip: assign a number to each cabinet and label its doors and drawers with the same number. Use a permanent marker to write the numbers behind the hinge placement. Very few things can be more annoying than trying to figure out later which door goes with which cabinet, so take care of this in advance.
Similarly, place the hardware from each cabinet into a separate container and label it accordingly. If having to match the doors to the cabinets is frustrating, having to do the same with bolts and nuts will literally drive you, well, nuts.
Removing your cabinets from the walls isn’t necessary, but make sure to mark them off with the painter’s tape in the places where they touch the wall. You have to paint every visible surface of the cabinets on the outside. The insides can be left unpainted, or you can follow the latest trend and give them a coat of a contrasting color.
3. Clean the Surfaces
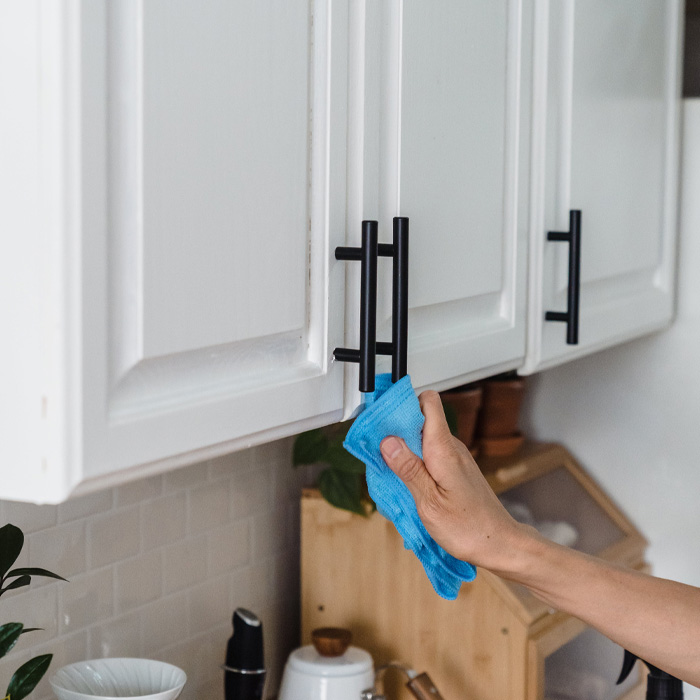
Image source: Liliana Drew
Your cabinets might seem clean to you. You may even argue that you have been regularly cleaning them all this time, but trust us when we say this isn’t enough. All the accumulated grease from cooking splatters will prevent the paint from adhering properly, so your paint job will start losing its quality soon after you finish the project or maybe even during the painting process!
Use a degreaser and a tack cloth to remove all the grease and grime from the surfaces. If you notice that a regular degreaser isn’t enough, go for something stronger like TSP.
4. Attend to Imperfections
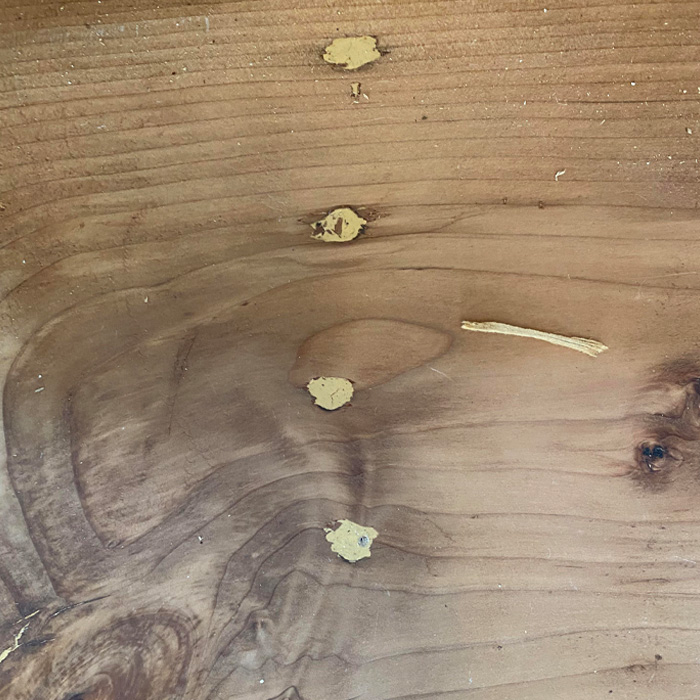
Image source: gromper
Wood tends to show imperfections with time. These imperfections will significantly complicate your work and bring the quality of painting kitchen cabinets down a notch or two.
Examine all surfaces carefully and use wood filler to deal with scratches, scuffs, or holes. Squeeze some filler into the imperfection to fill it up. Use a putty knife to distribute it evenly. Let it dry well before you go on to sanding.
5. Sand the Surfaces
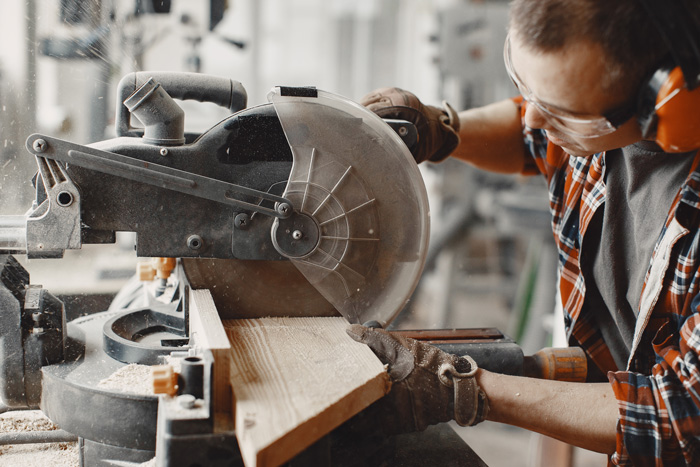
Image source: prostooleh
While some instructions have recently emerged on the internet claiming you can paint your kitchen cabinets without sanding them first, experts don’t recommend going that route. Sanding scuffs up the flat surface, opening wood pores. This way, the primer sinks in and creates adhesion for the paint.
You can sand by hand with a sanding block or sandpaper, but this process requires some physical strength, so you can make your life a little easier by using an orbital sander. A very important precaution while sanding is wearing protective gear, like a sanding mask.
If your cabinets had been installed several decades ago, the paint has a high chance of including lead. And even with newer cabinets, sanding produces dust you don’t want to inhale, so make sure you wear a mask.
6. Apply Primer
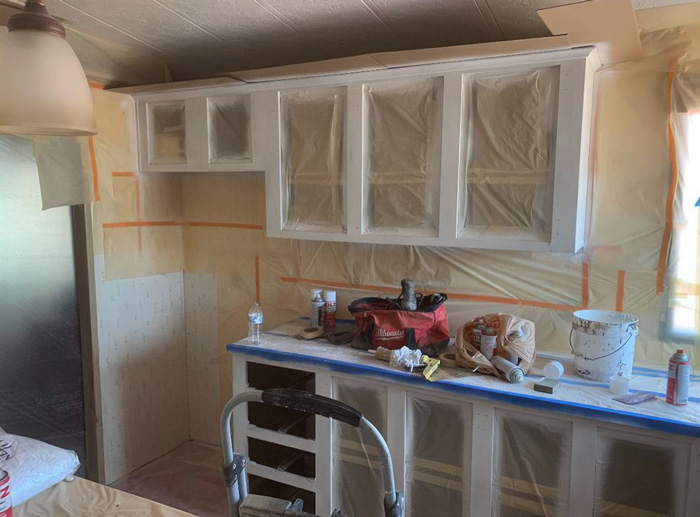
Image source: pristinepainting
Not to prime is a crime. Okay, maybe not a crime, but it is an absolutely required step for your paint to adhere to the surface and stay in excellent condition longer. Make sure you select the right type of primer. For example, a wooden cabinet door and a laminate one require different primers. It’s best to consult a professional at your local hardware or paint shop; they can help you choose the best option.
Before you start priming, test it on a part of the cabinet that isn’t usually on display. If the primer begins to form bubbles on the surface, go back to Step 3 and clean the cabinets again. Only then pour the primer into the painting tray. Use the mini roller on the larger surfaces and the brush on the edges and corners. Once you’re finished, wait for the primer to dry thoroughly.
7. Paint the Cabinetry
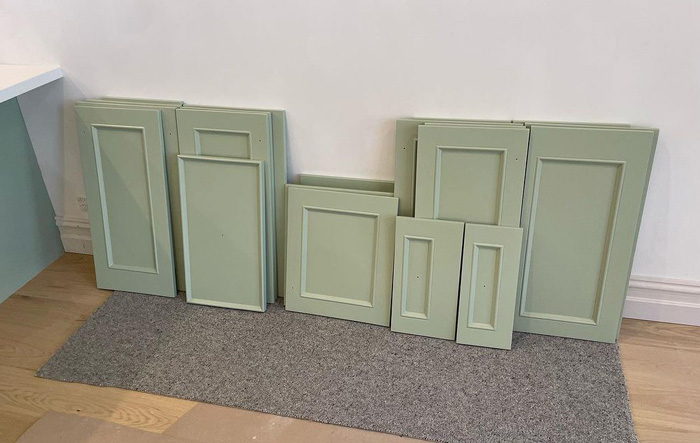
Image source: vivid_resurfacing
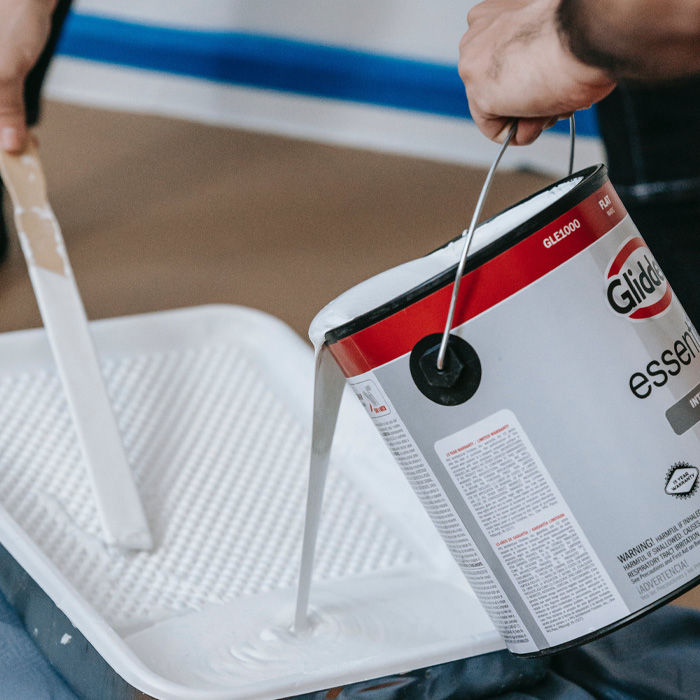
Now comes the fun part. Before you start painting, wipe the surface with a damp cloth to remove the remaining sanding dust particles. Pour the paint into the paint tray (don’t forget to wash off the primer or use a new one), load the brush and foam roller, and start painting.
Similar to priming, use the brush for the corners and edges and the roller for the front surface. It is up to you if you paint by cabinet or prefer to do the boxes first and the doors and drawers later.
If you’re applying a darker color than the original, one coat of paint may be enough. But to make sure your paint is consistent on every inch and the wood isn’t showing through, apply a second coat. However, don’t forget to let the paint dry completely before you do so and again after you finish painting. Most manufacturers indicate the drying time on the container.
8. Change the Hardware
Image source: bhavgaucho
If you decide to keep the old hardware, give it a good cleaning. However, we highly recommend changing it to give your cabinetry a fresh look. You can go for a different color or finish that matches the color of the cabinets. You can even replace the factory-made knobs and handles with something custom.
9. Reassemble the Cabinets
Image source: myhappymakeover
Time to put everything back the way it was. This is where you realize how wise it was of you to label those cabinet doors and drawers and store the hardware separately! When all is done, you can remove the plastic sheets and move all the appliances and furniture back in.
Other Tips on How to Paint Kitchen Cabinets
How to Choose the Right Paint
Image source: Blue Bird
Of course, aesthetics is important. After all, you want your kitchen to look just the way you imagined. However, the kitchen is a high-traffic area, so you need to think about functionality first. Kitchen cabinets get a lot of stains and grease splashes, that’s why choosing a durable paint is essential.
Previously, experts used to favor oil-based paints as they provide a more durable coat. However, in recent years, latex-based paints have been significantly improving. With the added benefit of easy maintenance, latex paints are becoming the more frequently used option.
Choosing the Right Color
Image source: queenofgreen_84
The final decision is up to your taste and preferences. Yet, there are some things you may want to consider before picking up the brush.
❗Remember that kitchen cabinets are susceptible to grease and grime. Selecting a color that shows stains less is helpful for maintenance.
❗A lot of your appliances and countertops will likely stay after you repaint the kitchen cabinets. Make sure your cabinet paint matches those items to create a cohesive look in the space.
Take a look at some of the newest trends in kitchen design. Of course, you don’t have to follow them mindlessly, but they will give you inspiration and some interesting ideas.
Importance of Sanding
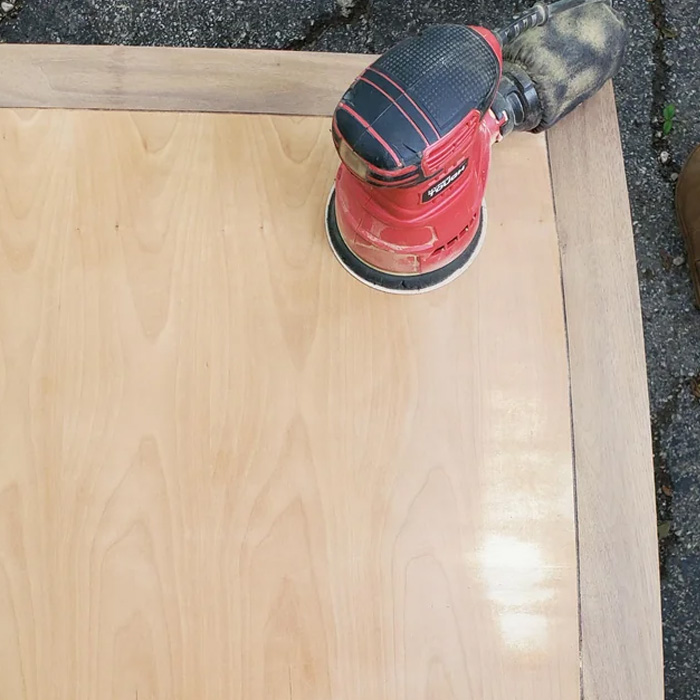
Image source: Cinemejia
We admit sanding is time and labor-consuming and not a particularly fun process. However, skipping this step will result in a messy paint job. Not only does sanding remove all the imperfections from the cabinets, but it also creates a smooth surface that will allow the paint to adhere better and last longer.
Moreover, most experts recommend sanding your cabinets twice: the first time to remove the old paint and the second time to get rid of the imperfections. So, sorry to break this to you, but there is no skipping sanding.
Painting Kitchen Cabinets: Ideas
Choosing the color for kitchen cabinets is a big deal because it shapes how the kitchen feels and works. It’s not just about looks—colors can make the space feel bigger, cozier, or more lively. So, it’s kind of a big deal! Hence, here are some ideas to get you started.
Painting Kitchen Cabinets White
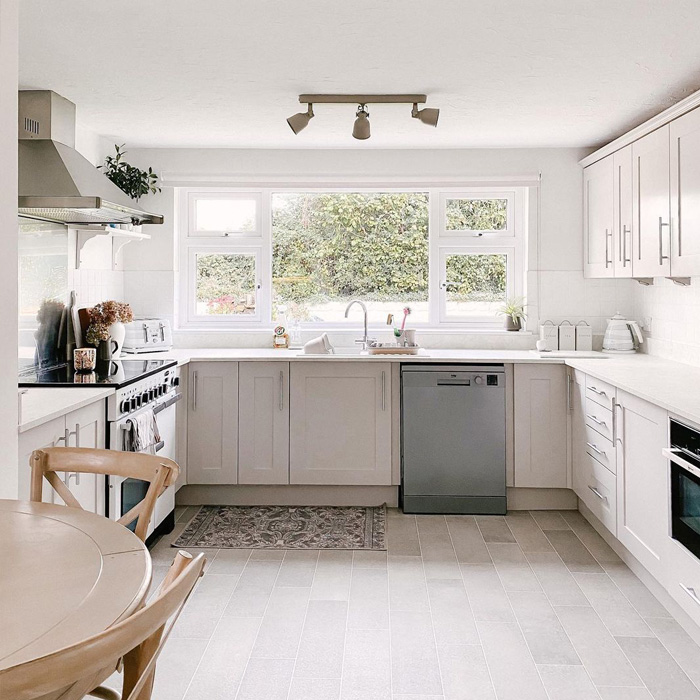
Image source: lizaprideaux
The most classic option, white kitchen cabinets open up the space and bring in lots of light. This is why this option works perfectly in smaller kitchens. But that’s not to say that a larger kitchen won’t benefit from having white cabinetry. Even if you don’t like the stark white color, some hues like creamy white or ivory white make a kitchen look cozy and stylish.
Painting Kitchen Cabinets Green
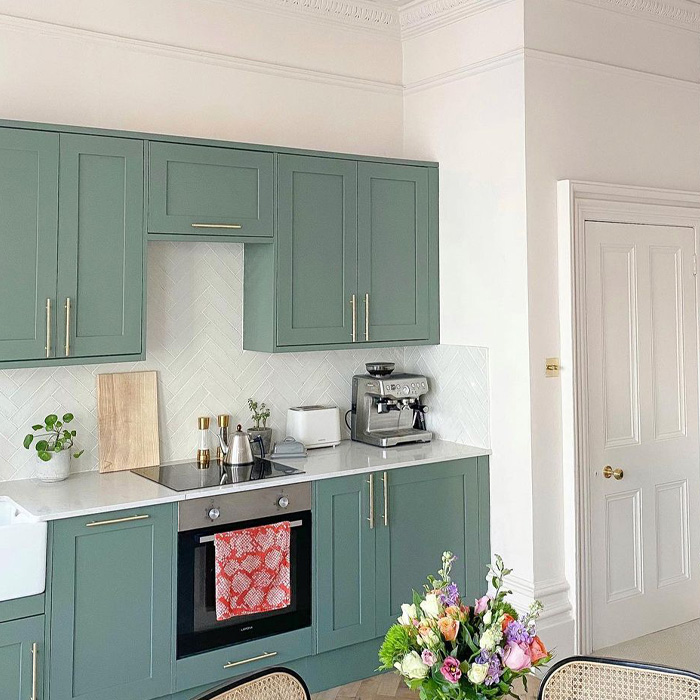
Image source: dustsheets_and_decor
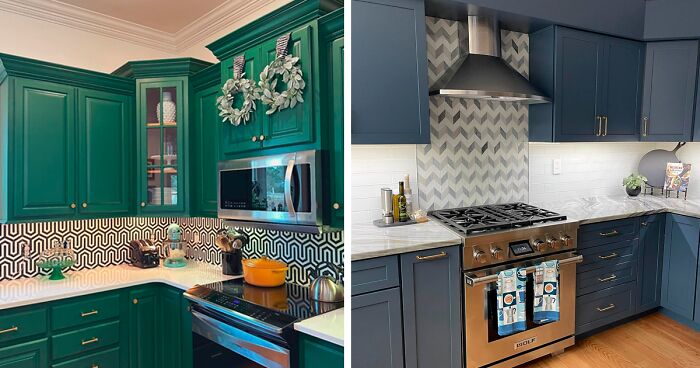
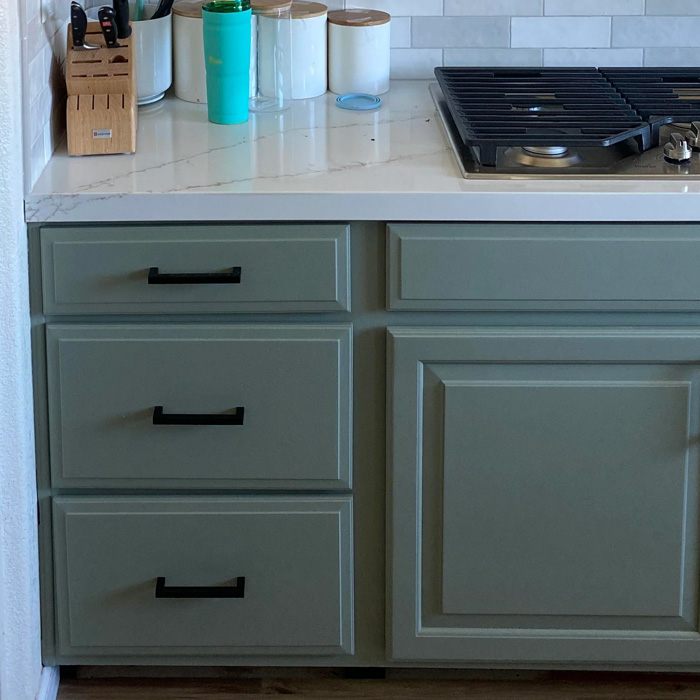
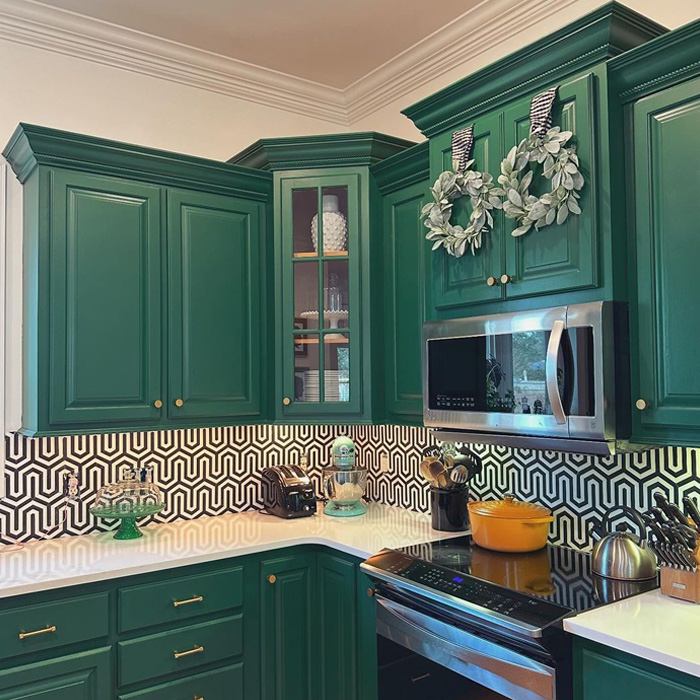
With the current tendency towards eco-sustainability, green kitchen cabinets are a perfect option to bring your kitchen closer to nature. From emerald green to dark olive and classic sage, bring freshness to your kitchen to keep it in style for a long time. Pair it with natural wood, brass, or copper for a luxurious look.
Painting Kitchen Cabinets Yellow
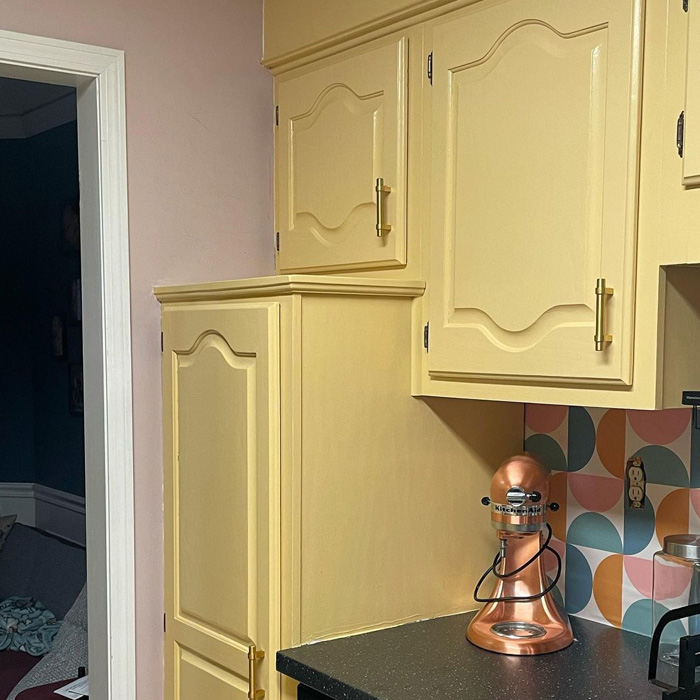
Image source: moore.laurinda
If you love bright colors and a lot of sunshine, consider yellow kitchen cabinets for your next remodeling. Yellow is considered a happy color in color psychology, so adding it to your kitchen will create a cozy and inviting place. Modern interior design has long debunked the myth that a modern kitchen should be neutral in color, so take advantage of all the warmth yellow kitchen cabinets can add to your cooking space.
Painting Kitchen Cabinets With Chalk Paint
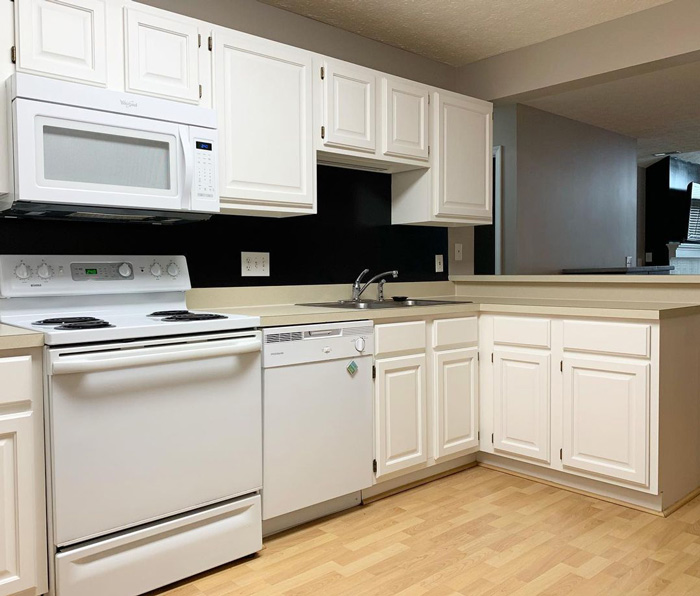
Image source: edwinloyhome
Chalk paint is a beloved choice for many DIY enthusiasts. It’s super easy to apply and gives off that lovely matte finish that many adore. Plus, the prep work is often minimal, which is a huge time-saver. However, here’s the scoop: for that added durability, you might want to consider adding extra coatings. Chalk paint rocks that rustic look, but in a bustling kitchen, it might need a little more TLC to keep it looking fresh.
Painting Kitchen Cabinets Blue
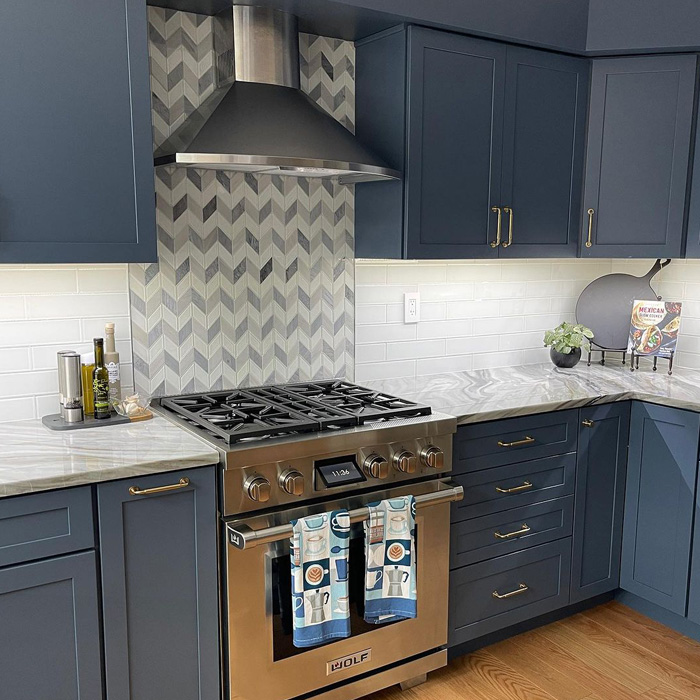
Image source: chroma_maison_design
Nothing speaks serenity like the color blue. If the kitchen in your home is your safe haven where you come to decompress and spend some quality time with your loved ones, blue kitchen cabinets are a fantastic choice to create that space. Dark blue shades can also turn your cabinetry from a simple storage facility into a statement piece.
Things You Need to Know (FAQ)
What is the Downside of Painting Kitchen Cabinets?
While not too difficult, painting kitchen cabinets is a long process that requires some effort. Plus, there are no shortcuts; you need to follow through with every step if you want the final result to be impressive. A poorly done painting job will wear out pretty quickly. Also, consider the fact that stains and dirt show more on painted surfaces, especially on lighter or matte finishes like those achieved with chalk paint..
What Types of Cabinets Shouldn’t You Paint?
If your cabinets are visibly damaged or have a detailed pattern, painting them will only bring them to the forefront and make the cabinets look messy. The same applies to open-grain wood cabinetry, like oak or ash, where paint creates an “orange peel” that doesn’t compliment your kitchen at all.
What is the Number One Color to Paint Kitchen Cabinets?
As we said above, you need to consider a lot of things before settling for one color. You can use either latex or oil-based paint, but If you don’t plan to repaint your cabinets any time soon, go for neutral colors. If you feel like your kitchen lacks light and warmth, go for something bright. Most importantly, don’t forget to test the paint on a small section before you commit.
18Kviews
Share on Facebook
 Dark Mode

 No fees, cancel anytime



























15
0