Have you ever tried drawing a capybara? These gentle giants of the rodent world have a unique charm that makes them an interesting subject for artists. Whether you’re a beginner or experienced in drawing, creating your own capybara illustration can be a fun and rewarding experience.
In this guide, I’ll walk you through the steps to draw a capybara, helping you capture their relaxed posture and distinct features.
1. Starting with Basic Shapes
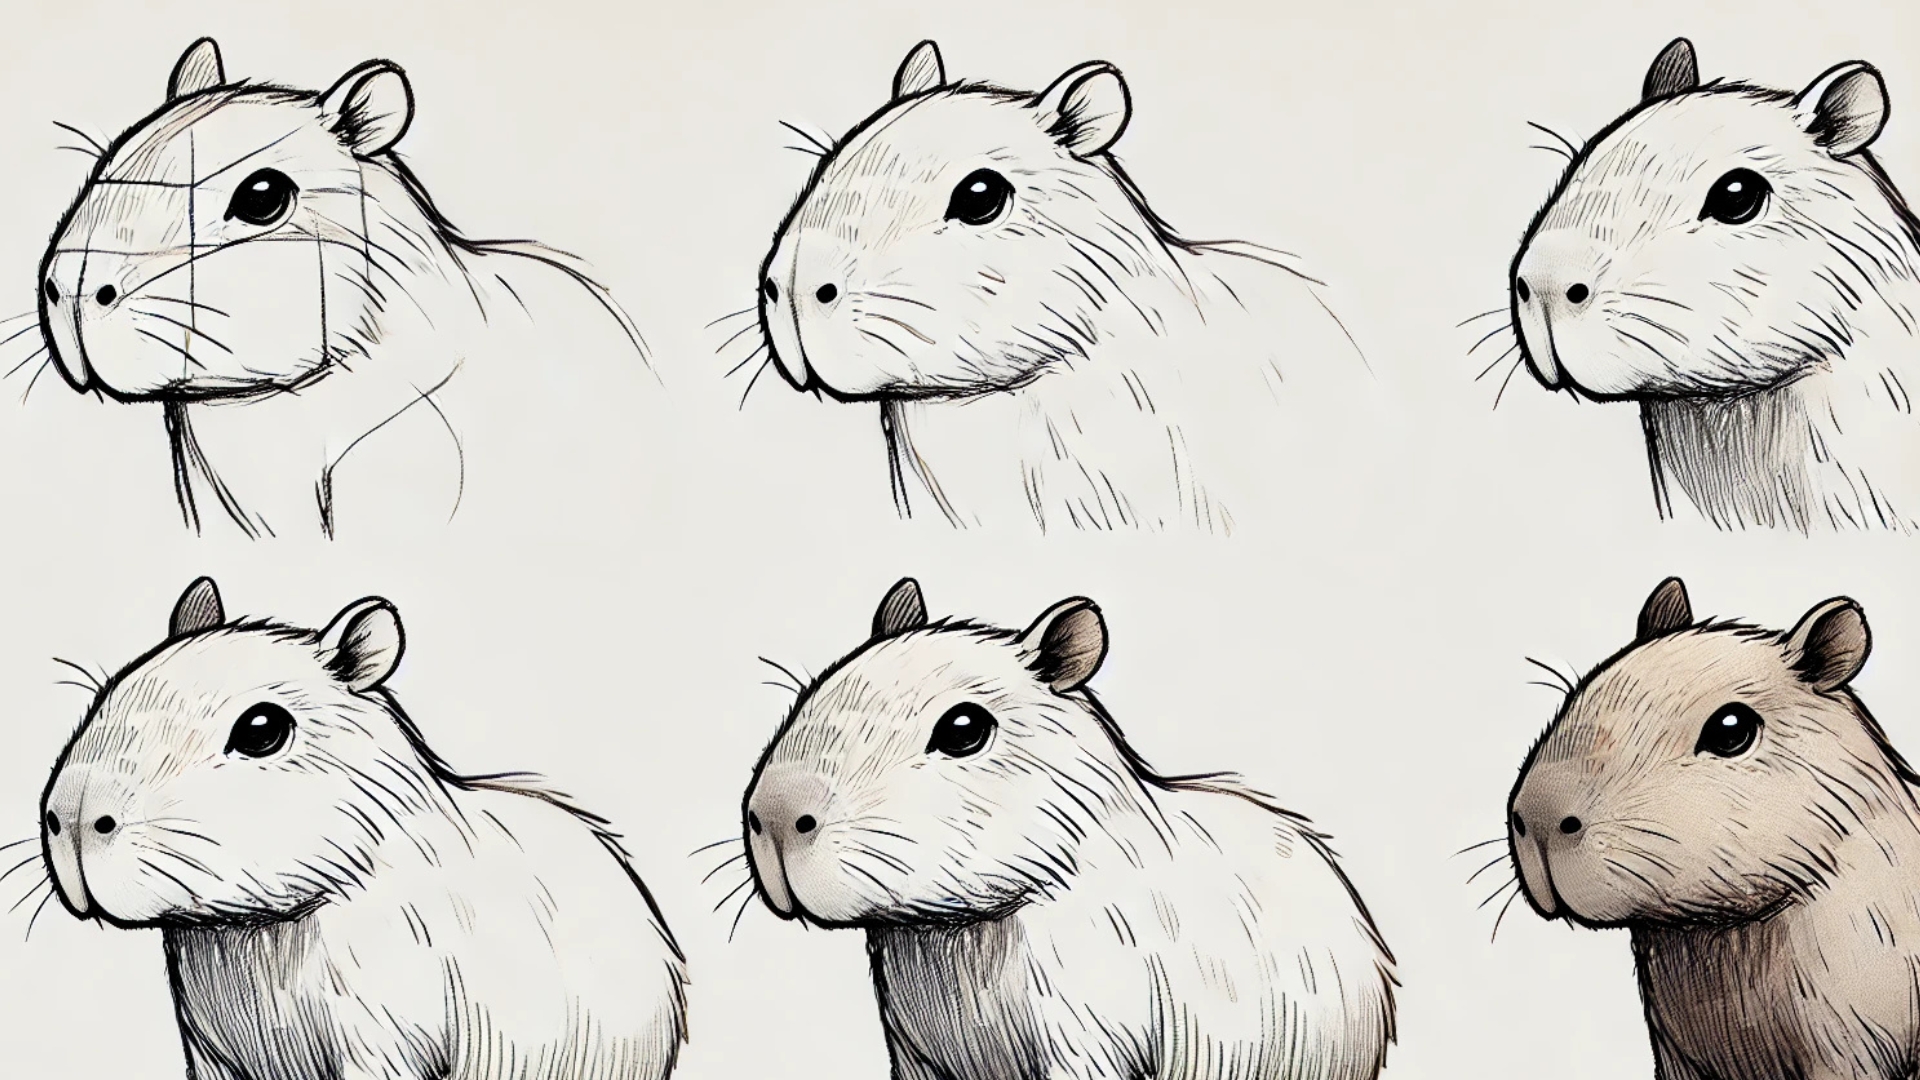
Before diving into the details, it’s important to map out the basic structure of the capybara using simple shapes. Start by sketching a large oval for the body and a smaller circle for the head. Capybaras have a bulky, barrel-like body, so don’t be afraid to exaggerate its size. Connect the two shapes with a slightly curved line to form the neck.
Tip: Keep your lines light at this stage; this is just a rough guideline to help you define the capybara’s proportions.
2. Outlining the Head and Body
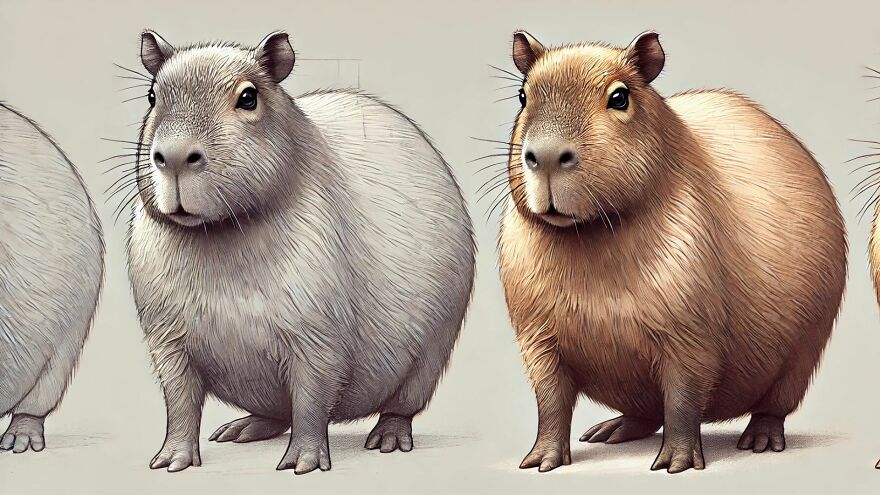
Once the basic shapes are in place, begin refining the head and body. Draw the capybara’s face by extending the circle into a snout, giving it a rounded nose. The ears are small and oval, positioned at the top of the head. Sketch the body to give it more volume, rounding out the back and adding a slight dip near the neck. The legs should be short and sturdy, with the front legs being slightly thinner than the back ones.
Did You Know? Capybaras are the world’s largest rodents and can weigh up to 150 pounds! Their stocky legs and broad bodies help them stay buoyant in water.
3. Adding Features and Details
Now that the body structure is in place, it’s time to add some details. Draw the eyes slightly above the snout, and make them small to reflect the calm and serene expression capybaras usually have. Add a small line for the mouth, positioned lower down the snout. Don’t forget the nose, which is quite prominent on a capybara’s face.
For the legs, add the toes—capybaras have webbed feet with visible toes, which help them swim. Include some loose fur lines along the back and neck to give the drawing a textured look.
Tip: Don’t worry about perfection; capybaras have a laid-back appearance, so embrace the simplicity of their features.
4. Shading and Final Touches
To bring your capybara drawing to life, start adding shading. Use light strokes to indicate where the shadows fall, especially under the chin, belly, and around the legs. You can also shade along the sides of the body and near the ears to give a sense of depth.
Keep the shading soft and gradual—capybaras have smooth fur, so the shadows should blend naturally. If you want to take your drawing further, add some grass or water around your capybara to place them in their natural habitat.
Note: Capybaras are semi-aquatic creatures, so don’t be surprised if they look just as at home in water as they do on land!
Tips for Success
Practice Makes Perfect: Like any drawing, mastering the capybara’s form comes with practice. Keep sketching until you’re comfortable with their unique proportions.
Keep it Simple: Capybaras have simple, rounded features. Avoid overcomplicating the details to maintain the animal’s natural charm.
Observe and Learn: Look at reference images of capybaras to understand their posture, expressions, and proportions. This will help you create a more realistic drawing.
Conclusion
Drawing a capybara is not only a great way to improve your animal sketching skills but also a fun exercise in capturing the personality of one of nature’s most relaxed creatures. With their distinctive features and calm demeanor, capybaras make the perfect subject for both beginner and advanced artists. Whether you’re doodling for fun or looking to create detailed artwork, these steps will guide you in bringing your capybara drawing to life.
So, grab your pencils and start sketching—you’ll soon have your very own capybara masterpiece!
More info: capybaramag.com

 Dark Mode

 No fees, cancel anytime



















-1
0