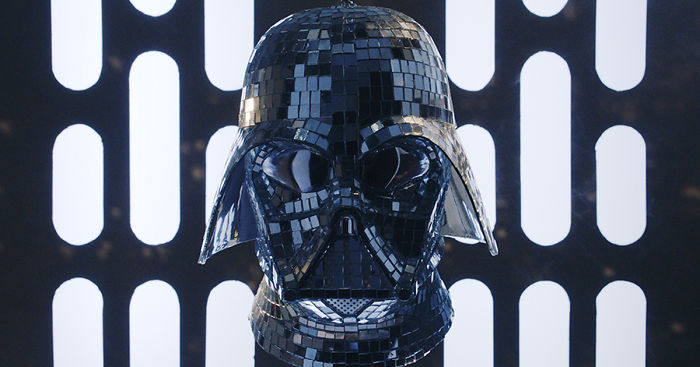
I Made A Darth Vader Disco Ball
I made my own Darth Vader disco ball from a Halloween costume mask and dollar store items. I’d wanted to make a Darth Vader disco ball ever since I saw the Boyz Noise Oi Oi Oi album cover with the disco ball skull.
As I start to expand the motion side of my photography portfolio I thought it would be the perfect time to finally create and document it.
More info: justinpoulsen.com
Full resolution video available here.
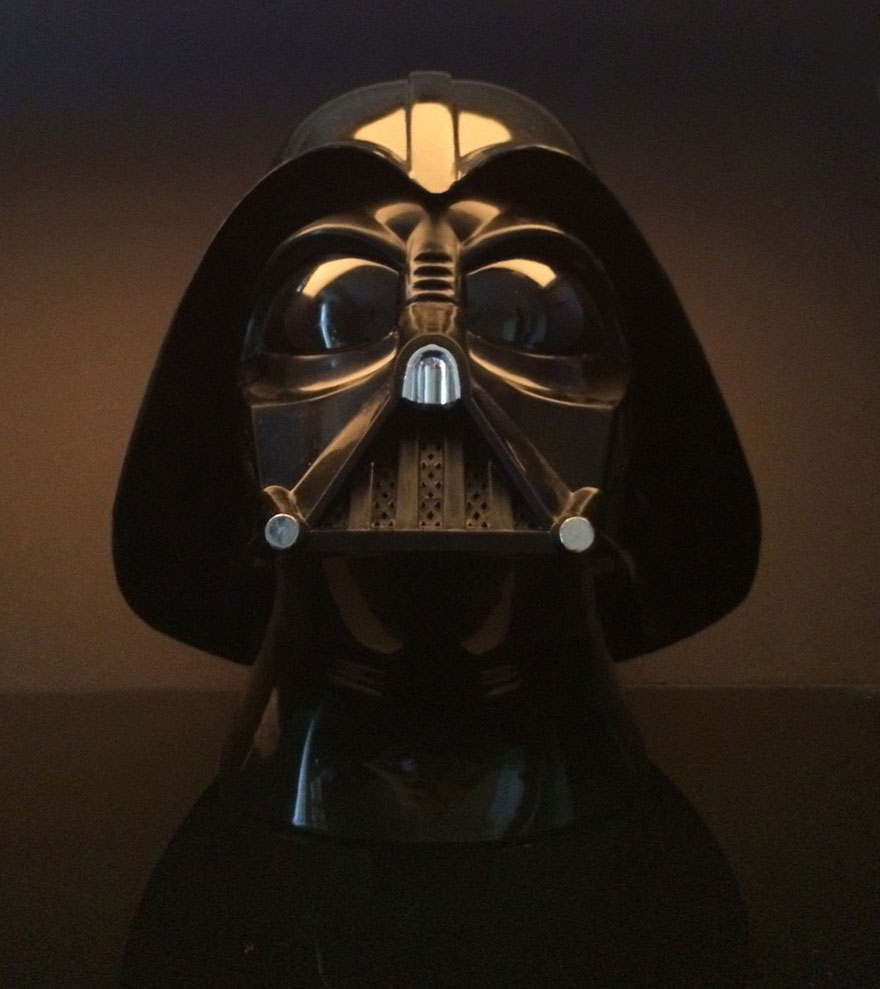
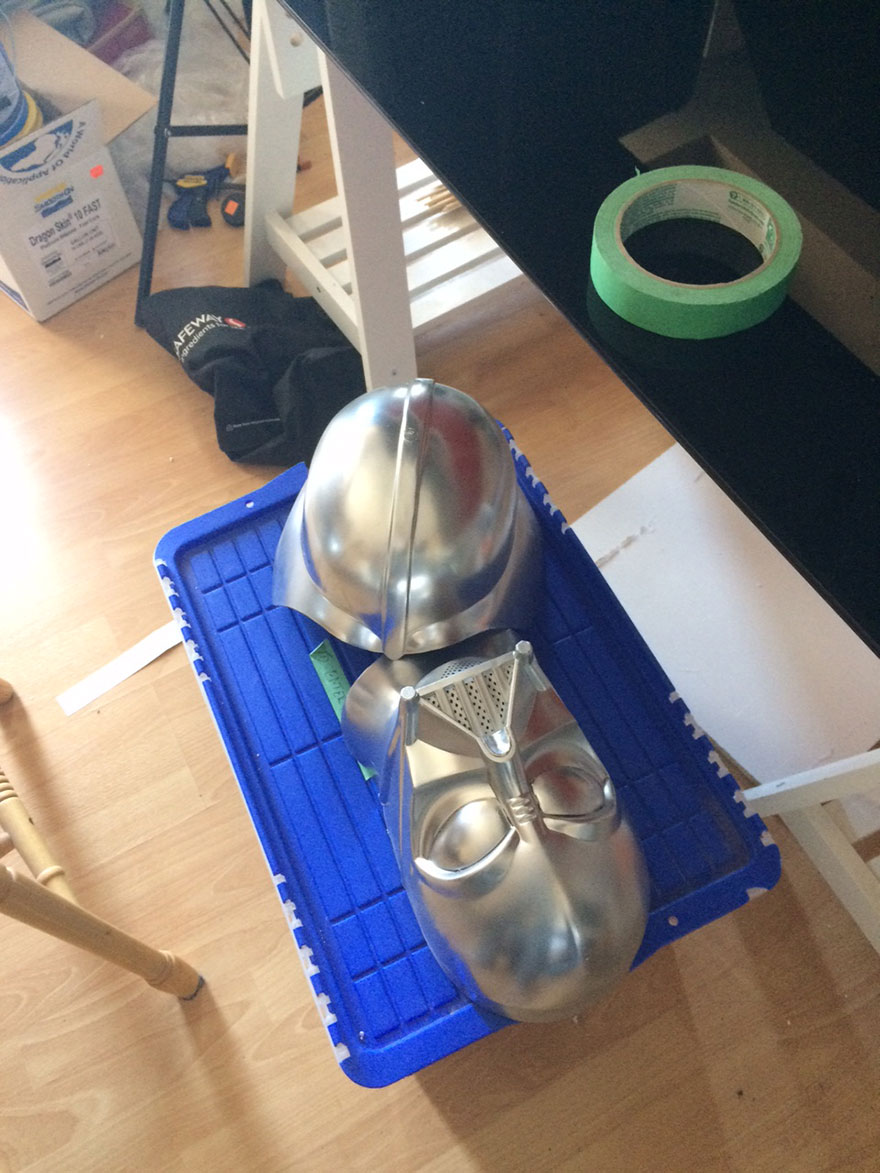
Original rubies helmet
I acquired this for around $50 at a costume shop
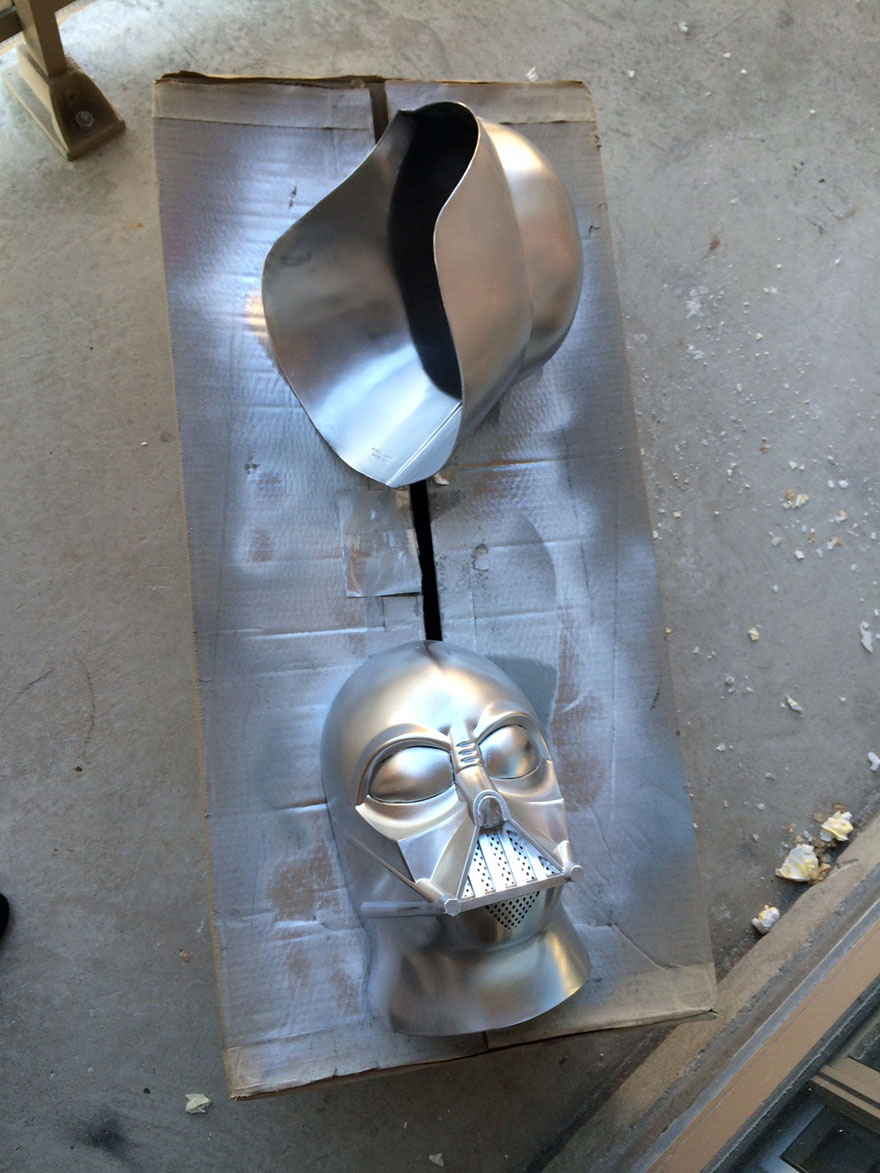
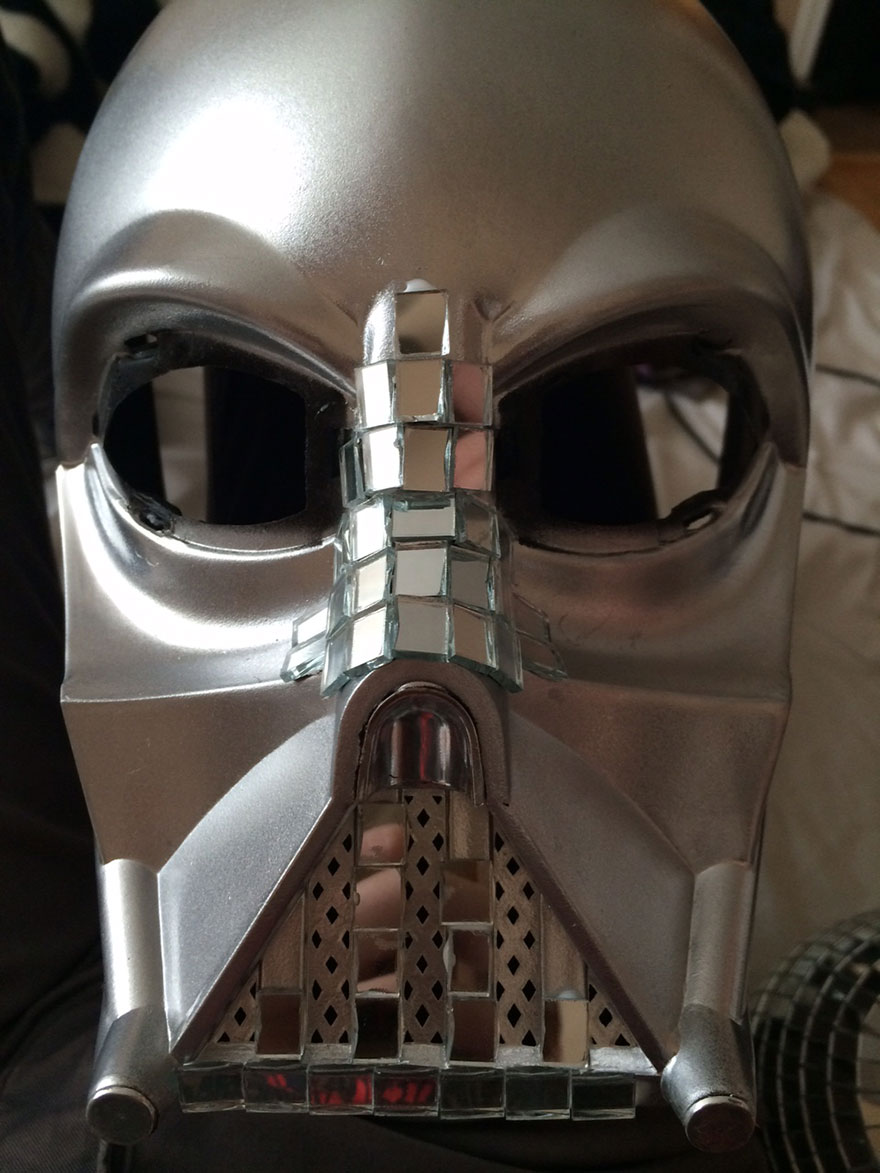
Painting helmet parts
I used a Krylon premium chrome spraypaint, which is not really that chrome, but an excellent brushed/matte stainless steel look.
Although in this image the mirror effect looks pretty decent, as soon as the dust was wiped off the helmet became more matte.
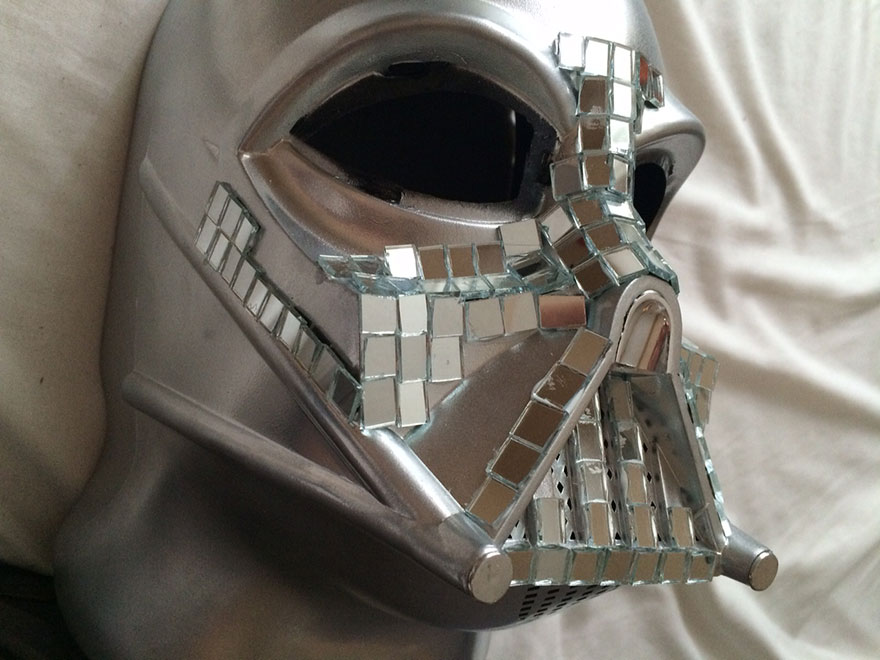
Application of mirrors
At this point I sent the eye lenses to a local proprietor to be sprayed true chrome. I considered doing this myself, using some imported spray cans from the UK, but ended up leaving it to the professionals.
The mirrors for the helmet came from miniature disco balls I found at a local dollar store. I simply pried off all of the mirrors from the foam ball and glued them to the helmet. This application took way longer than expected. I used Aleene’s tacky glue to adhere the mirrors. In small spaces, where a small mirror would not fit, I ended up covering in chrome automotive vinyl. These spots become less important when the disco ball is lit in a dark room.
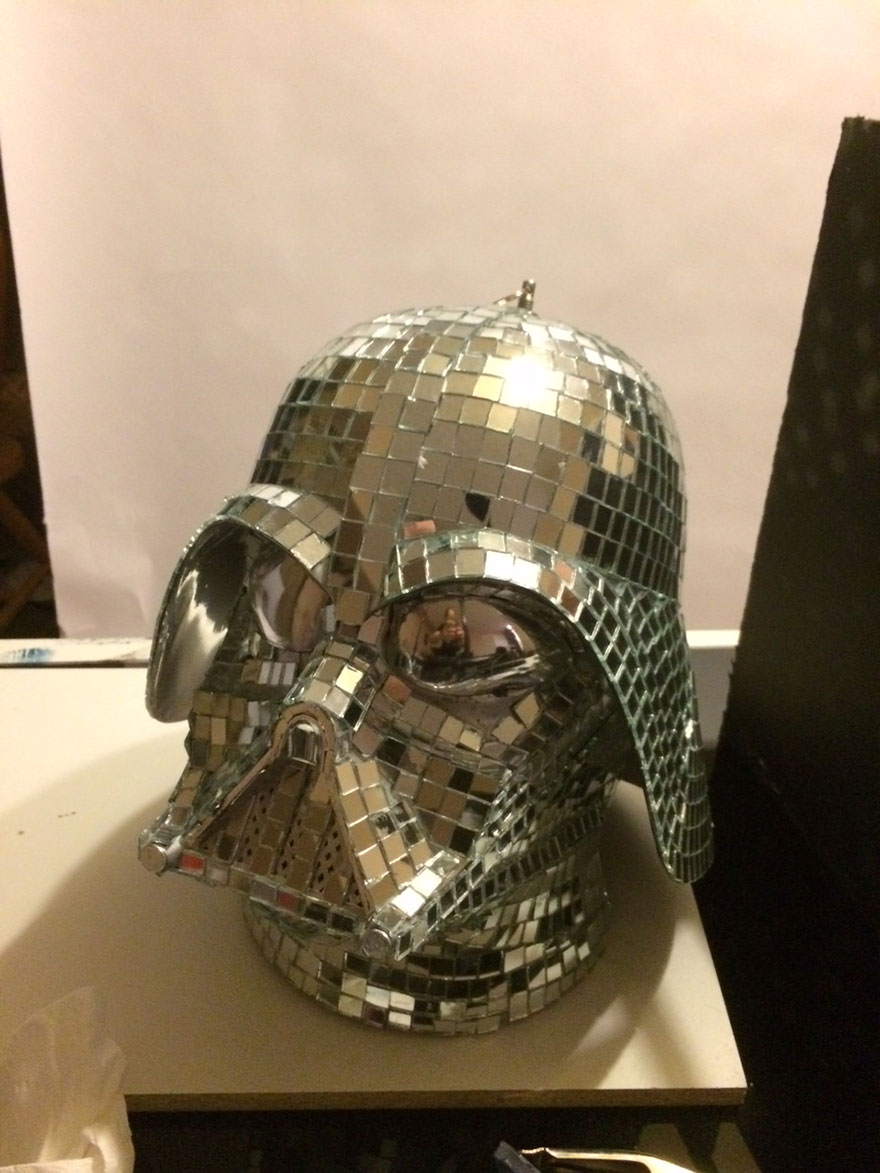
Completed Helmet
Drilling one hole through the top of the helmet, I was able to stick hardware from one of the dollar store disco balls to act as a fastener, holding the two parts together. This piece also functions as the hanger for the entire mask.
Creating a Backdrop
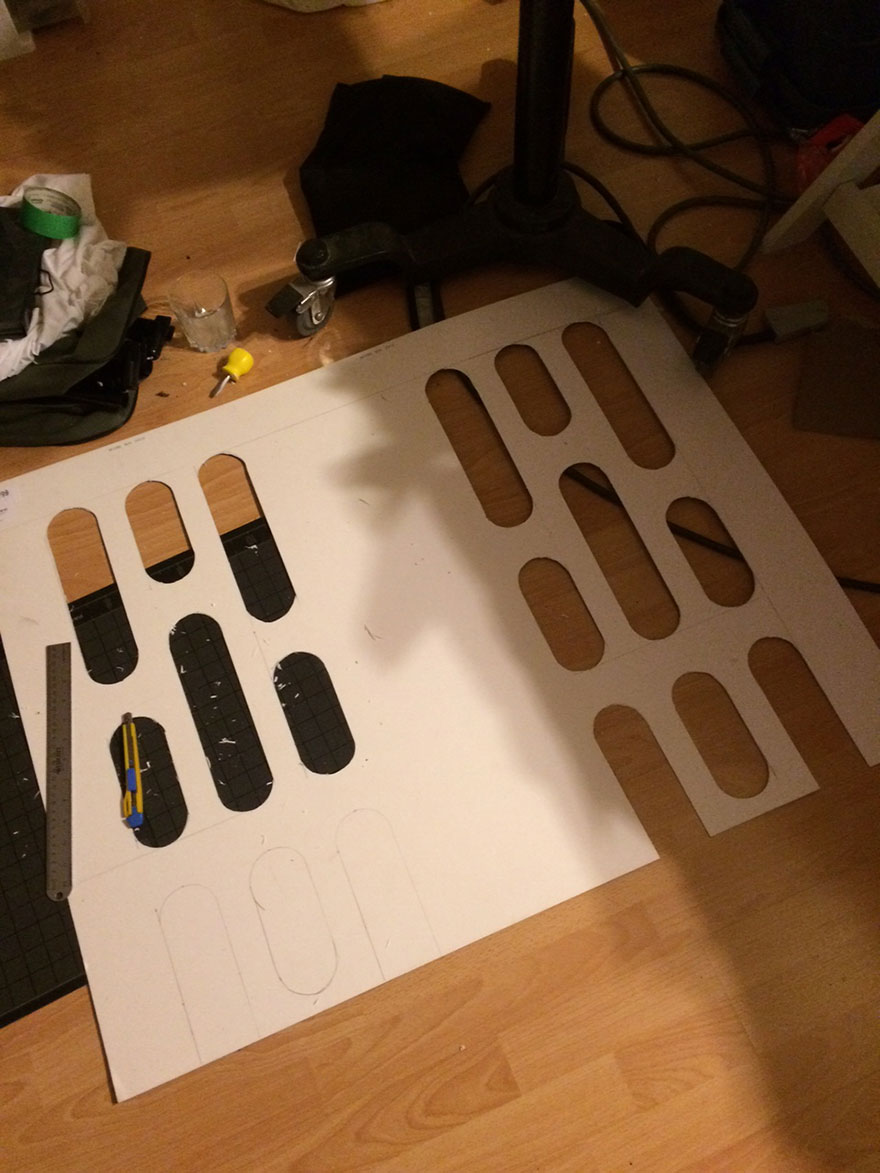
This background is loosely based on the walls of the Death Star. The dimensions of the rounded cutout ends are that of the base of a spraypaint can. Lots of tracing and cutting. The material is a simple grey matte board from a craft store. After cutting all the vent holes, I then covered them with LeeLux 400 diffusion material.
Lighting Setup
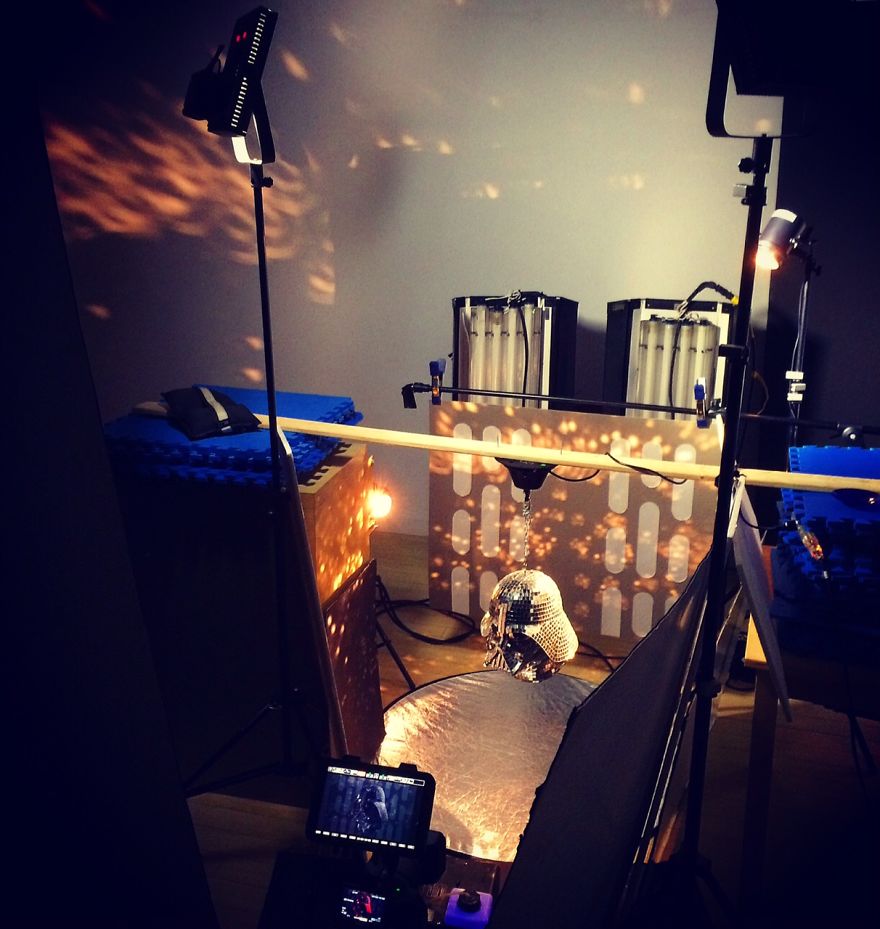
To light the head for filming, I used two Kinoflos to illuminate the background. Two inexpensive tungsten pin spots lit the back of the head, reflecting warm dots of light onto the backdrop. I shaped foamcore around the set to create white and grey reflections in the mirrors. These foam pieces were lit by the two LED panels adding fill from above.
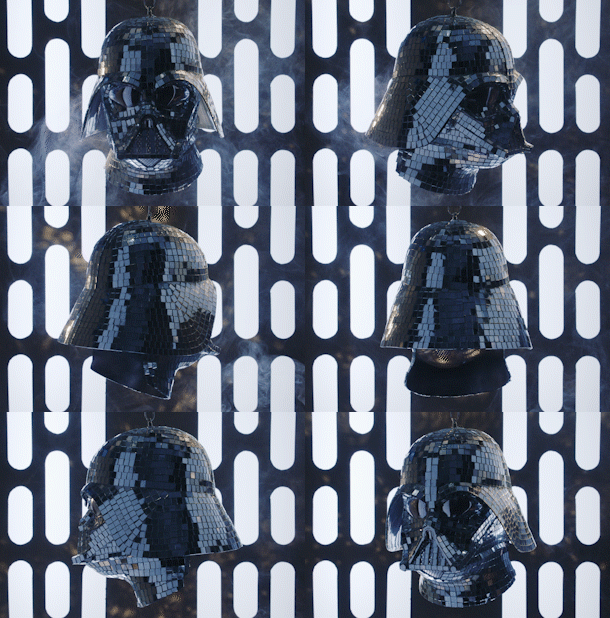
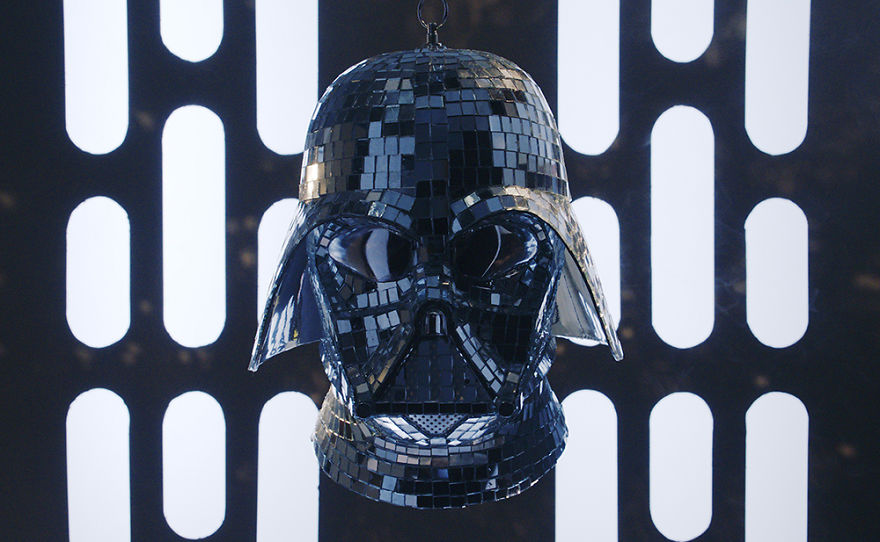
Finished product
Down-scaled frame pulled from the video.
4Kviews
Share on Facebook
 Dark Mode

 No fees, cancel anytime



















110
4